Bread has really been having a moment over the past few years and I am here for all of it. My love of bread rivals that of Oprah's love of bread, which we all know runs deep and wide. Hearty, rustic, naturally leavened loaves are getting loads of love lately and it seems we all know a guy who's gotten really into nurturing his secret starter {insert collective eye rolls here}. And while I may sound slightly snarky about it, I have a deep respect for anyone who dedicates time to perfecting their bread practice. Bread is life after all.
But baking bread is intimidating. Especially if you aren't a 90 year old nonna who's been baking bread for generations or a bearded baker tatted up from your forearms to your face with badass bread related art. I worked in an artisan bread bakery for a year and learned how to make everything from rustic levain loaves made with a decades old starter, to the complicated art of shaping a perfect French Baguette. It's can all be very involved. If, like me, you struggle to keep an air plant alive, the idea of feeding a mother yeast daily is daunting.
I am here to tell you, Basic White Bread has a place in this world. And guess what, you don't need to quit your day job to pursue a career in crafting a chemically balanced starter to make a lovely loaf of bread in your own kitchen. This recipe for Best Basic White Bread is the level of basic we all need in our lives right now. It's ok to use commercial yeast to get things going and I promise you, it's still gonna be great. For those of us who want to bake fresh bread at home but can't commit to lifestyle change of a committed baker, I hear you. This Best Basic White Bread recipe is for us.
My favorite bread baking book is Josey Baker Bread by Josey Baker , the brilliant bread breadhead behind The Mill in San Francisco. His book breaks it down from by starting with Your First Loaf of Bread, aka this recipe for Best Basic White Bread, and he walks you all the way through the more complicated road of crusty sourdoughs made in a Dutch oven. He even shares how to customize and mix in all kinds of fun ingredients. It's a comprehensive book that covers a lot of ground, but doesn't jumble your brain with too much technical, science-y jargon. Josey Baker Bread
 is approachable and easy to understand. Start here, you will be so glad you did.
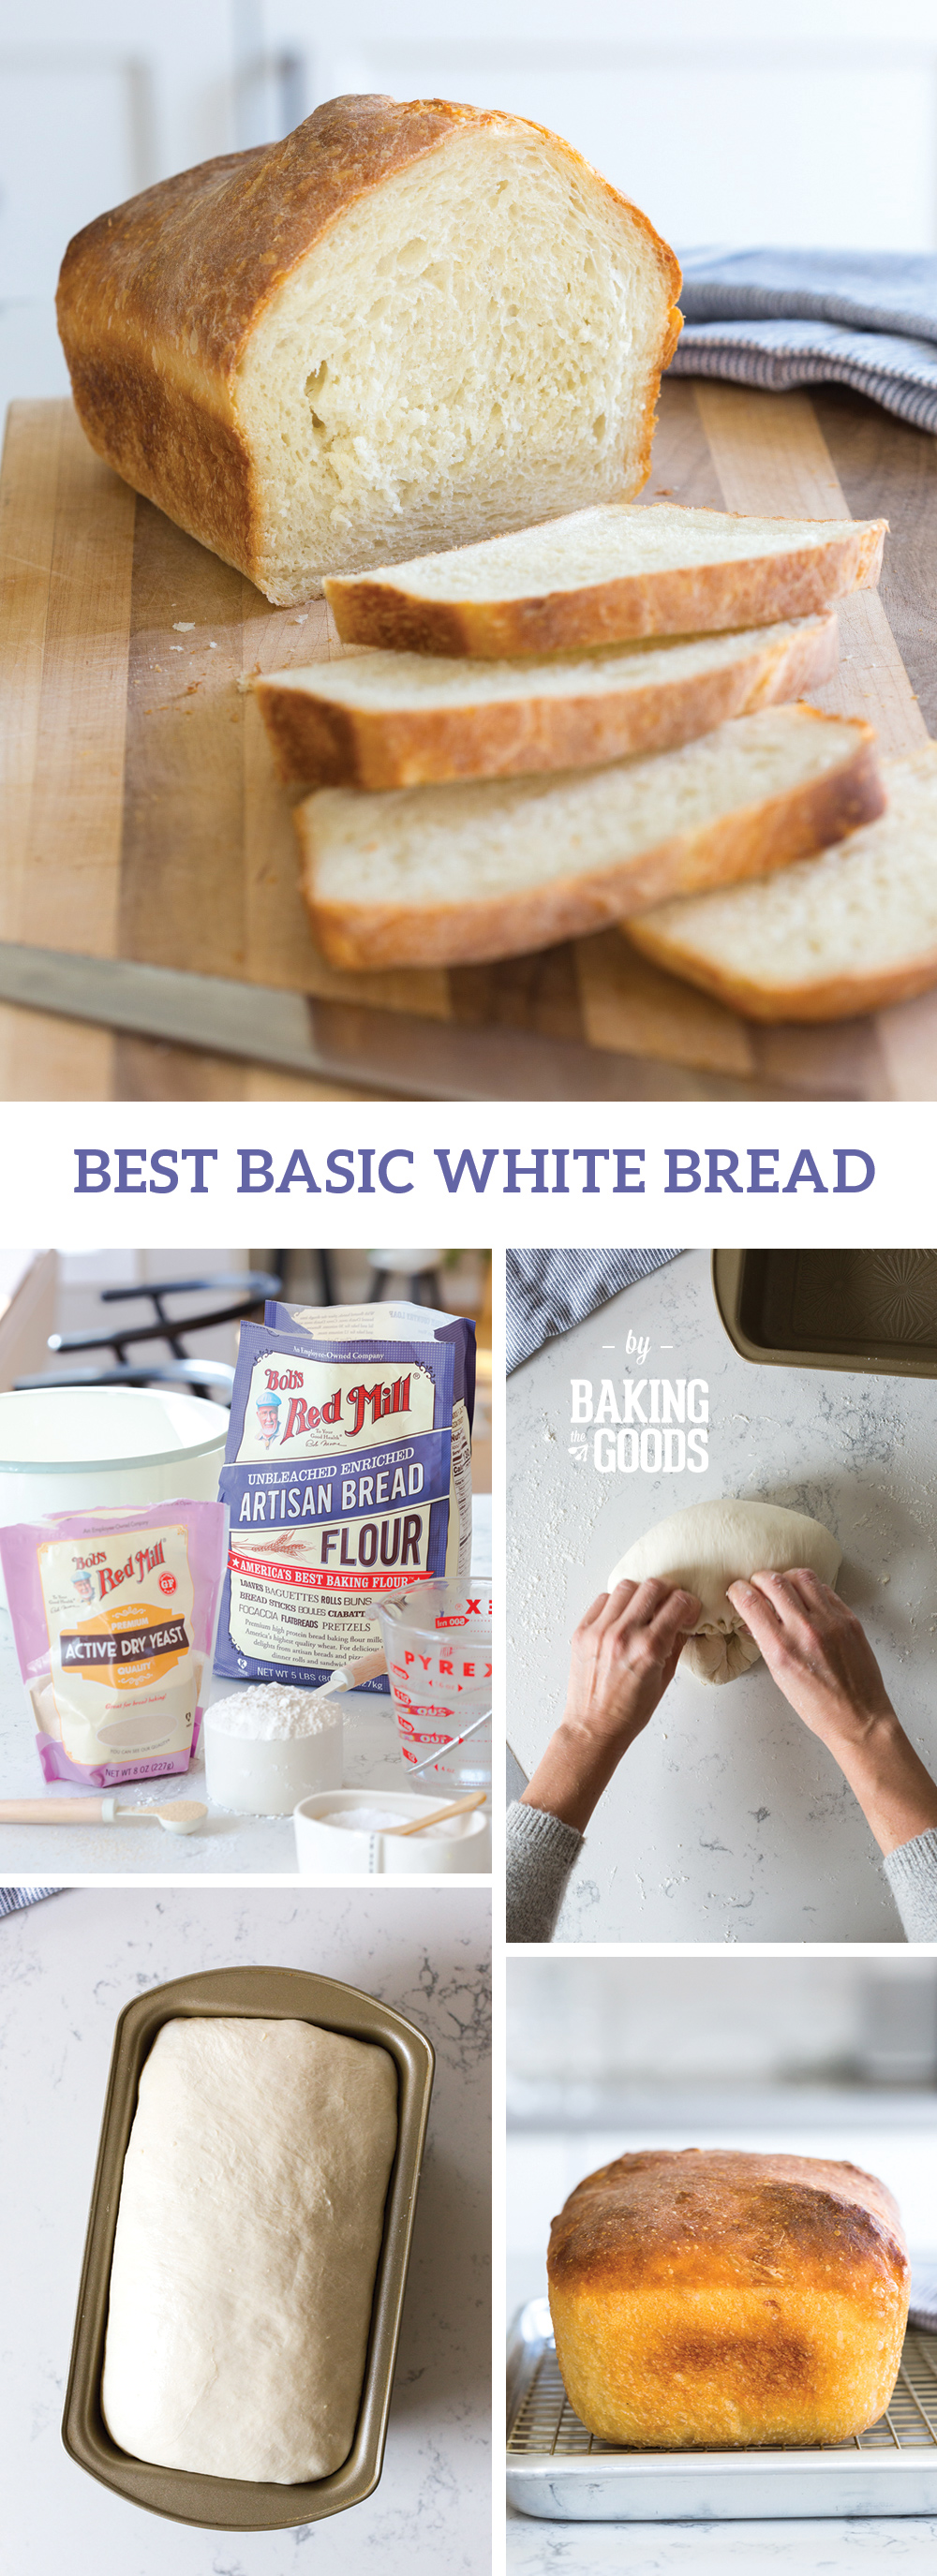
This recipe forBest Basic White Bread is a slight adaptation from Josey's recipe Your First Loaf of Bread. I made a couple of small changes to the water temperature, hydration and shaping technique. Other than that, I baked it as is and this Best Basic White Bread could not be easier to make, seriously. There are only 4 ingredients going on, bread flour , yeast
 , salt
 and water. THAT IS IT. Bread flour is very similar to all purpose flour or white flour but the main difference is that it has a higher level of protein. More protein makes the flour stronger and gives the bread more strength to rise high as it bakes and gives it more chew than plain old all purpose flour. Cool? Cool.
The thing about bread is that it takes time to develop. Like a fine wine, a little aging does wonders for the flavor and helps with the texture too. While it may take 2-3 days for this Best Basic White Bread to fully develop, the actual hands-on time is very minimal. Like only a few minutes, seriously. Most of the magic happens while the dough develops quietly in your fridge and on your counter and doesn't involve you at all. Just plan ahead a bit, it is so worth the wait.
The main takeaway here is, this Best Basic White Bread is completely doable and way easier than you ever could imagine. And even if your loaf doesn't come out looking like Wonder Bread, which is kind of mind boggling anyway, it will still taste better than any store bought, preservative filled loaf there is. Give it a go, bake up this Best Basic White Bread, you've totally got this bro.
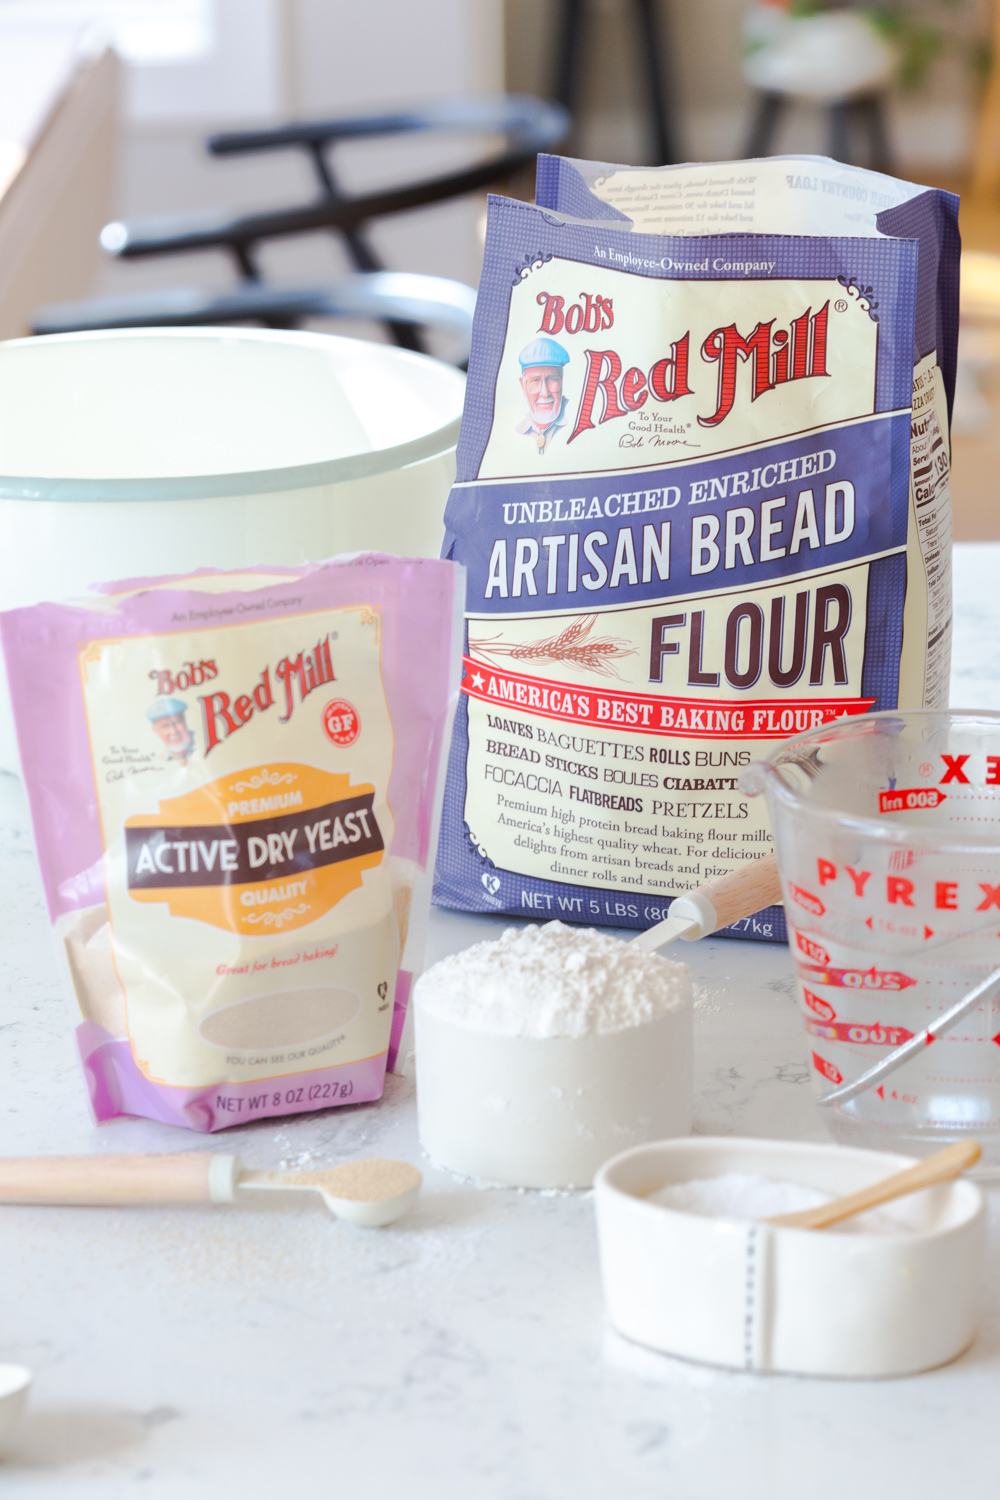
 , Bob's Red Mill Active Dry Yeast
 , salt
 and water.Plus a little drizzle of oil
 to keep it from sticking to the loaf pan
 . Bread is life.
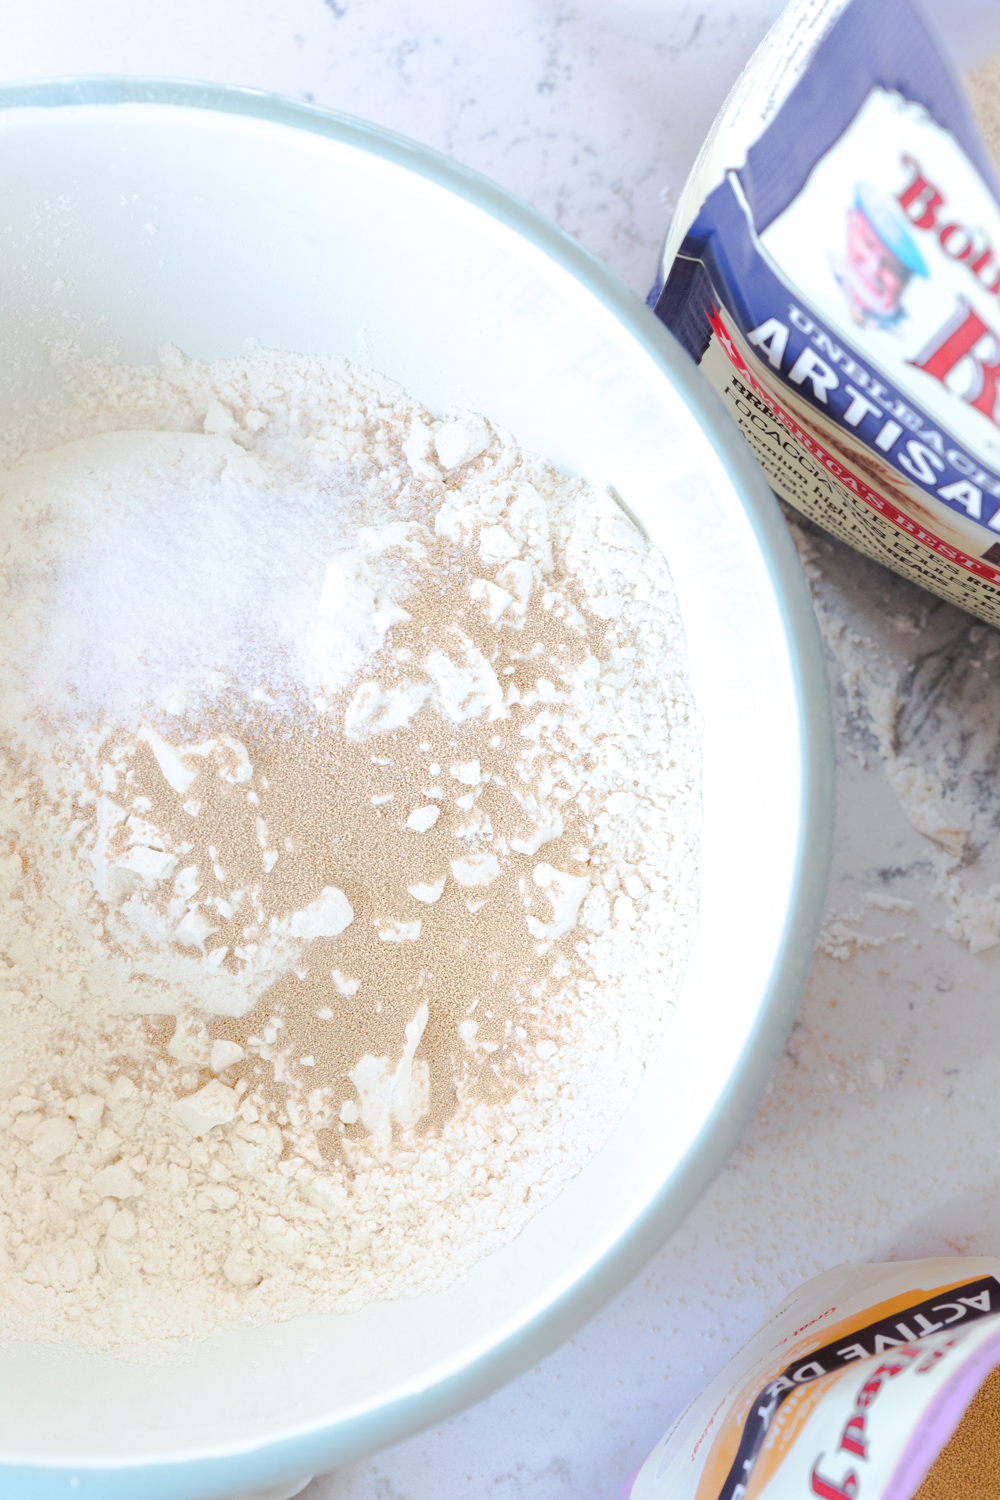
 first, just mix it in with the bread flour
 and salt. So easy.
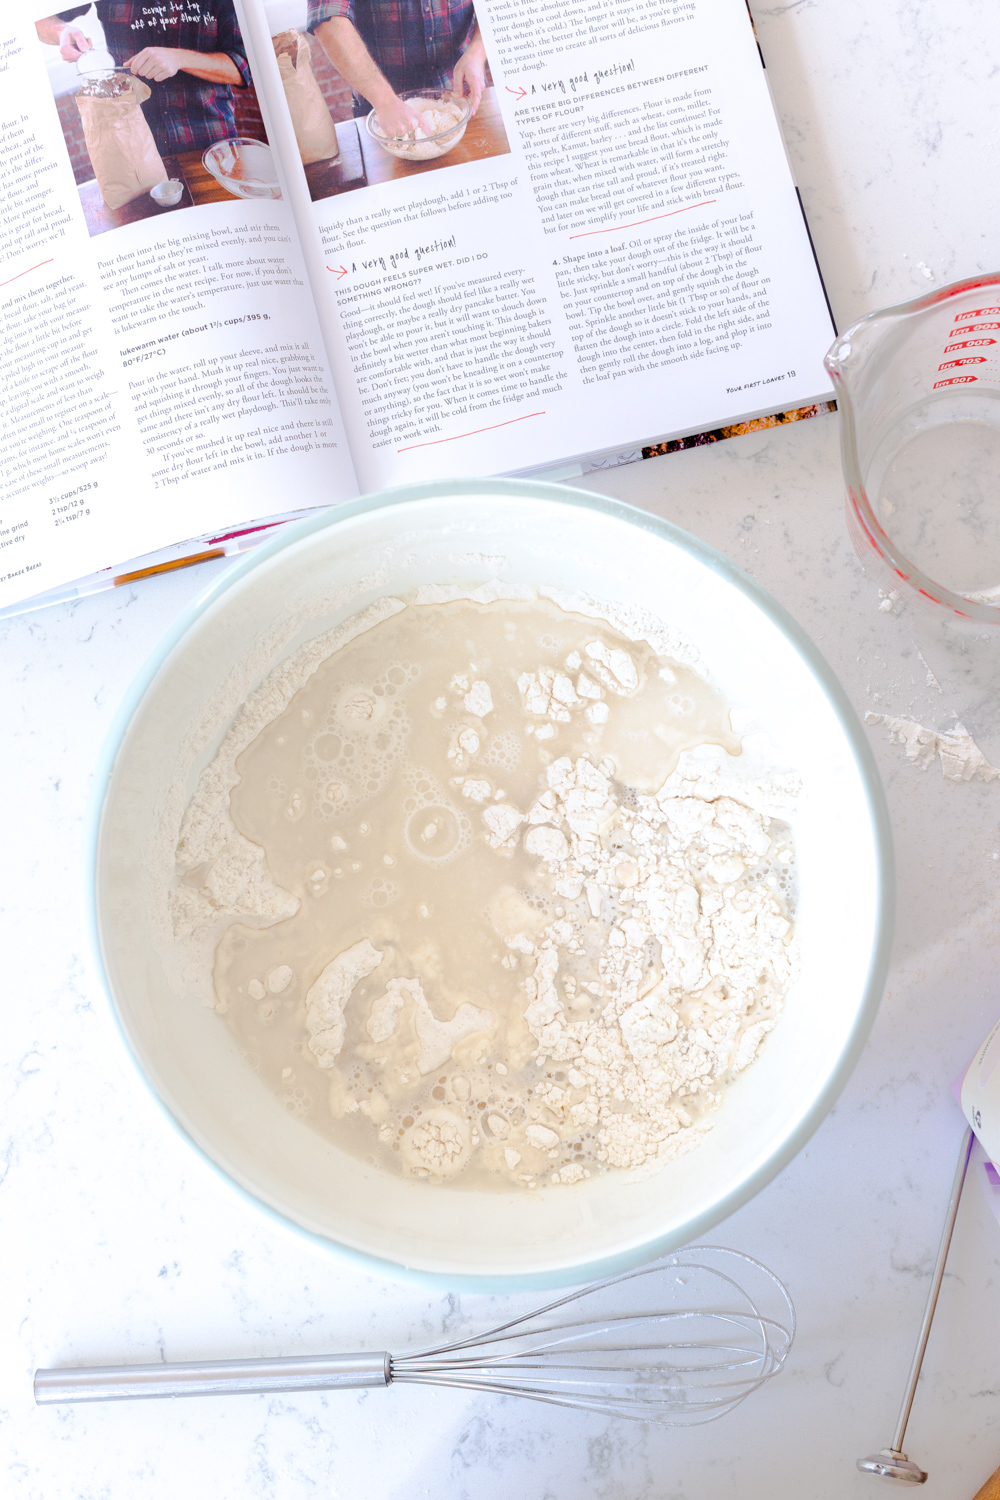
 to mix the dry and wet ingredients until all of the flour is absorbed by the water. It will be very sticky but go with it, that's part of the process.
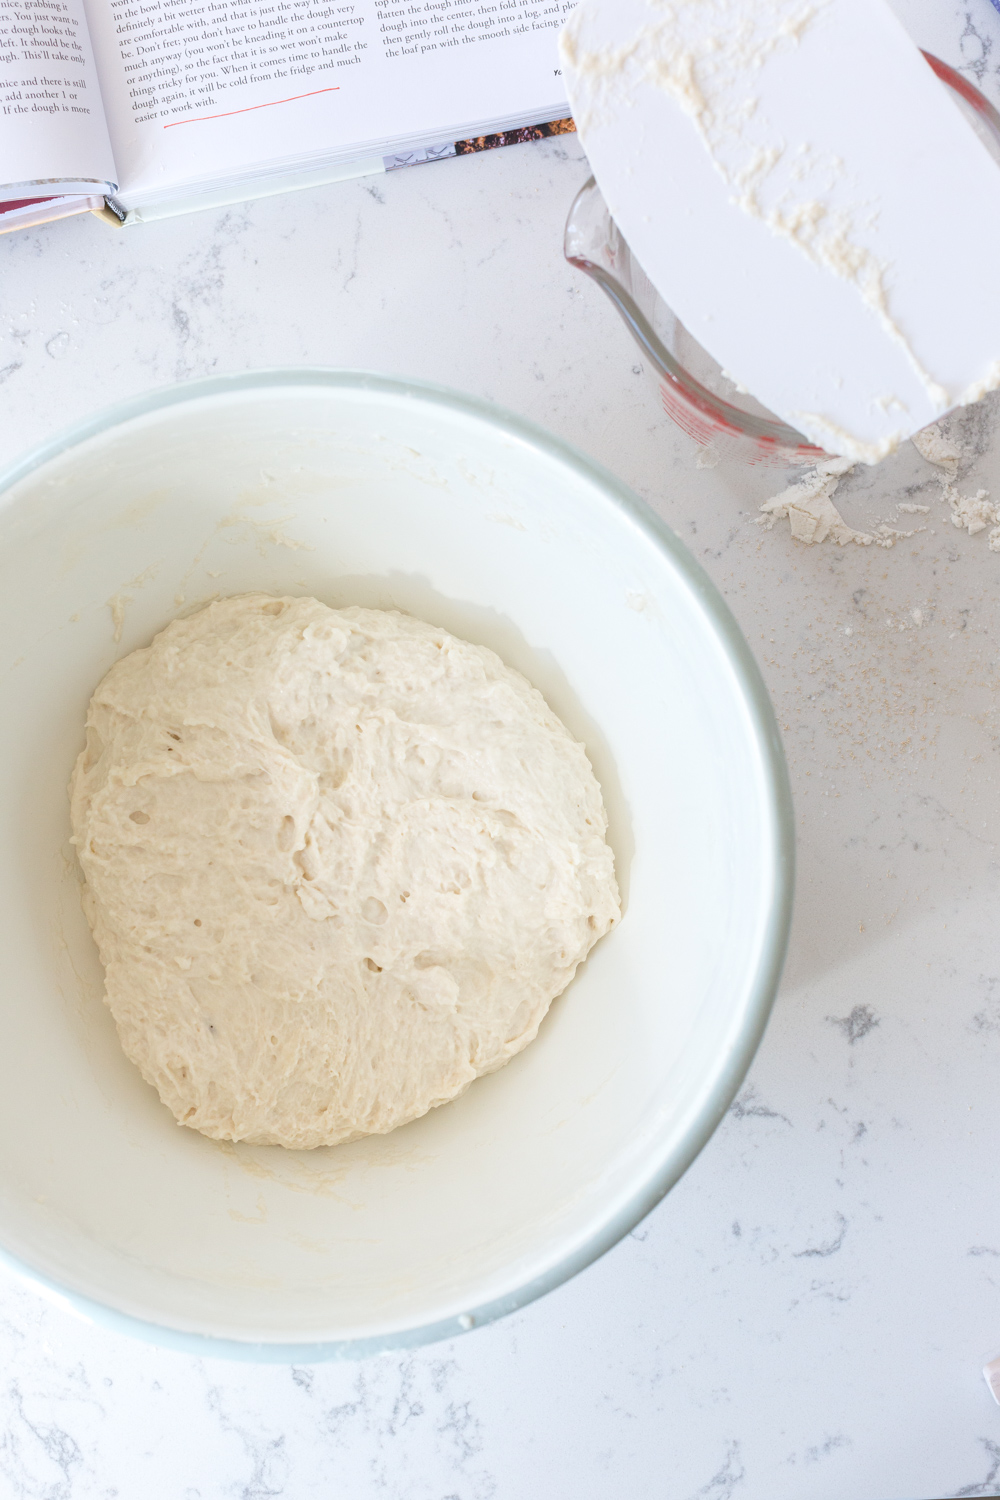
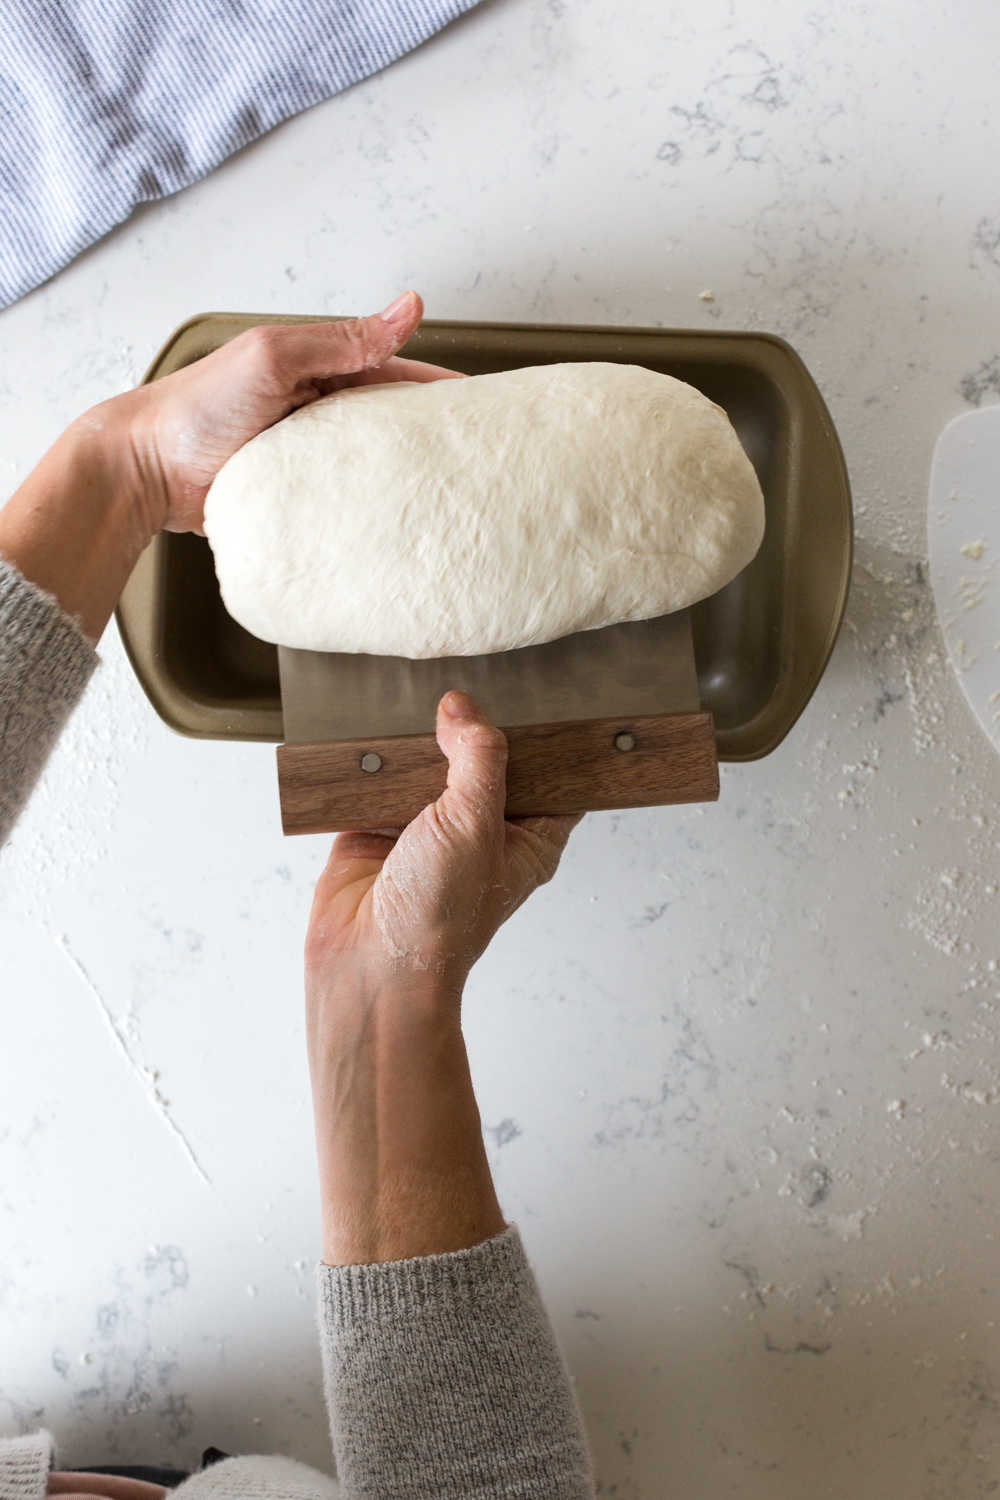
 to help lift the dough up and nestle it into the pan.
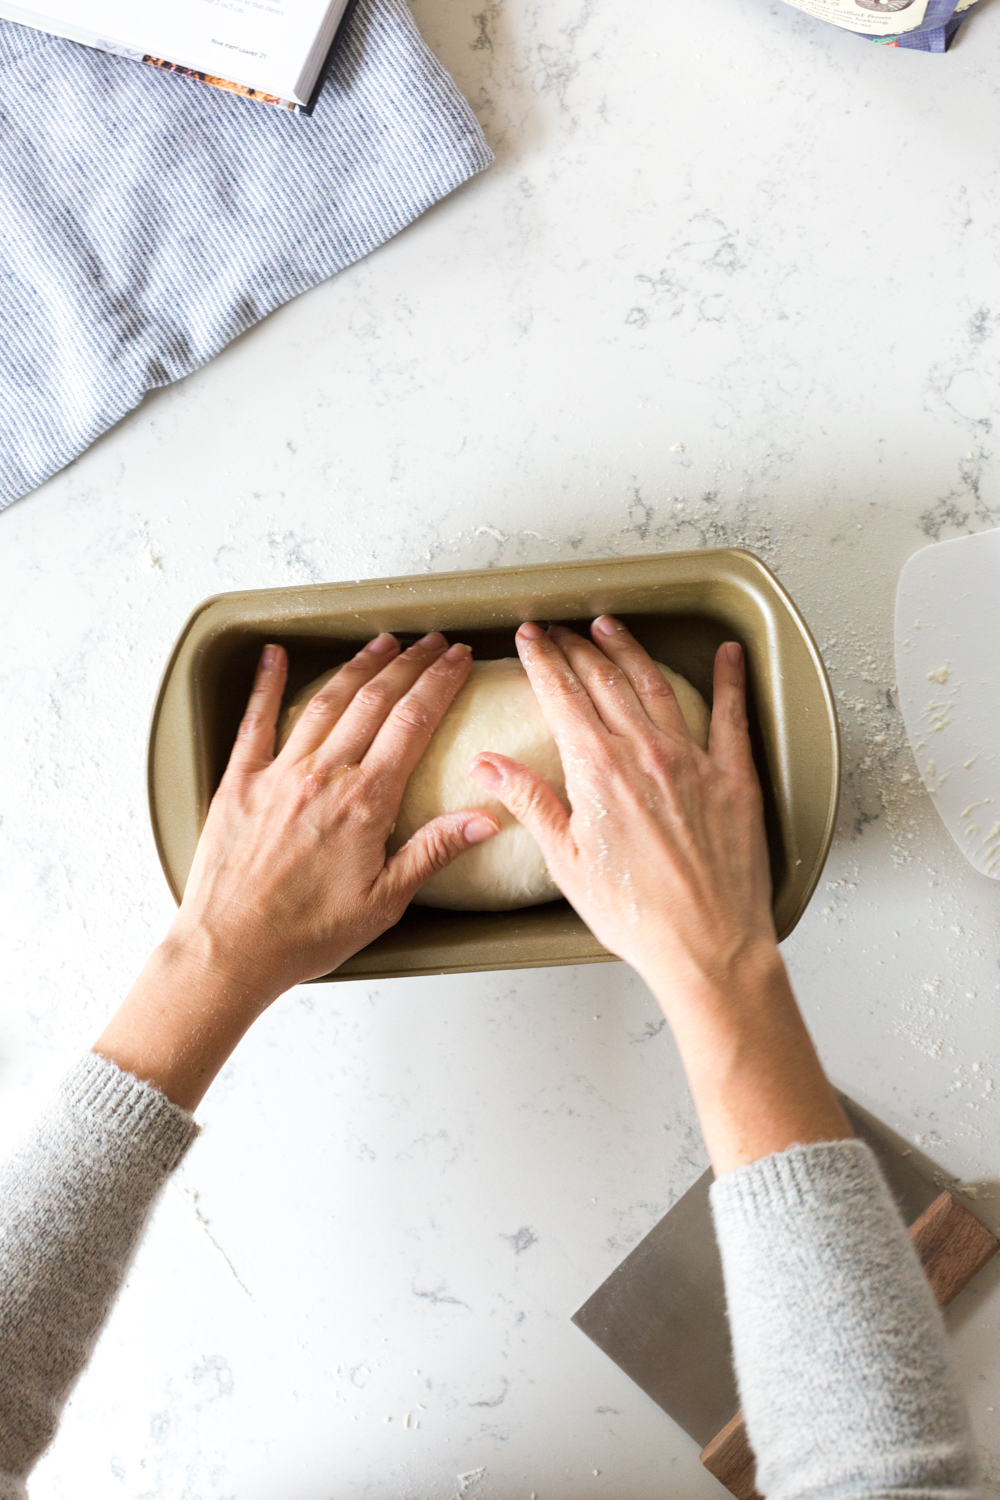
 to the top of the Best Basic White Bread dough before tenting it with foil
 to keep it from sticking.
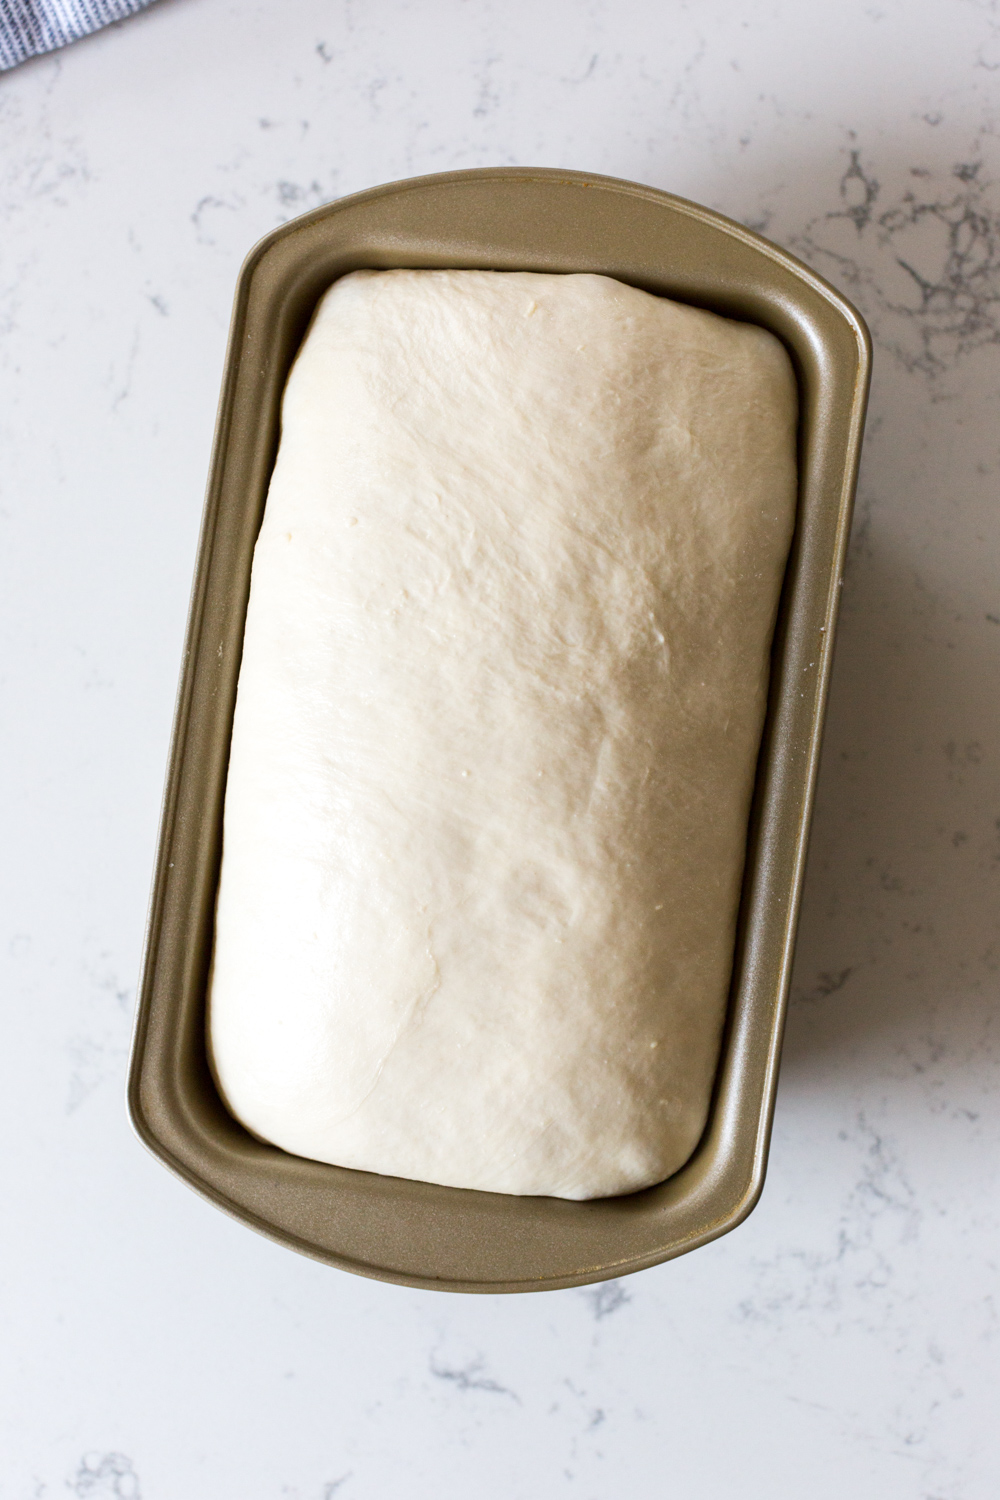
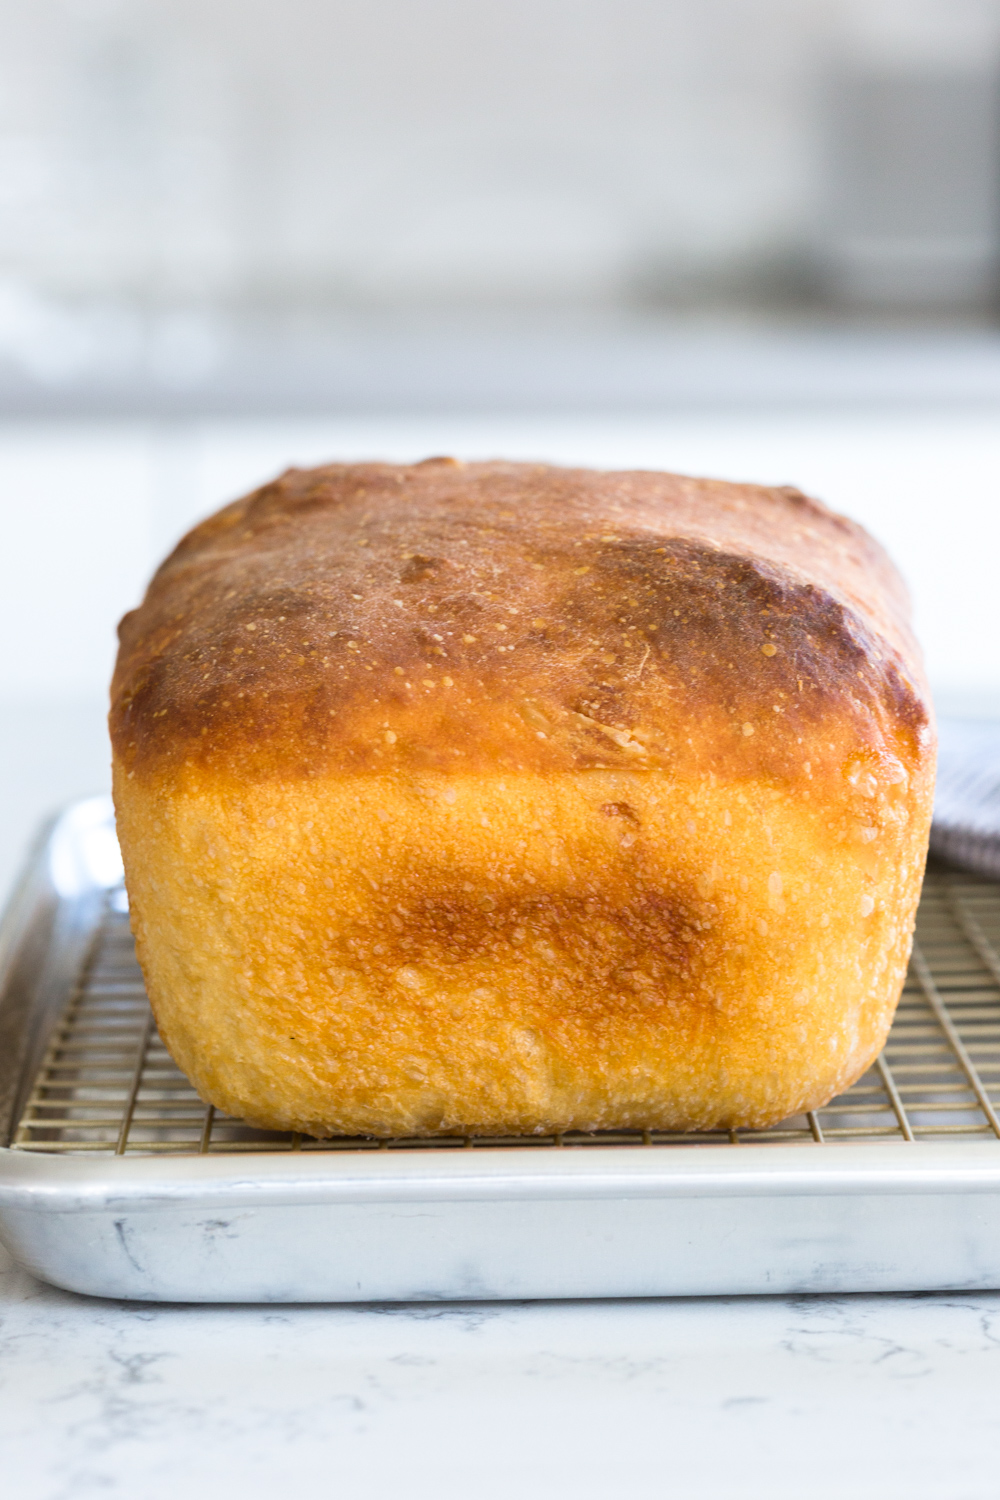
 . It should cool for at least and hour before you slice into it. I know it's hard but waiting for it to cool fully is mandatory or you might end up with a gummy mess instead of tender, fluffy Best Basic White Bread.
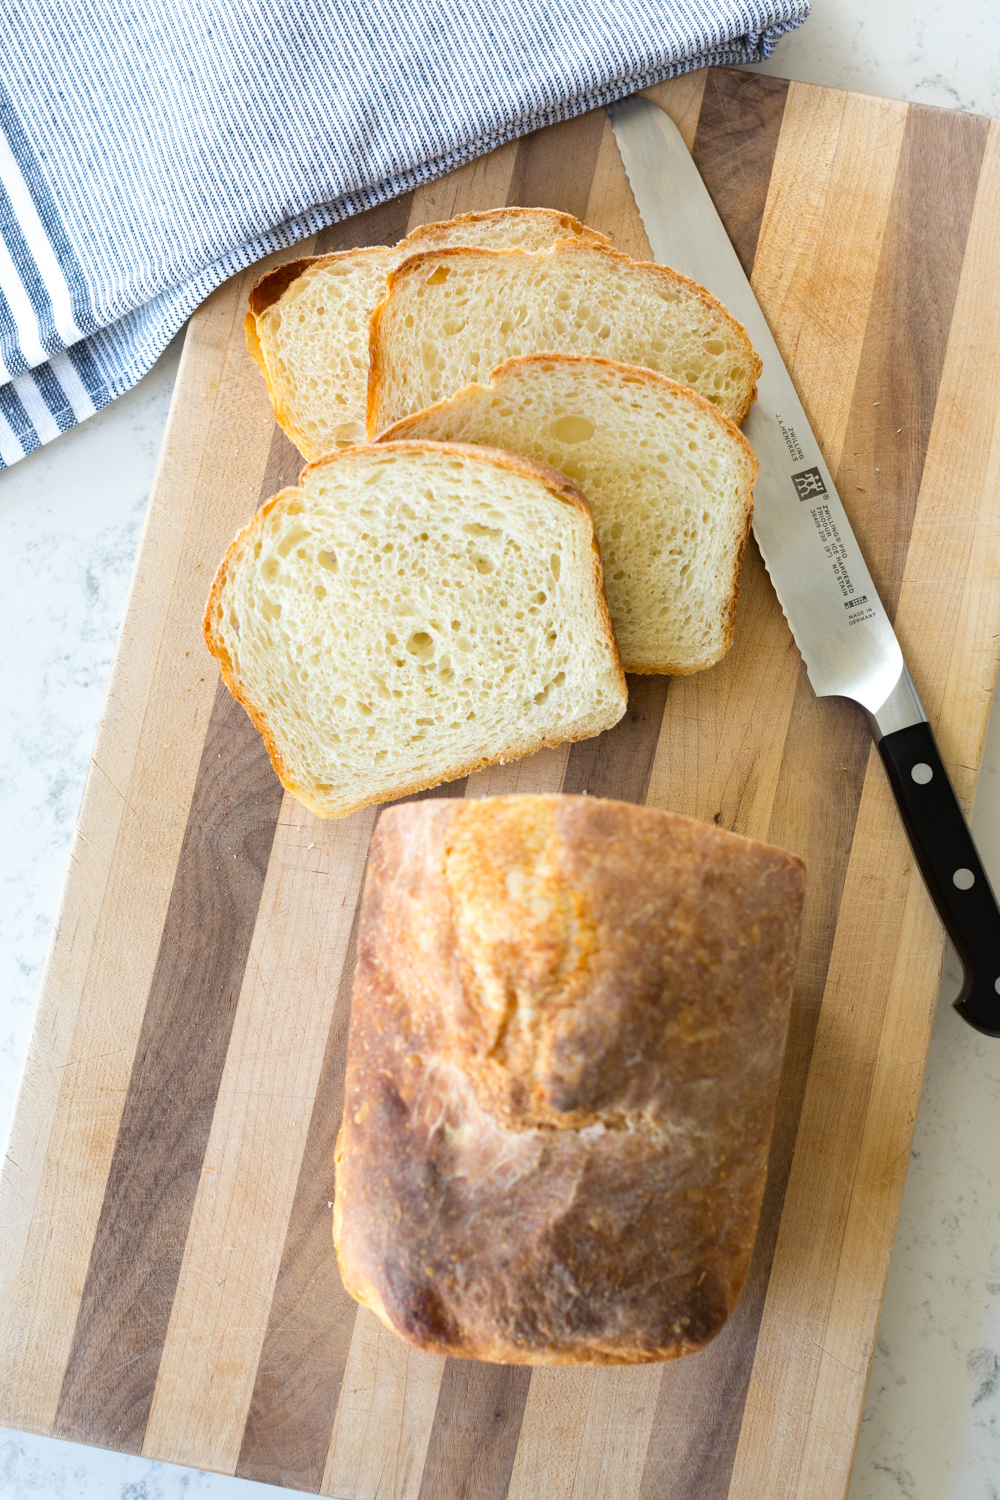
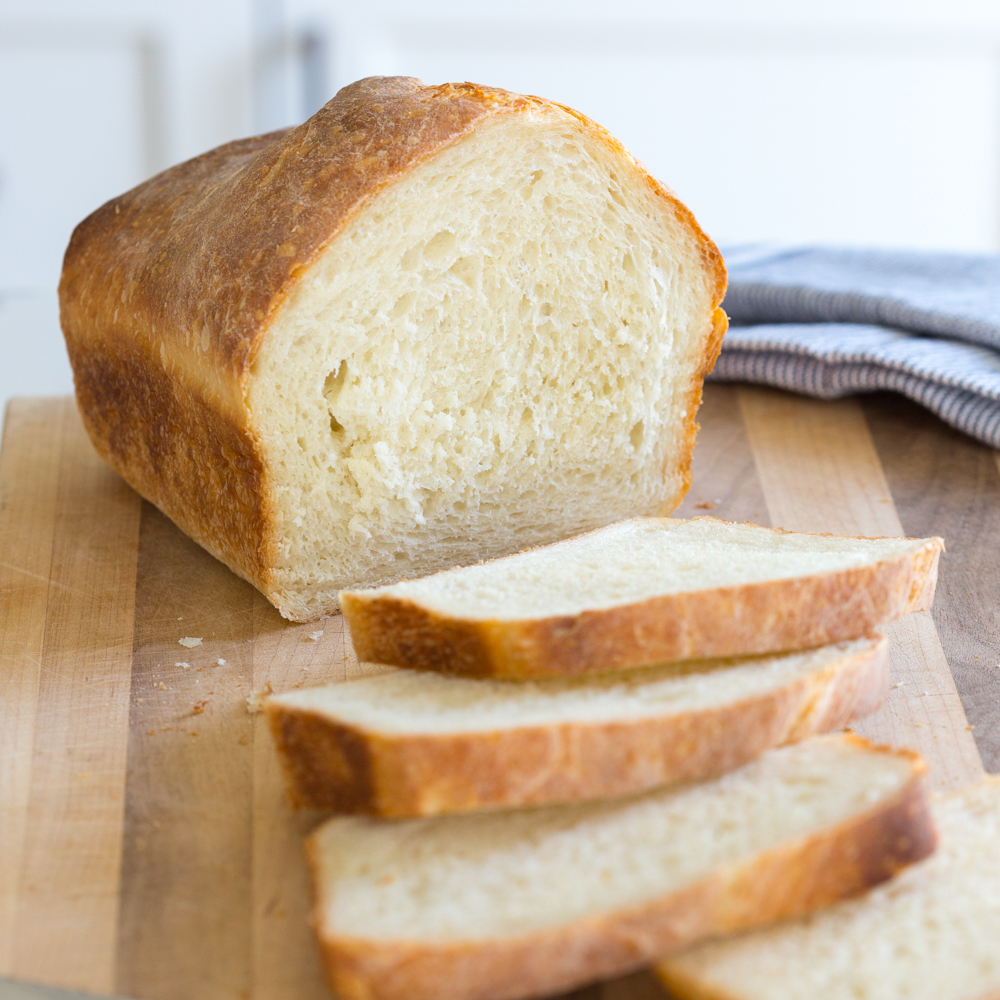
 is such a satisfying experience. Don't you get instant heart eyes just looking at this.
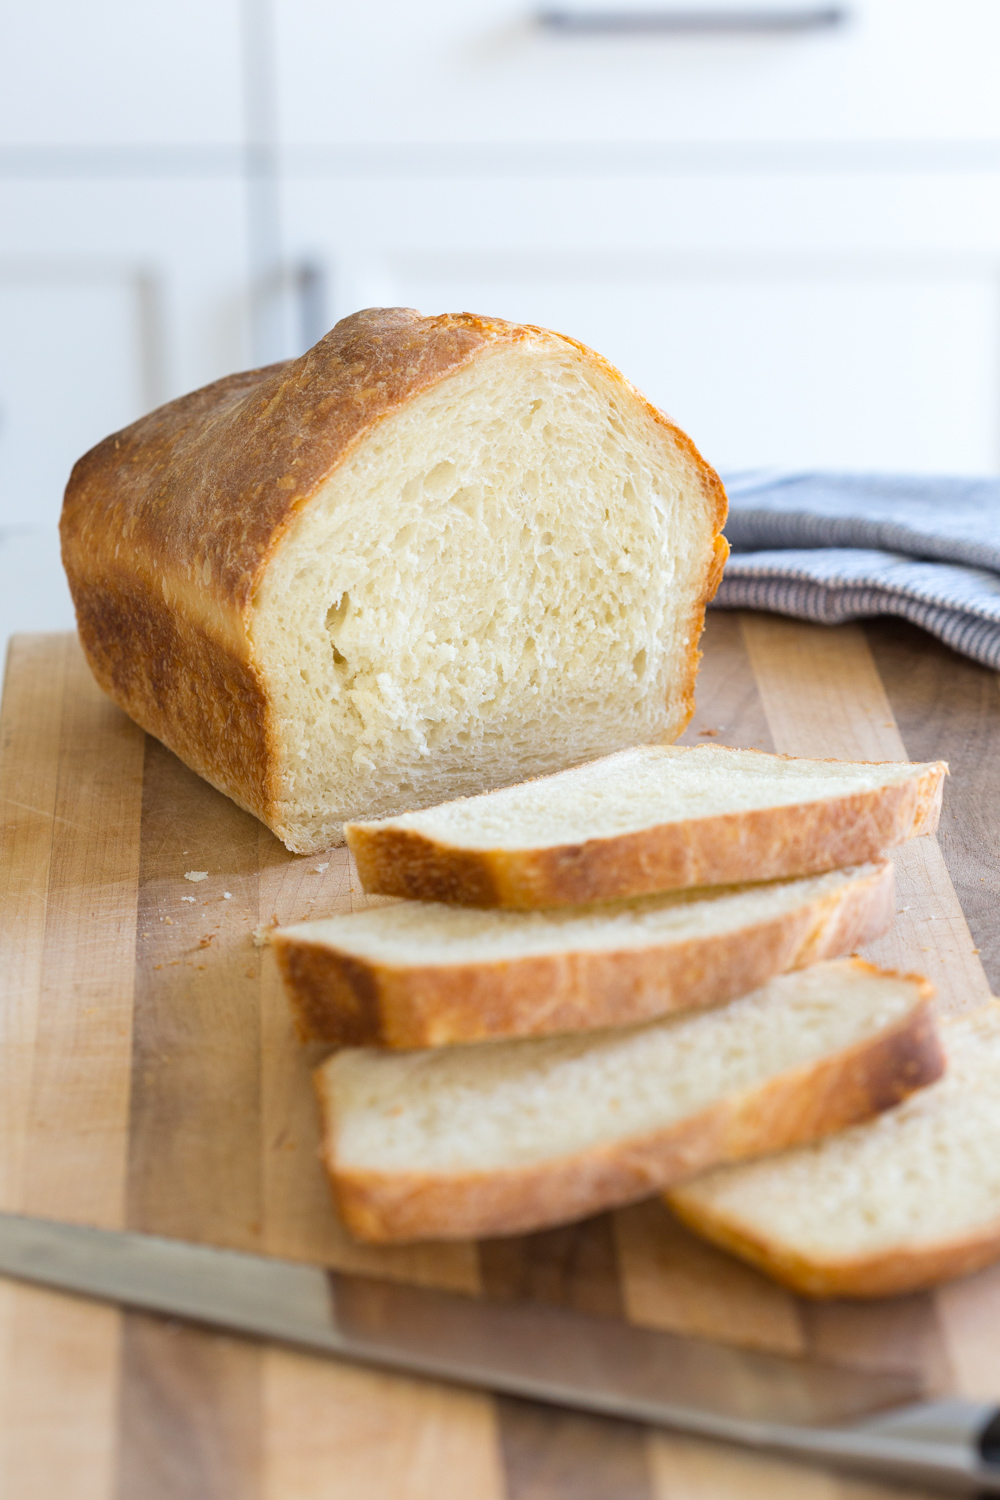

Recipe

Best Basic White Bread
- Total Time: 1 hour
- Yield: 1 loaf 1x
Description
If you've been wanting to learn to bake bread, this Best Basic White Bread is as easy as it gets. Made with only flour, water, yeast, & salt, this basic, no-knead bread delivers on ease & flavor. It's ideal for sandwiches, toast or simple snacking.
Ingredients
- 3 ½ cups bread flour (- plus a few extra tablespoons for shaping)
- 2 teaspoons fine sea salt
- 2 ¼ teaspoons active dry yeast
- 1 ⅔ cup luke warm water (90-ish °F) (- plus more if needed)
- 1 tablespoon oil (- any oil will do, coconut, avocado, grapeseed, olive, etc. )
Instructions
- Measure the bread flour by pouring the flour into the measuring cup, instead of dipping and scooping, then use the back of a knife to level off the mound. In a large bowl, mix the bread flour, salt, and yeast. Whisk or stir them with your hand until they are mixed evenly and you can’t see any lumps of salt or yeast.
- Add the water to the dry ingredients and mix it in with your hands or a wooden spoon. Smoosh the ingredients together until things look and feel evenly mixed. The dough should look uniform and there should be no dry flour left. It should feel like really wet and kind of sloppy Play-Doh. It only takes about a minute to get things mixed together. If there is still any dry flour left in the bowl, add another 1 or 2 tablespoons water and mix it in. If the dough seems really runny, add 1 or 2 tablespoons flour. The dough should be too thick to easily pour but will be slouchy in the bowl.
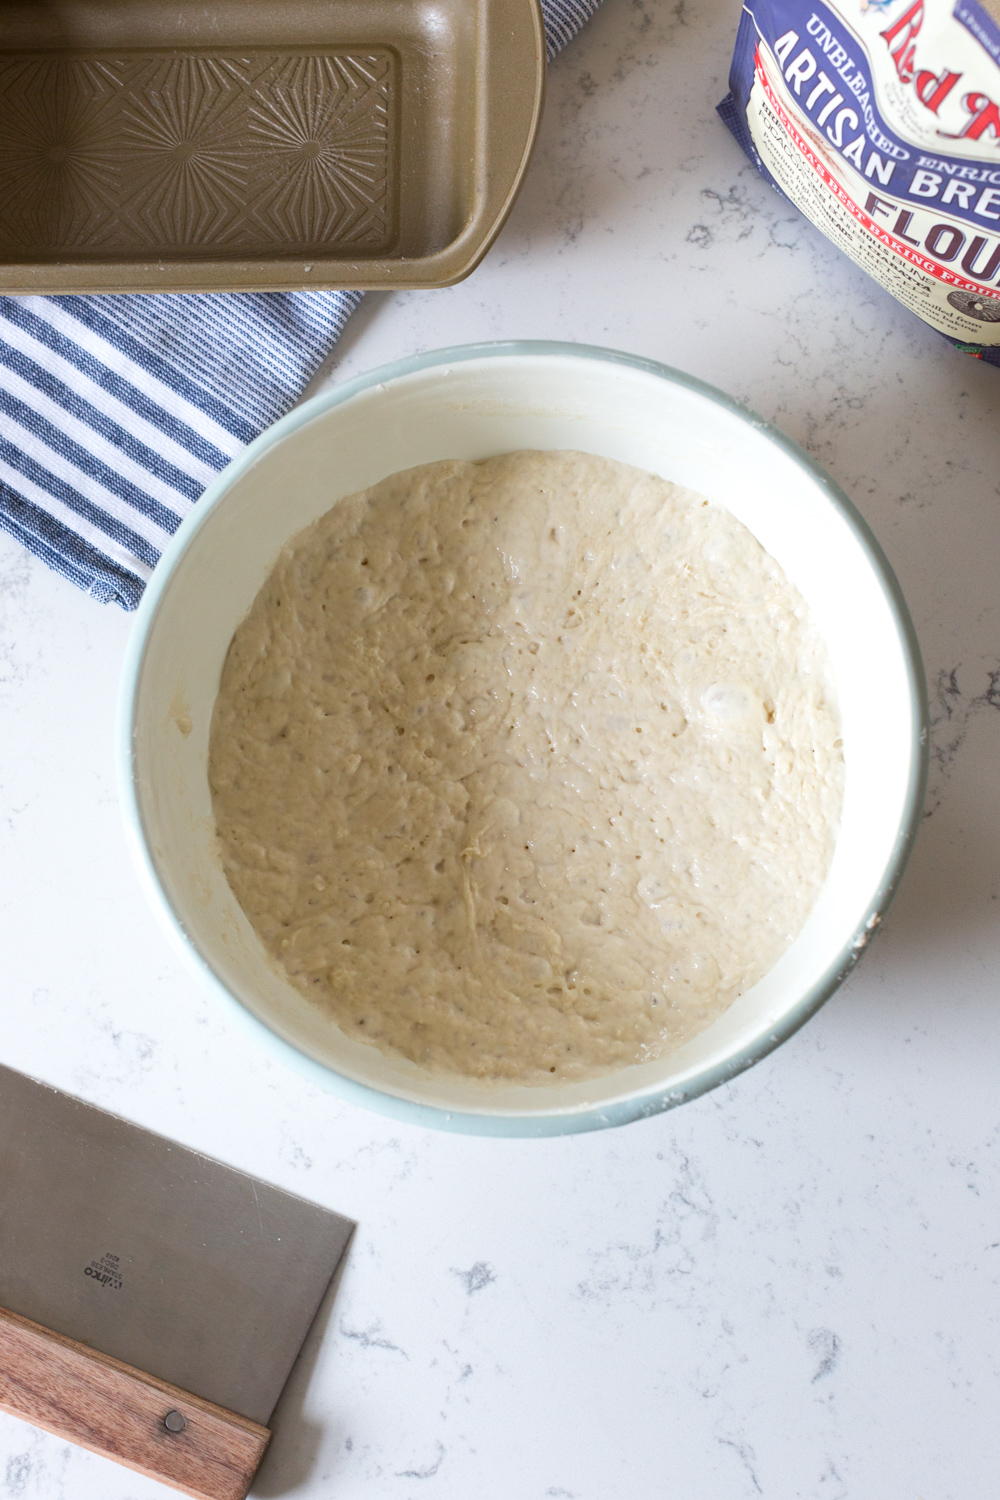
- Cover the bowl with a plate or plastic wrap so moisture can’t sneak out and set aside to let it hang out at room temperature for about 3 hours. By this point, the dough should have about doubled in size but will still be a bit sticky.
- Put the dough in your fridge and leave it there at least the very least 3 hours, but preferably somewhere between a day and up to a week. The dough needs to cool completely so it's easier to handle. The longer your dough stays in the fridge, it will develop more flavor. Aging the dough gives the the yeast time to develop a deeper flavor, this is a very good thing!
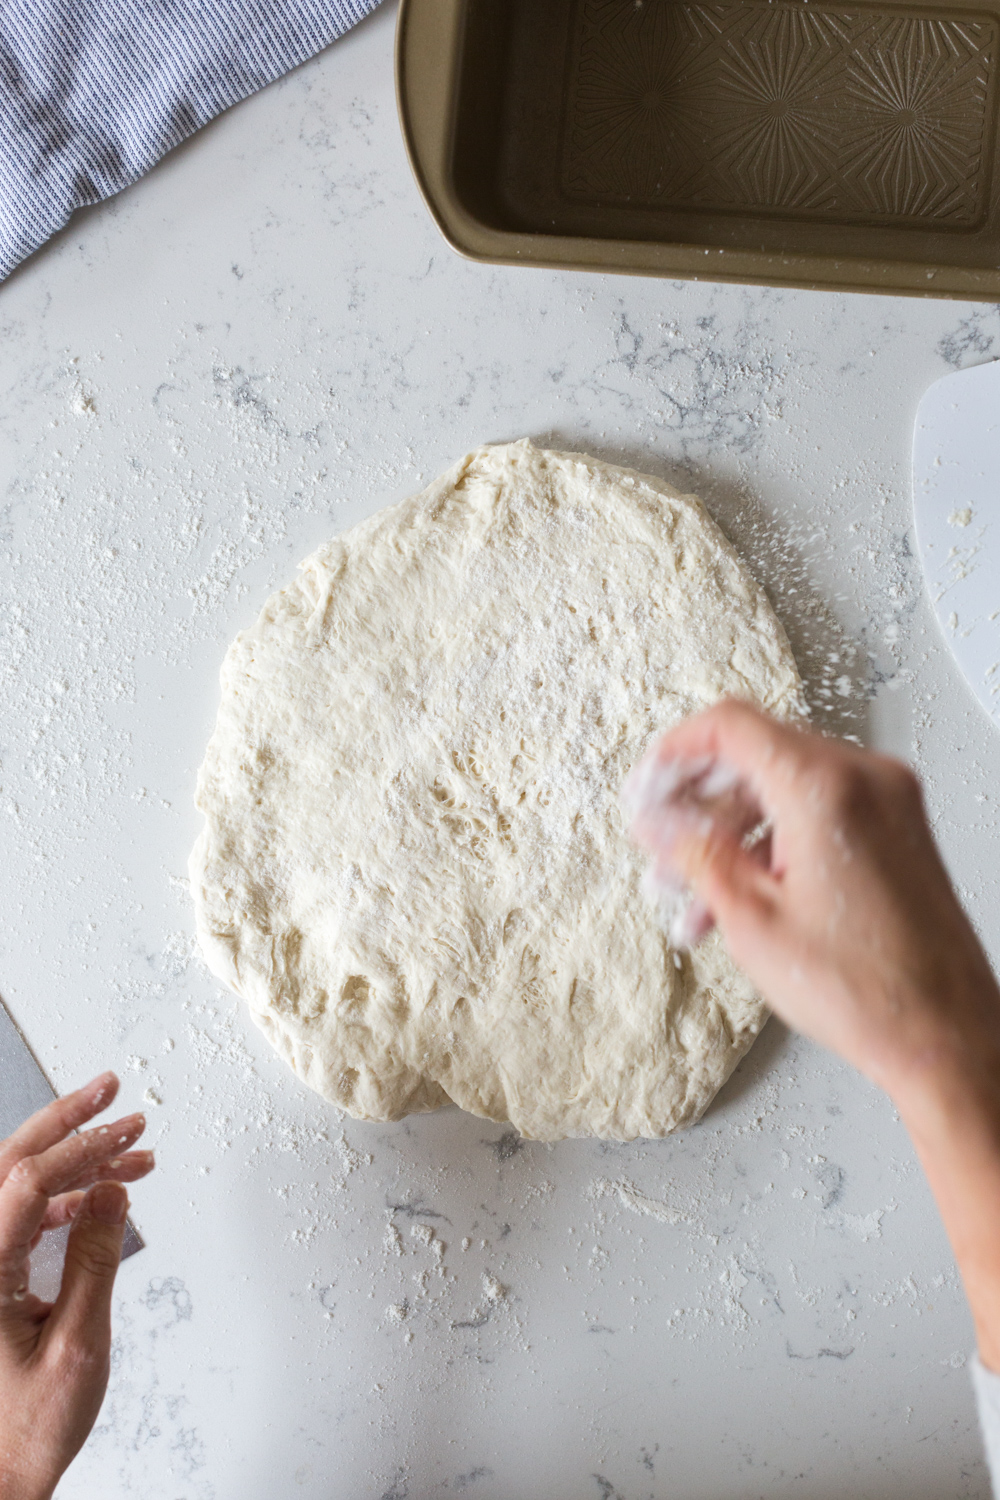
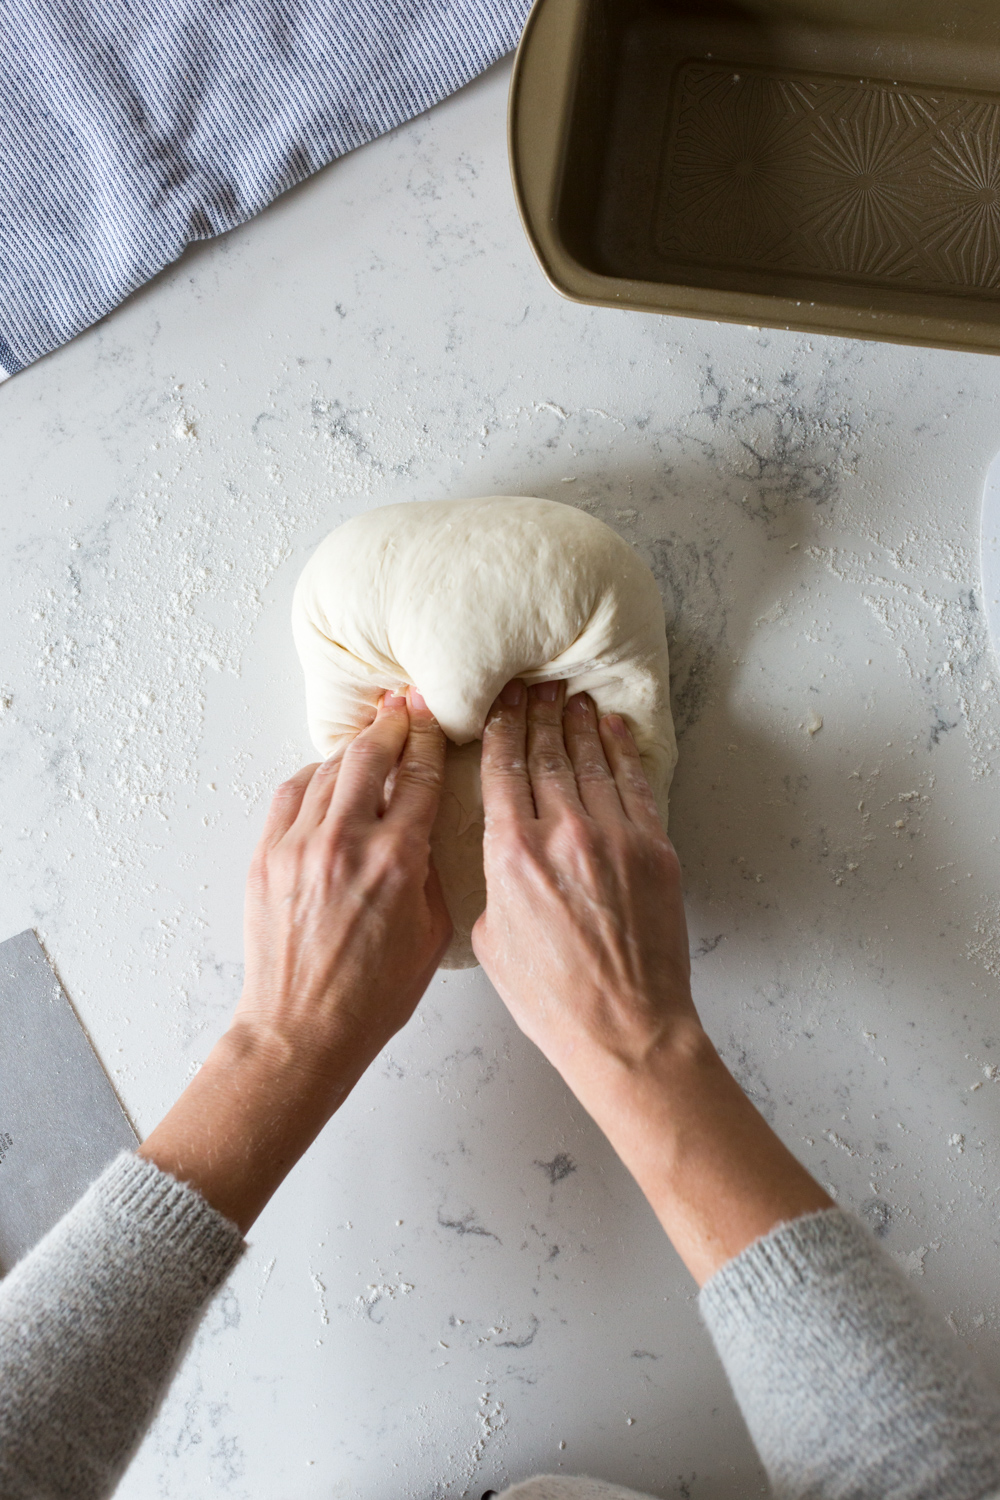
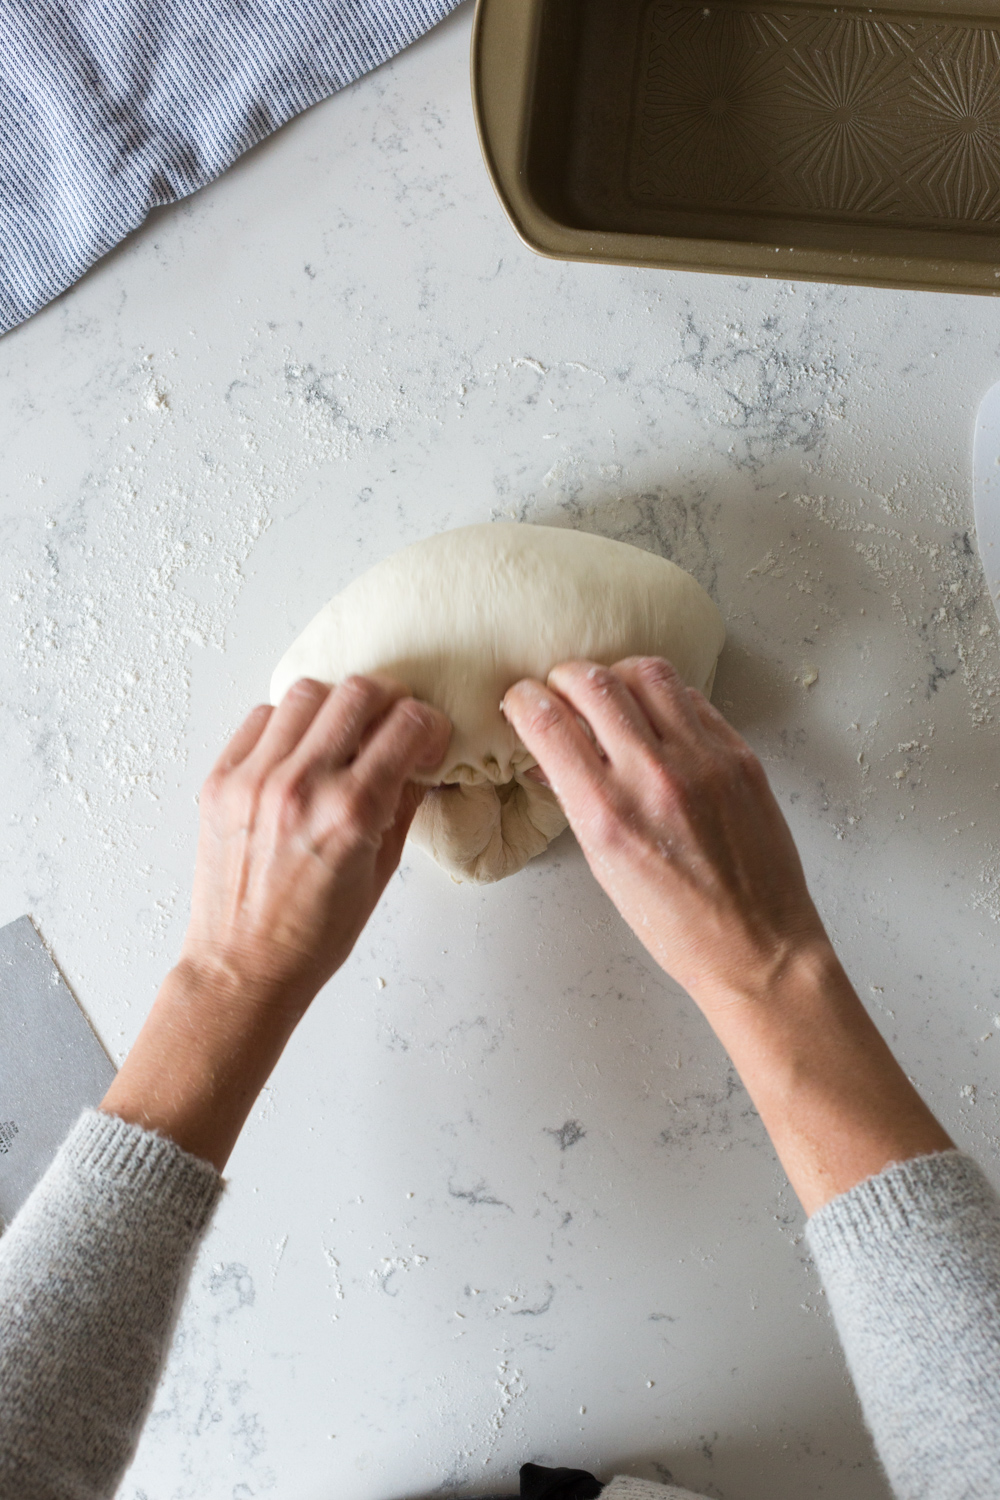
- Generously oil a loaf pan (about an 8" x 4" sized pan) and take the dough out of the fridge. It will be a pretty sticky, but don’t worry, it should be. Sprinkle a small handful (about 2 tablespoons) of flour on a clean, flat surface. Sprinkle a bit of flour on the dough in the bowl. Tip the bowl over and gently guide the dough out onto the surface. Sprinkle a bit more flour on top of the dough so it doesn’t stick to your hands. Gently pat the dough to deflate and flatten the dough into a round.
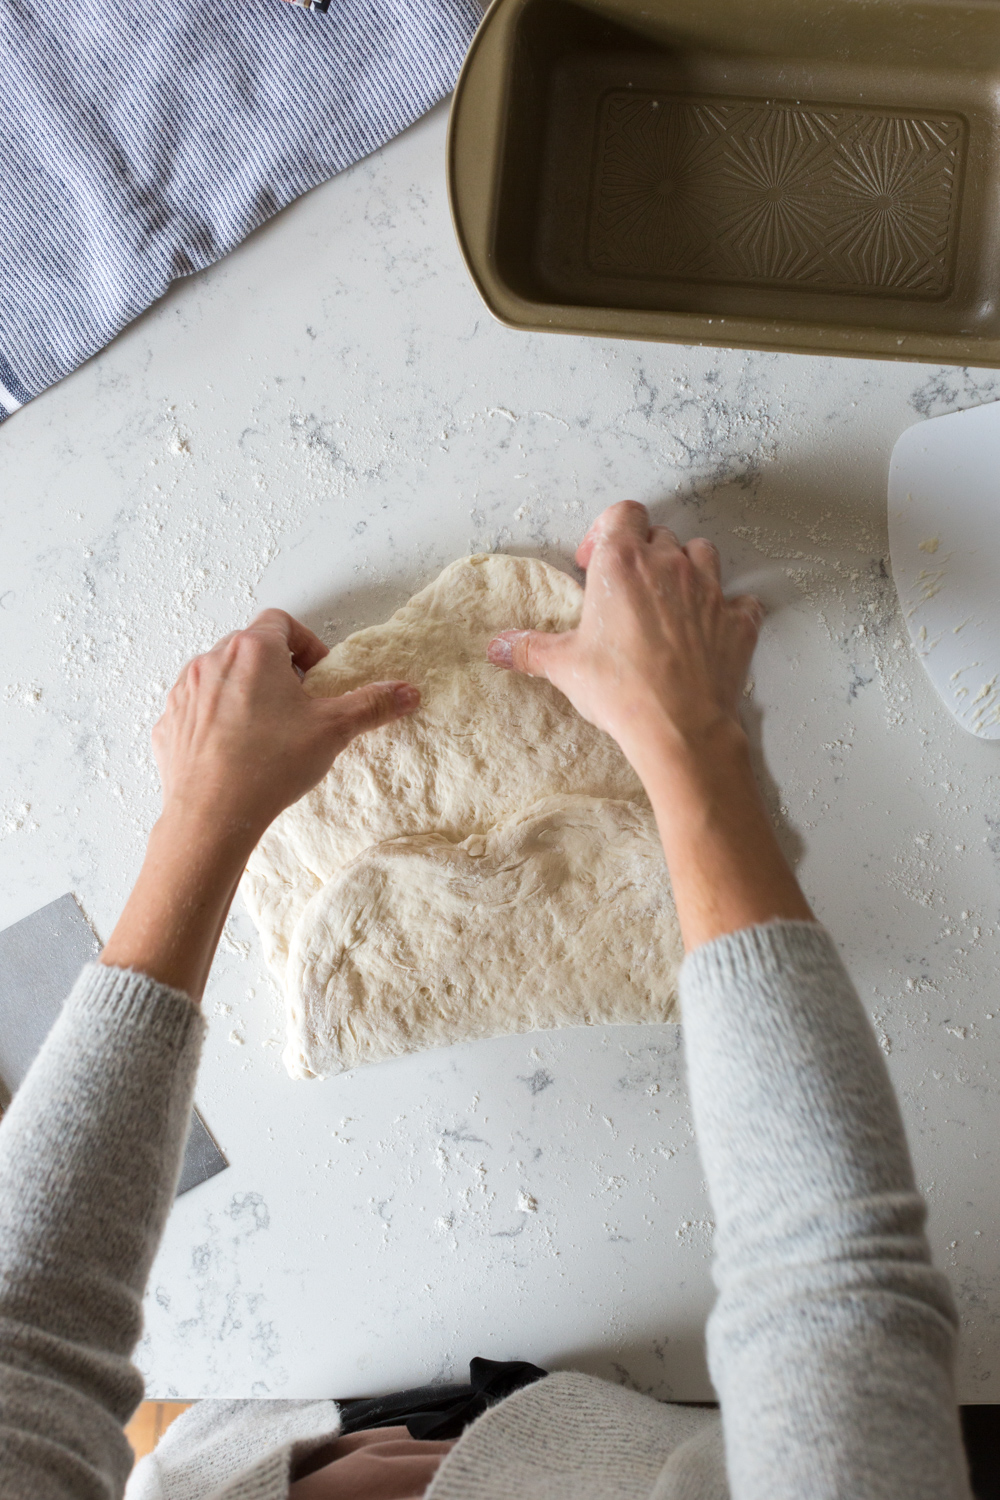
- Fold one side of the dough into the center, then fold in the other side up and over. Gently fold or roll the dough into a tight log, and set it into with the loaf pan the seam side down and the smooth side facing up.
- Brush the top of the loaf with oil. Then cover the loaf with the foil, tenting the foil so that there’s room for the dough to rise about 2 inches. The foil should cover all edges of the pan but leave room for the dough to rise.
- Allow the dough sit at room temperature 3 to 4 hours. Store it somewhere out of the way so it won’t be disturbed. Over the course of the rise time, the dough should rise about 2 inches—it should peek above the sides of the pan but shouldn't be pouring out over the sides of the pan.
If you aren't able to bake the dough in 4 hours, then let it sit out for just 2 hours, then put it back in the fridge for anywhere between 1 - 3 days. The refrigerator will slow the rise time way down.
- Place on over rack in the middle position, with no other racks above it. Heat oven to 475°F and allow it to preheat for at least 20-30 minutes. (If your dough is in the refrigerator, take it out of the fridge when you preheat the oven so it can warm to room temperature while the oven preheats.)
- Place the loaf, with the foil covering, in the oven for 20 minutes. Then open your oven, remove the foil, rotate 180° and bake for another 15 - 20-ish minutes. The bread should be a deep golden brown on top, if it's still light in color you may need to bake an additional 5-8 minutes.
- Remove the pan from the oven and allow the bread to cool in the pan for a few minutes. Then carefully tip the bread out of the pan. (if it is sticking to the pan, use a butter knife to gently loosen if from the sides) Place the loaf on on a cooling rack so air can flow around it to cool it down faster.
- Allow the bread to cool completely before you cut into it, at least an hour. If you try cutting into it too soon, it will be gummy instead of fluffy and all of your hard work will be down the drain. Then slice and serve as sandwich bread, toast, snacking bread...however you like it!
Notes
- Going in, you should know that in order to develop a deeper flavor & texture, you need to plan ahead a few days so your dough can age in the fridge & get all of those tasty flavors going. But, the actual hands on action is only a few minutes. The absolute minimum amount of resting time I'd recommend for this bread is 9 hours but you can rest/age the dough up to a week in your fridge before baking.
- Once baked, you can freeze a loaf whole or sliced loaf for up to 3 months when wrapped tightly in a freezer proof bag.
- Storing your bread in a natural, beeswax wrap at room temperature will help keep it fresher longer.
- Prep Time: 20 minutes
- Cook Time: 40 minutes
- Cuisine: bread


Dana says
In the process of baking this right now! Suggestion: you might add “rest time” or “rise time” to the times at the start. It helps for planning ahead. Be well, Becky Sue! -Dana
beckysue says
Awesome to hear that Dana! FYI, I have added the rest time and more details in the recipes notes about timing. Thanks for the suggestion. Happy baking!