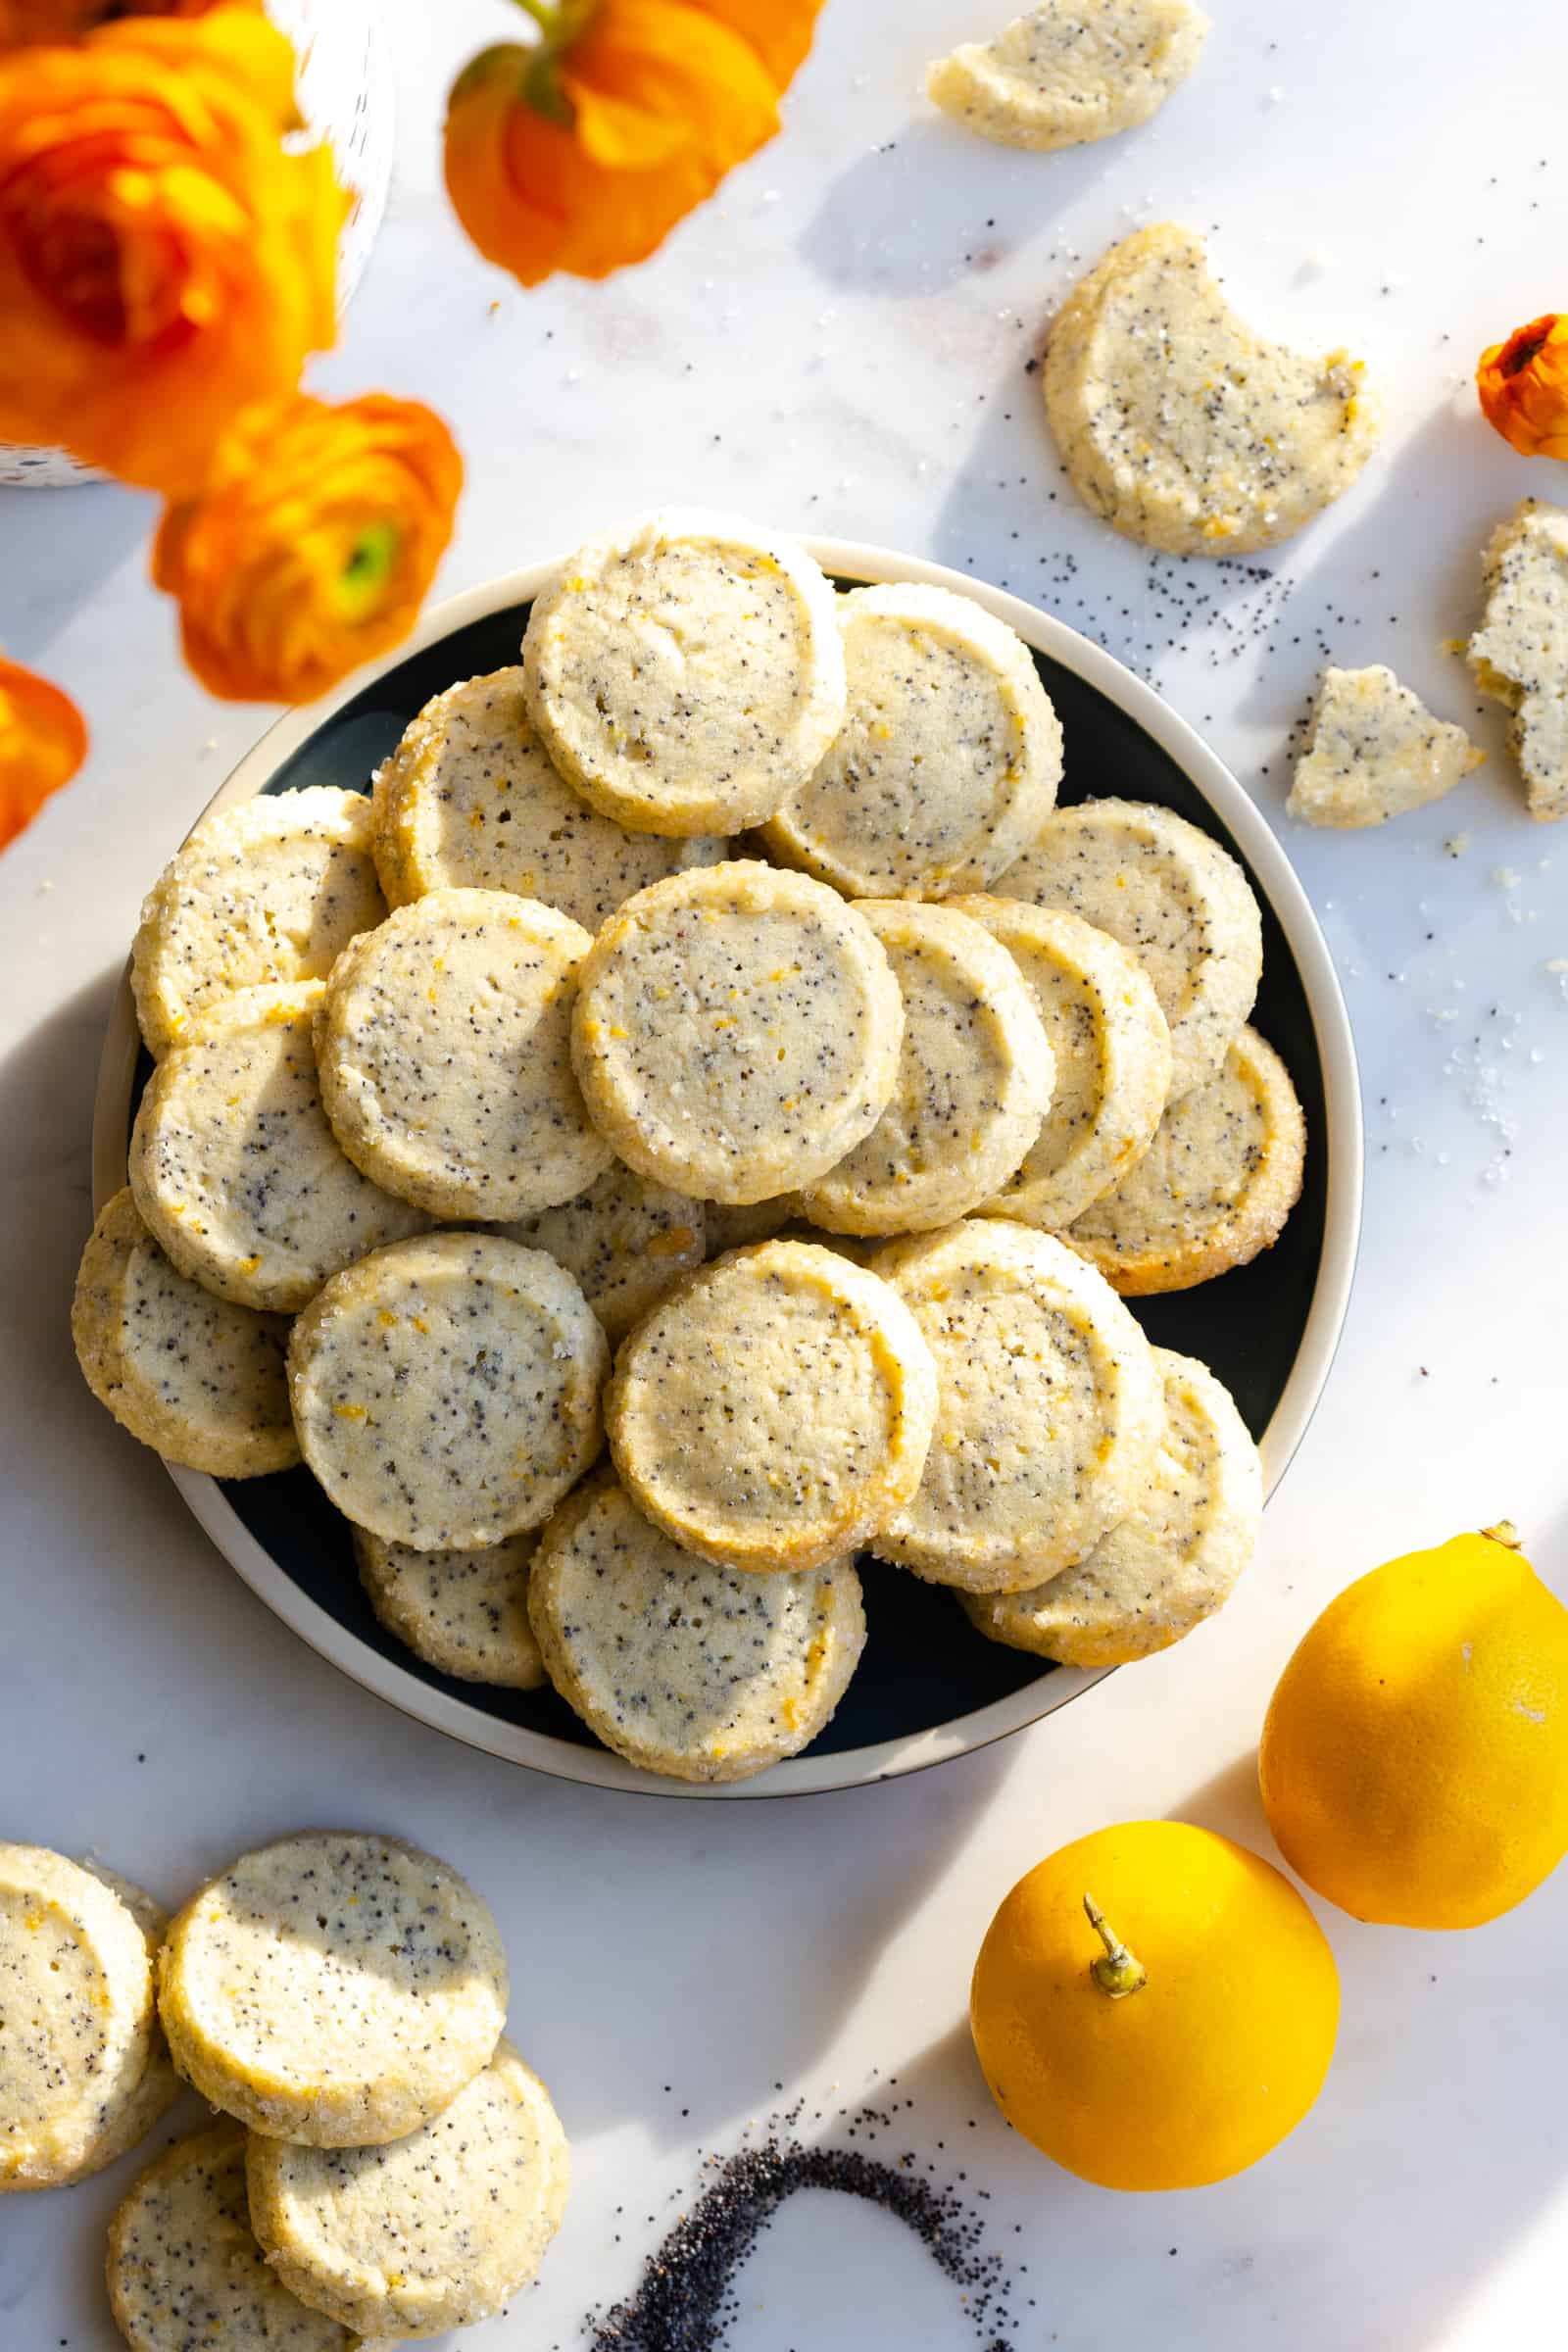
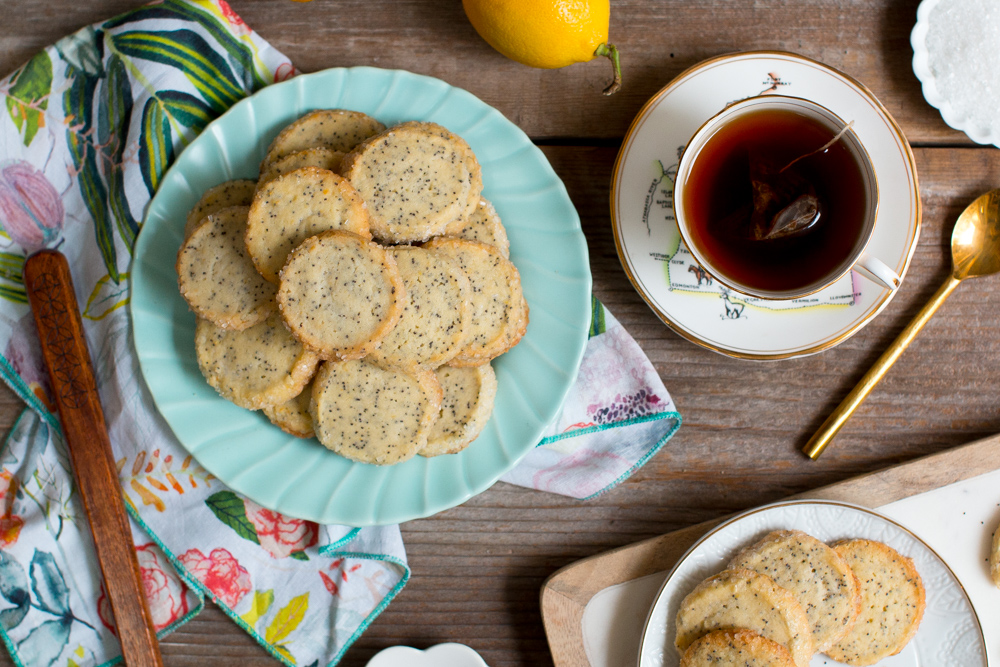
These simple and sweet Lemon Poppy Seed Shortbread Cookies start with a basic, buttery shortbread base. A light and fresh mix of lemon and poppy seeds gets mixed in to brighten the easy slice and bake cookies with sunny flavor.

Jump to:
- These Lemon Poppy Seed Shortbread Cookies are a quintessential back to basics recipe
- At their core, shortbread cookies are essentially a combination of just three ingredients
- Use the 4:2:1 ratio for shortbread cookies
- Lemon Poppy Seed Shortbread Cookies get their bright personality from a few key ingredients
- More recipes that feature citrus and poppy seeds
- These Lemon Poppy Seed Shortbread Cookies are a snap with the slice and bake method
- Recipe
- Comments
Back to the basics. My best friend and I made that our resolution this year and its also serving as the spirit behind these Lemon Poppy Seed Shortbread Cookies. Although it's less of a resolution and more of a reminder.
In this wildly fast paced and connected world of bigger and better, it's important to understand and reflect on our foundations. In the culinary world, for example, people are doing incredibly innovative things these days. From molecular gastronomy, foraging wild ingredients, to over the top plating styles. It seems everybody is competing to invent the next big thing.
While innovation is admirable, there is a reason we have classics that have stuck around for so long. They are tried & true. So this year, my goal is to converge innovation with the concept of back to the basics. You can't innovate if you don't have a solid grasp on the basics.
These Lemon Poppy Seed Shortbread Cookies are a quintessential back to basics recipe
This simple cookie combines the classic complimentary flavors of lemon and poppy seeds, paired with basic ingredients and fundamental techniques. You can't go wrong with a classic so its a smart idea to have a handful of go-to fundamentals in your back pocket. These Lemon Poppy Seed Shortbread Cookies are a crowd pleaser that always hits.
At their core, shortbread cookies are essentially a combination of just three ingredients
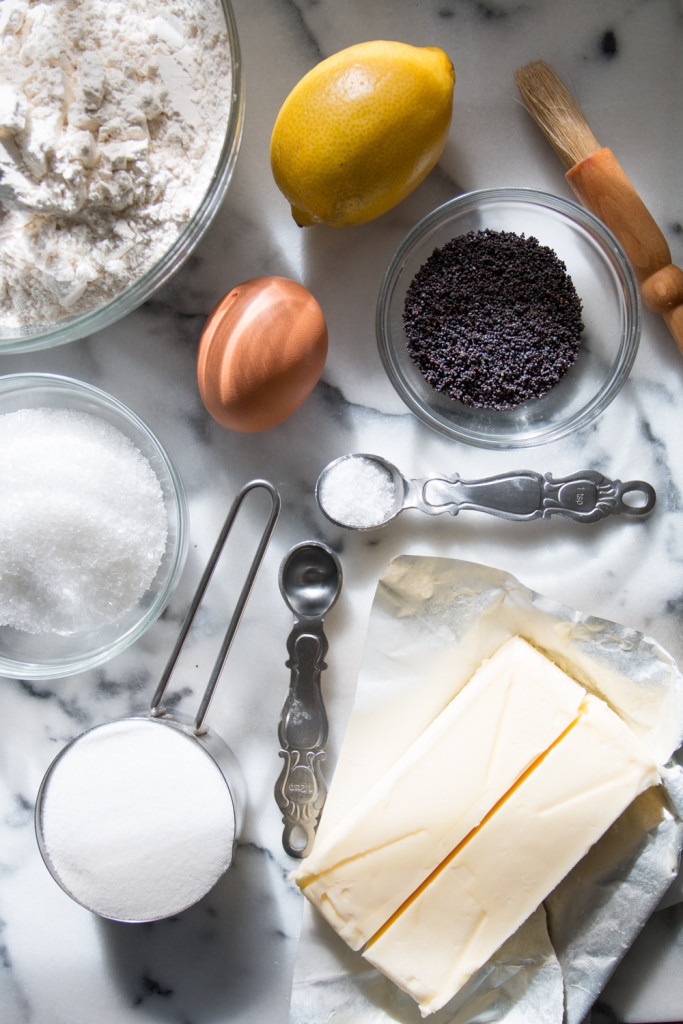
Flour, butter and sugar. It's that simple. There are no eggs or leavening agents involved. The simplicity is what gives shortbread cookies their signature snappy and buttery characteristics. While they can shape shift into all kinds of personas, shortbread cookies come down to a basic formula.
Use the 4:2:1 ratio for shortbread cookies
This recipe for Lemon Poppy Seed Shortbread Cookies utilizes that 4:2:1 ratio by blending 2 cups flour, 1 cup butter & ½ cup sugar. This means the recipe can be easily adapted to work at any size when you follow the simple ratio.
- 4 parts flour
- 2 parts butter
- 1 part sugar
Lemon Poppy Seed Shortbread Cookies get their bright personality from a few key ingredients
- Lemons bring that bright sunny flavor! This Lemon Poppy Seed Shortbread Cookie recipe utilizes both lemon zest and lemon juice to spread the sunshine.
- Poppy seeds add a light nuttiness, a poppy texture and double as darling sprinkles in these shortbread cookies.
- Almond extract gets along so naturally with the poppy seeds so I like to use it anytime I am baking with poppy seeds. Alternatively, vanilla works here too.
- Sparkling sugar, raw sugar or sanding sugar adheres to the outer rim of the cookies with a simple egg wash, 1 egg whisked with about 1 teaspoon of water. This gives the cookies a sparkling, crunchy layer all the way around the edge.
The trifecta of lemon, poppy seeds & almond is a timeless combination. These flavors work to enliven each other without stealing the stage. But don't let lemon limit you. This flavor combination lends itself well to any citrus! Try this recipe with blood oranges or even mandarins when they are in peak season. Learn more about what produce is in season throughout the year on the California Grown site!
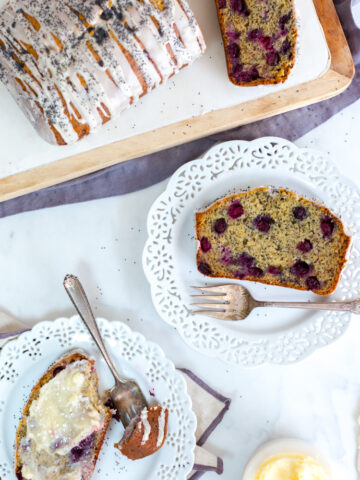
More recipes that feature citrus and poppy seeds


These Lemon Poppy Seed Shortbread Cookies are a snap with the slice and bake method
Slice and bake cookies are the easiest around. There is no need to roll out the dough and cut individual cookies. Instead, the shortbread cookie dough is shaped into a log, chilled and then sliced into individual cookies. Easy. I have a few tips that make the slice and bake method even easier!
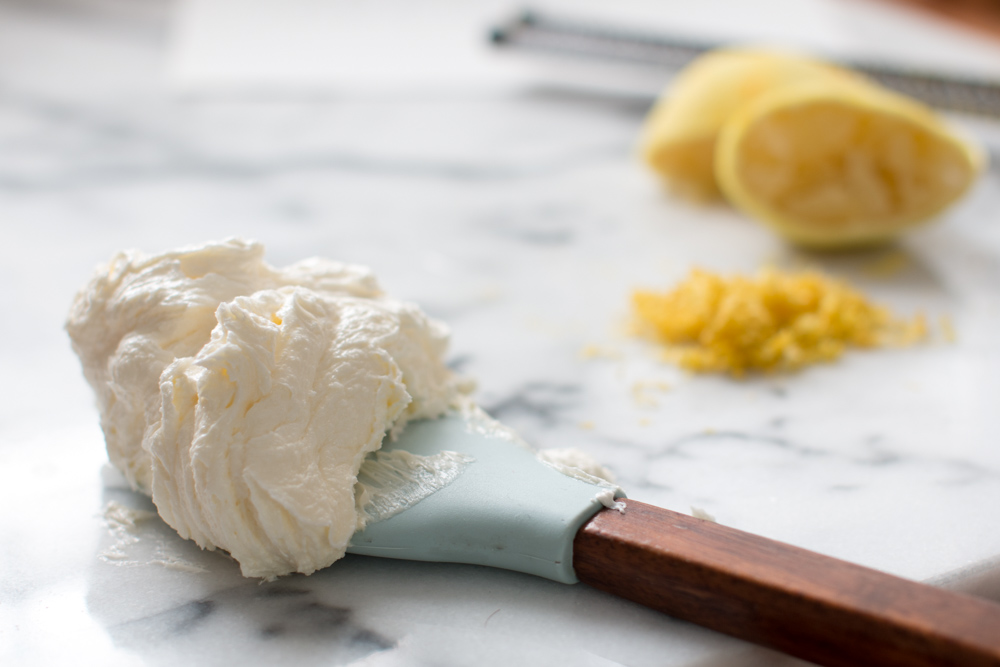
Mixing Shortbread Cookie Dough
Begin by creaming the butter and sugar together until light and fluffy. The color should lighten a bit too. This is a sign that the sugar has fully incorporated into the butter and will result in more consistent cookies.
Shaping Shortbread Cookies
Edging, Slicing and Baking Shortbread Cookies

See how easy that was! You are just moments away from a fresh and sunny batch of snappy Lemon Poppy Seed Shortbread Cookies! Just follow that simple 4:2:1 shortbread ratio and put those tips and tricks to use!


Start with this back to basics shortbread cookie recipe. Once you understand the fundamentals, graduate to more of my easy Shortbread Cookie recipes. There is so much to explore in the shortbread space but these Lemon Poppy Seed Shortbread Cookies are a classic that never go out of style.


Recipe

Lemon Poppy Seed Shortbread Cookies
- Total Time: 90 minutes
- Yield: 36 1x
Description
These simple and sweet Lemon Poppy Seed Shortbread Cookies start with a basic, buttery shortbread base. A light and fresh mix of lemon and poppy seeds is mixed in to brighten the easy slice and bake cookies with sunny flavor.
Ingredients
- 2 cups all purpose flour
- 2 tablespoons poppy seeds
- 1 teaspoon salt
- 1 lemon, zested and juiced
- 1 cup unsalted butter, at room temperature
- ½ cup granulated sugar
- 1 teaspoon almond extract
- 1 egg
- 3-4 tablespoons sparkling, raw or sanding sugar
Instructions
Mixing & shaping the cookies
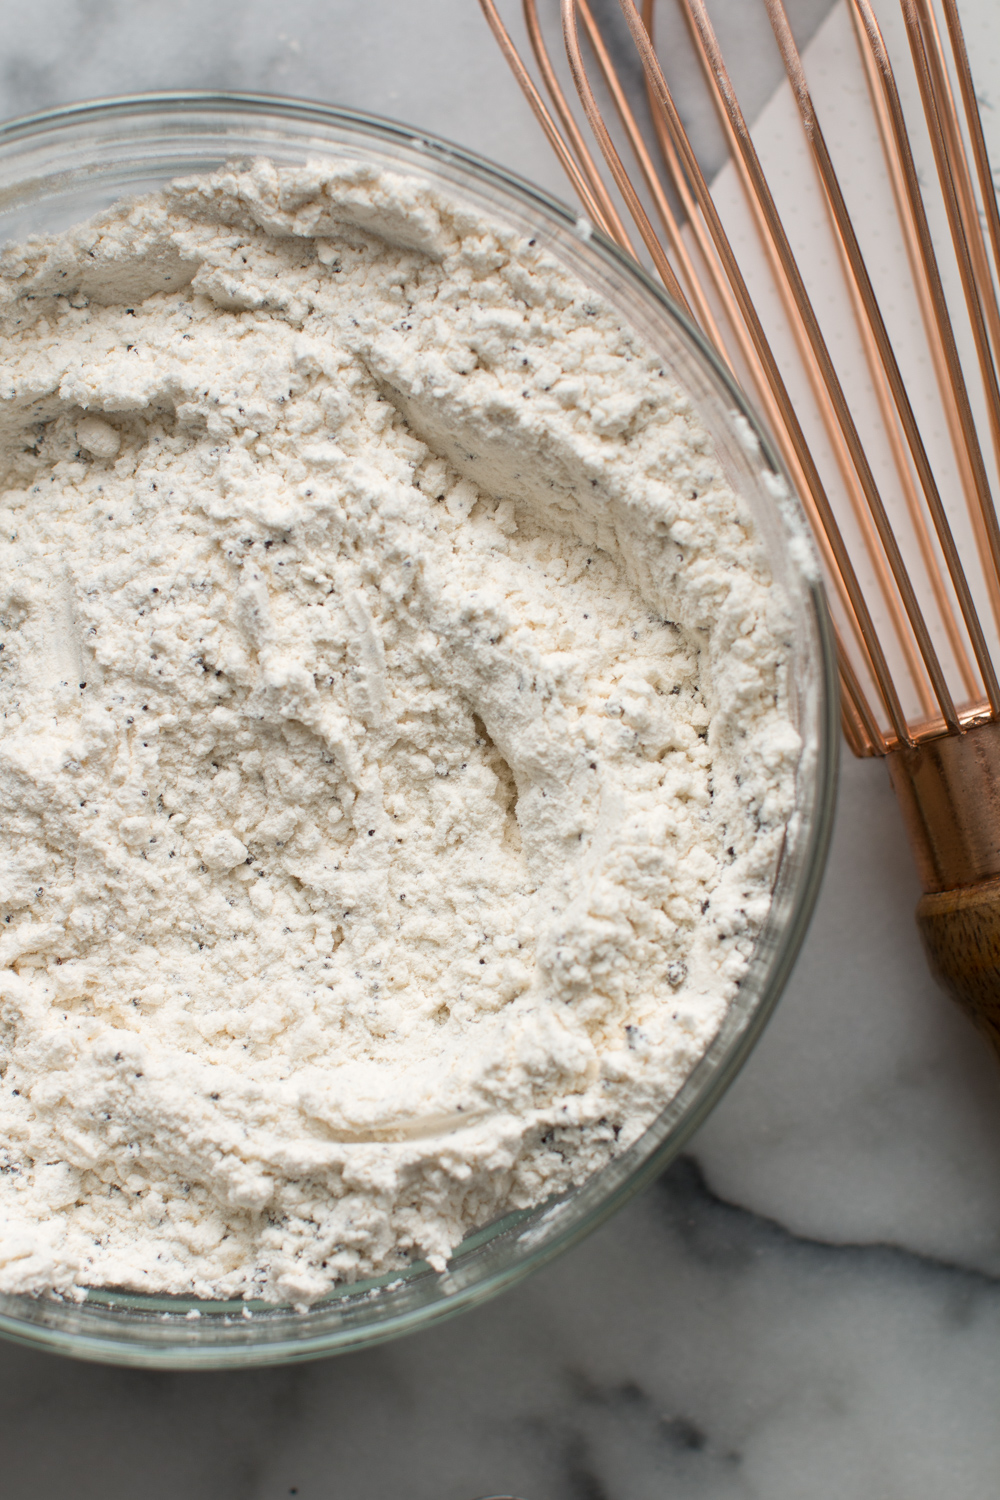
- Measure flour, poppy seeds, salt and the zest of the lemon into a mixing bowl. Whisk together.
- Using a stand mixer, with the paddle attachment, cream together the butter and sugar on a medium high speed for 3-5 minutes, until fluffy, airy and slightly lighter in color. Be sure to stop the mixer and scrape down the sides of the bowl a few times to incorporate all of the sugar into the butter.
- Add the almond extract and the juice of the lemon, cream for about 1 minute until blended.
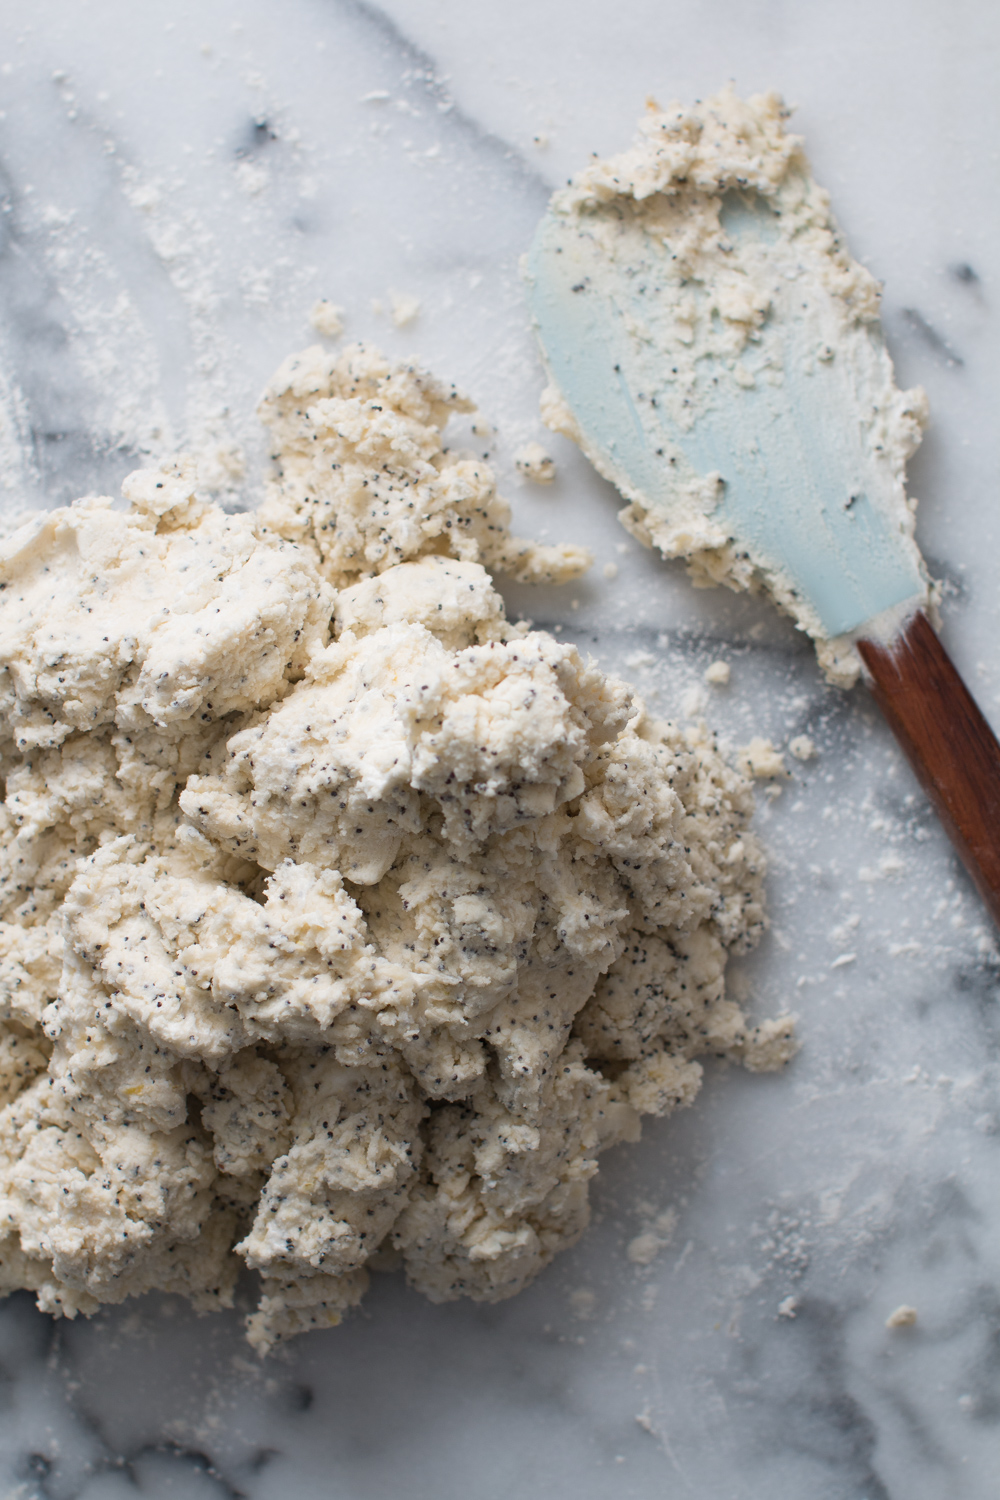
- With the mixer on a low stir, slowly add the dry ingredients until just incorporated. Mix until things have just come together.
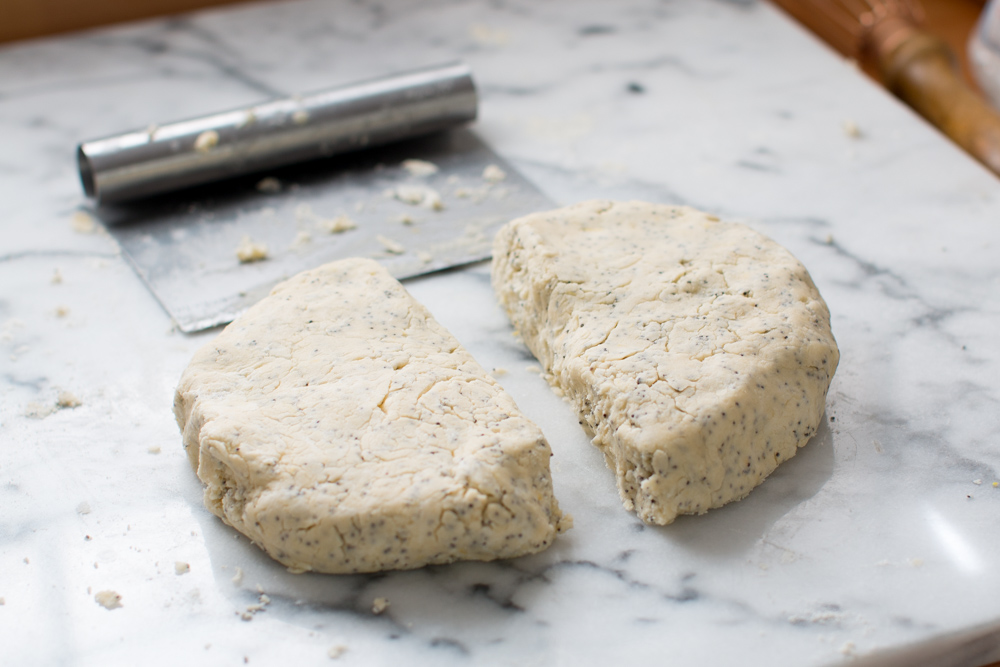
- Turn out the dough onto a clean, lightly floured surface. Gather together into a uniform disk by gently patting and pat to flatten the top. Use a knife or a bench knife to cut directly in half and set aside.
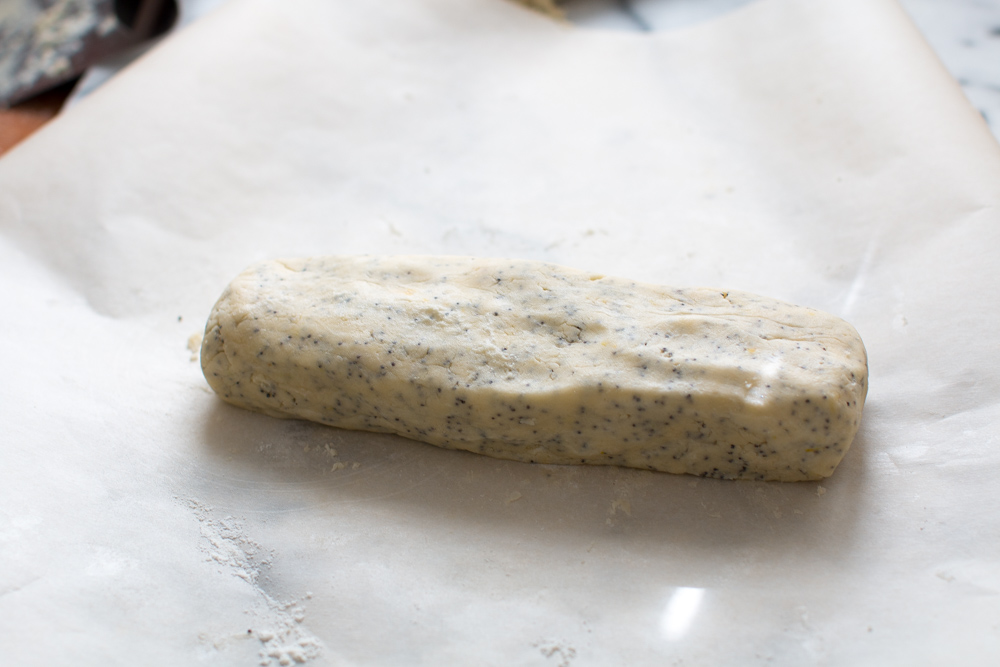
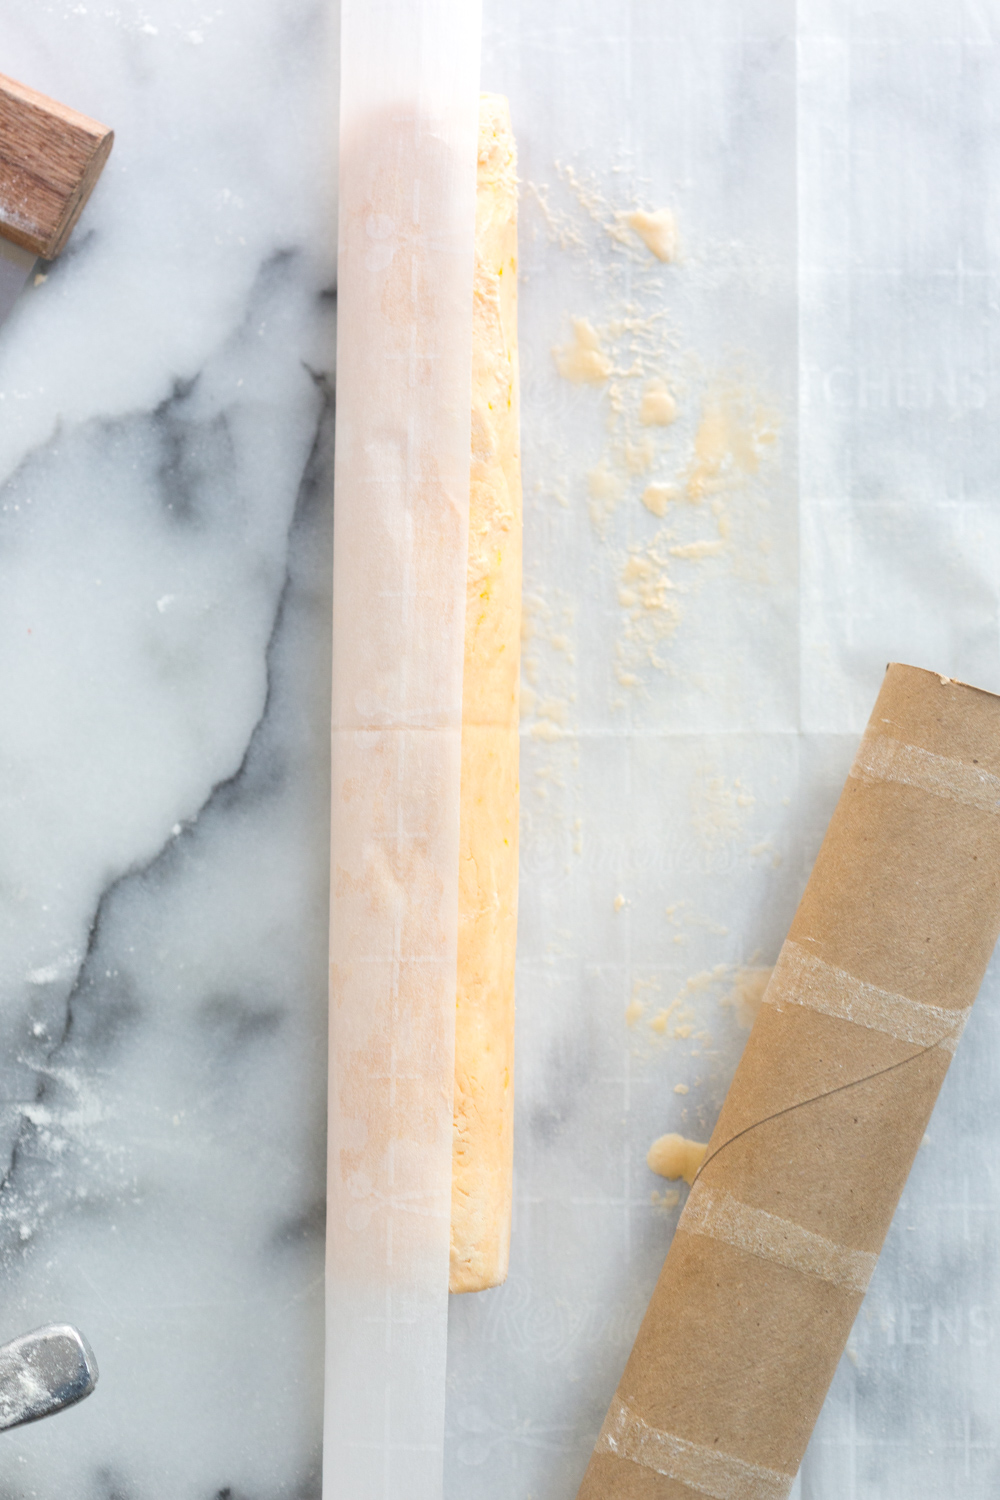
- Clean your work surface with a bench knife, then lay down a sheet of parchment paper. If you have a couple of empty paper towel rolls handy, have them available. Drop one of your dough halves on the parchment paper and use your hands to shape a rough log shape. Place on the edge of the parchment paper and gently rock back and forth to smooth out the edges and form a rounded, smooth log shape about 1 -1 1⁄2” in diameter. Eyeball it to about the size of your empty paper towel roll.
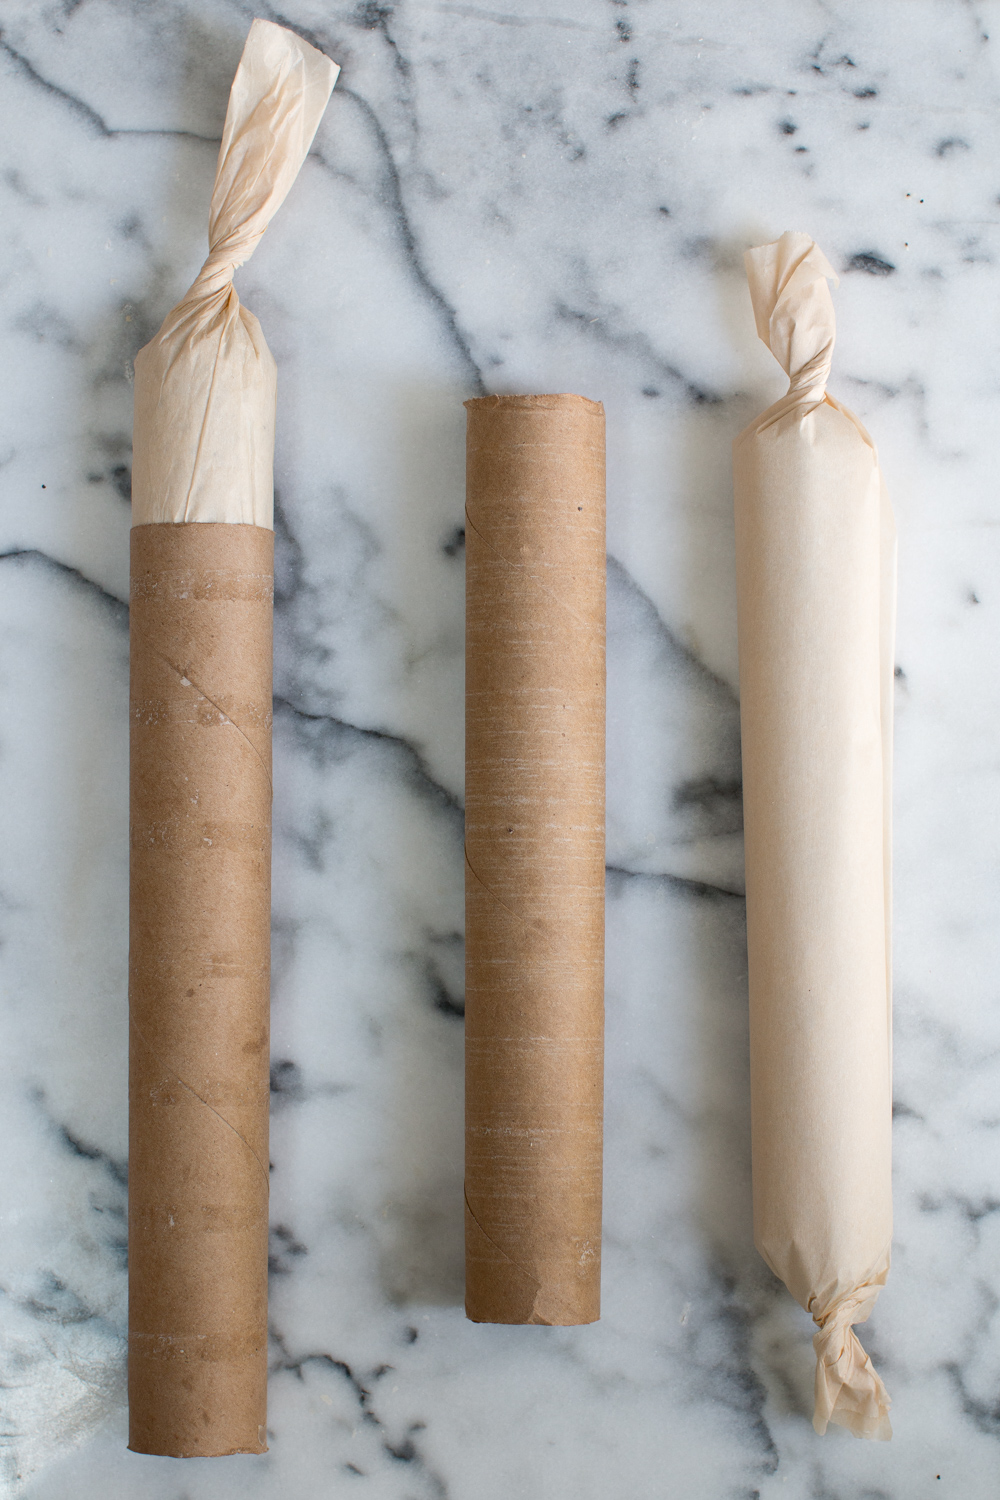
- Roll the dough log tightly in parchment paper. Then twist each end of the paper into pigtails in opposite directions, one towards you and one away from you, to form a sort of locking mechanism. With each twist, the dough will compress and becomes smoothed out, think of it like a sausage in a casing. Roll from the center outward until you feel that you have a smooth, cylindrical log.
- Now you can get tricky, optionally, and glide that dough log into an empty paper towel roll. It should be a snug fit but should slide in and out easily. The idea behind the paper towel roll is that the dough is going to hold its cylindrical shape while it chills instead of the weight sinking and creating a flat bottom.
- Repeat with second log.
- Refrigerate the dough for at least 1 hour, if not 2. This allows the dough to set up and hold its round shape nicely when baking. You can also freeze the dough at this point. Just remember to defrost it overnight in the fridge or at room temperature for about 30-60 minutes before slicing and baking. If it's too cold, the dough might crumble when you cut into it.
Baking the cookies
- Preheat oven to 325°F and remove dough logs from the fridge.
- Make an egg wash by whisking an egg with about 1 teaspoon of water in a small bowl.
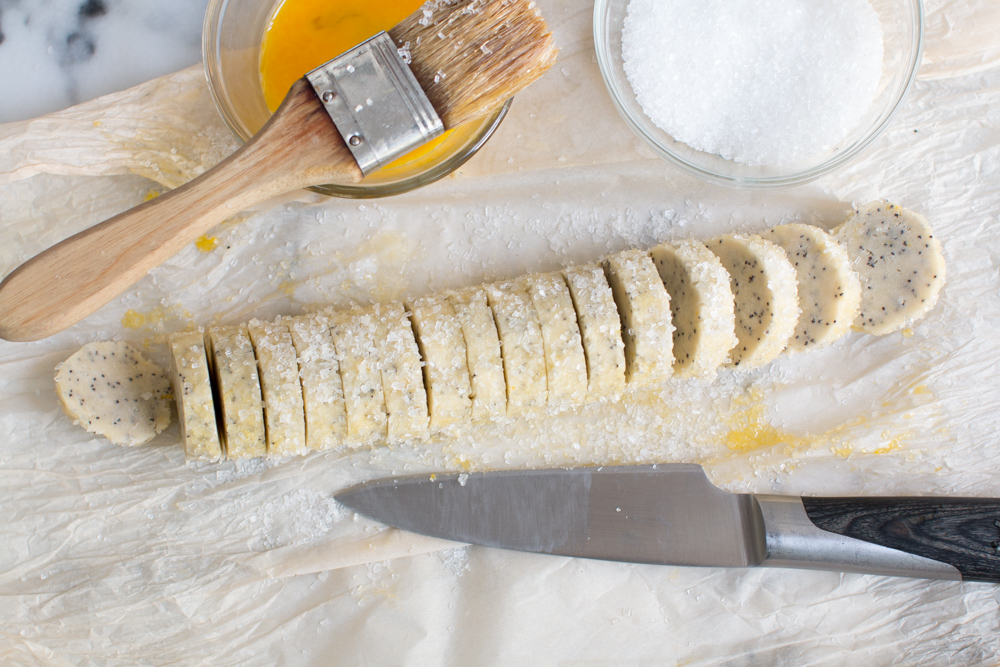
- Unroll the first dough log onto a cutting board, on top of the parchment paper. Use a pastry brush to gently brush with the egg wash on outside of the dough log, all the way around. Sprinkle the sparkling sugar over the egg wash, all the way around the exterior, rolling the log as you go. It will adhere to the dough thanks to the egg wash.
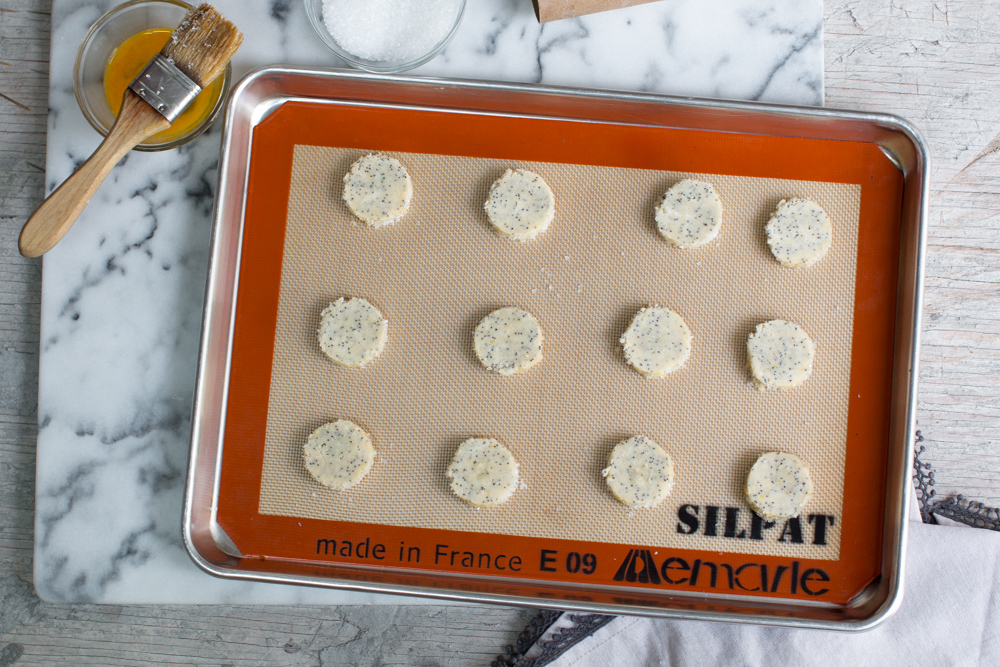
- Using a sharp knife, slice the log into 1⁄4” - 1⁄2” thick cookies. Roll the log ¼ turn between slices to keep it from flattening out on one side. You should get about 16-18 cookies per log. Arrange them on a Silpat mat or parchment paper lined baking sheet in, evenly spaced, with at least 1" between each cookie.
- Bake for 16-18 minutes, rotating the pans halfway through the bake. They should come out with a golden ring around the edge and be firm to the touch with just a bit of give in the center.
- Allow to cool either right on the trays or on a cooling rack.
Notes
Shortbread cookies have a great shelf life! When stored in an airtight container they can star fresh for a week or even two weeks.
They also ship well since they stay fresh for so long. Which means they are a great gift to ship as gifts for holidays or pick-me-ups for loved ones.
- Prep Time: 20 minutes
- Chill Time: 60 minutes
- Cook Time: 18 minutes


Renee says
Not gonna lie, just wasted a bunch of time and ingredients. Ingredient list said egg added it in but no where in directions so added it anyway .. lol
Becky Sue says
Hi Renee, I'm sorry to hear that you feel wasted time and ingredients. The egg does not go in the cookie dough but is used for the egg wash to adhere the sparkling sugar to the outer edges of the cookies. It's in the recipe, just further down in the instructions. This is a good reminder that it is always helpful and advised to read through the entire recipe before starting, that way there are no surprises that pop up while baking or cooking! Better luck next time.
Sabrina says
These look great! Love the trick you used with the paper towel roll!
beckysue says
Thanks Sabrina! I cannot remember where I first saw that paper towel roll trick....somewhere on the internet long, long ago. So, I can't take credit it for it but I can vouch for it, works like a charm!