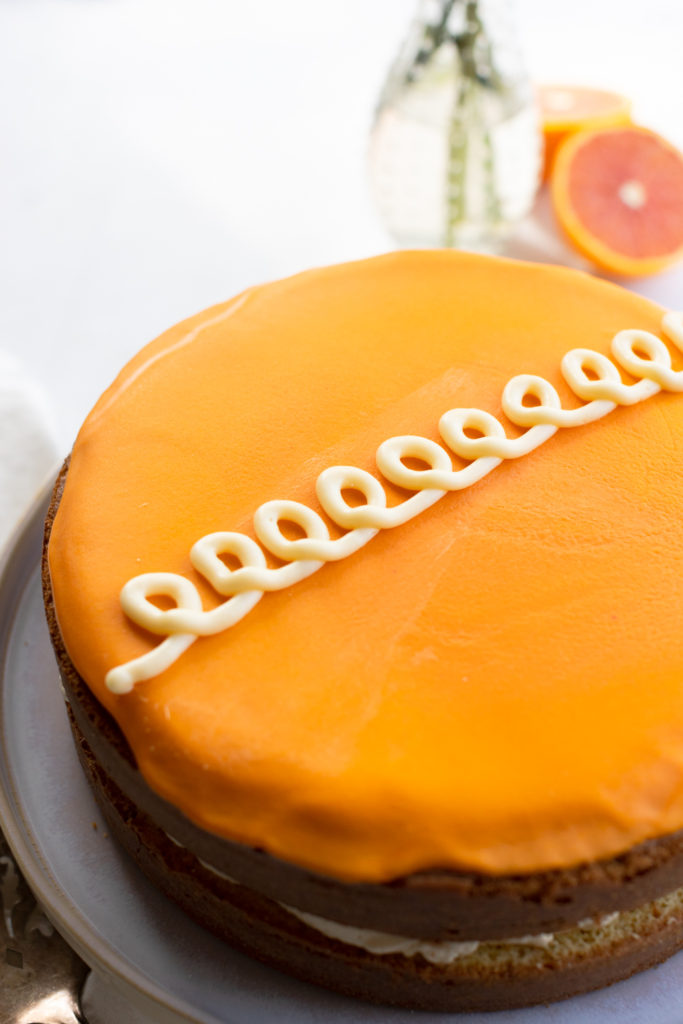
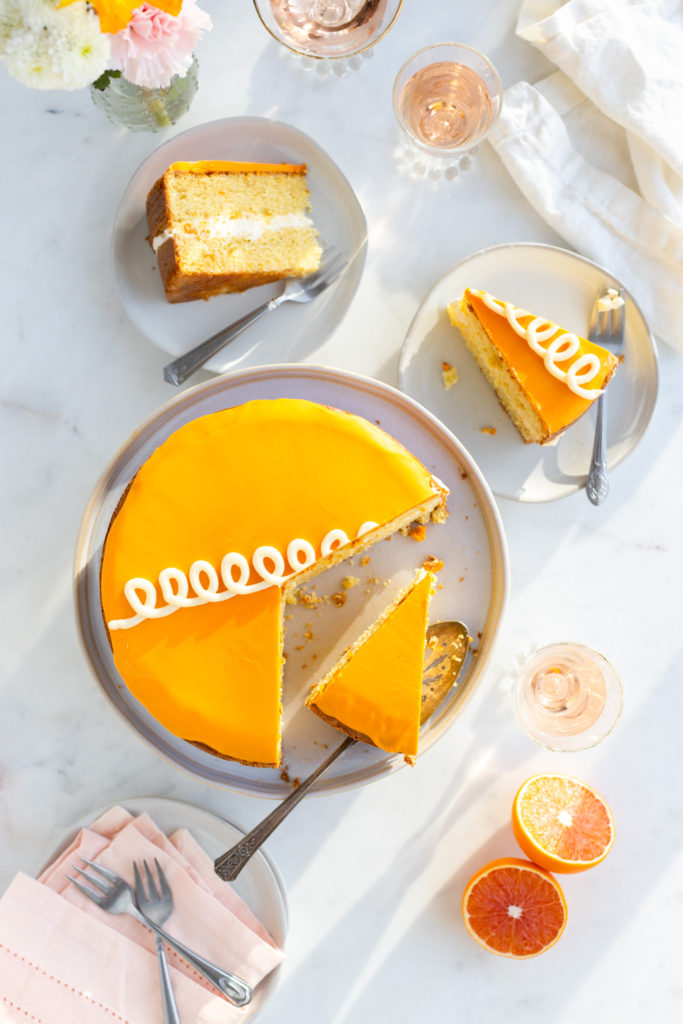
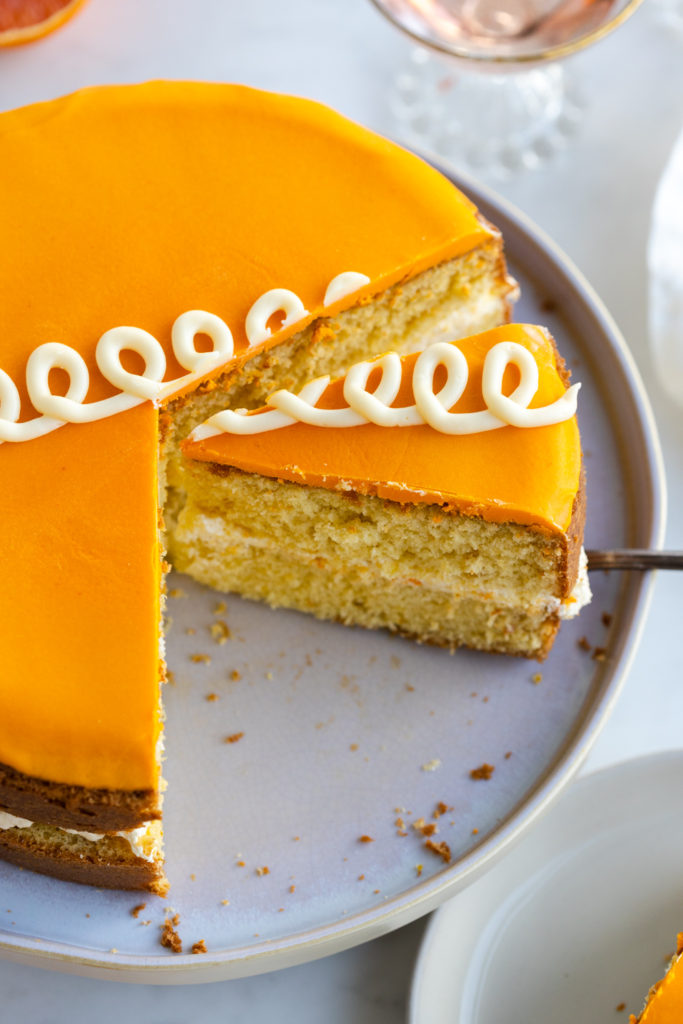
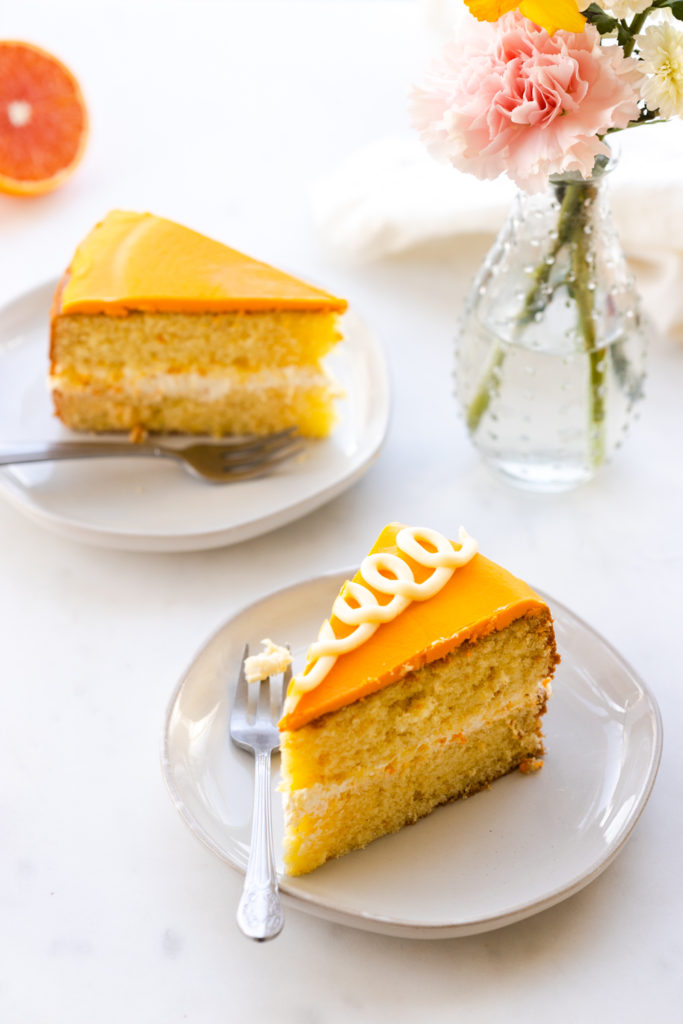
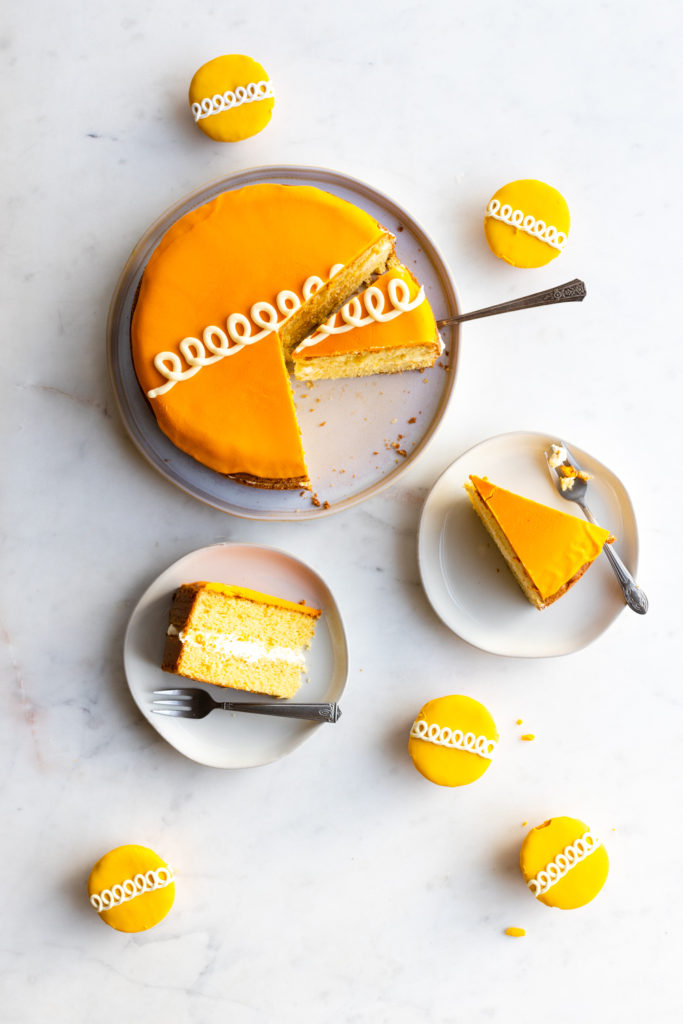
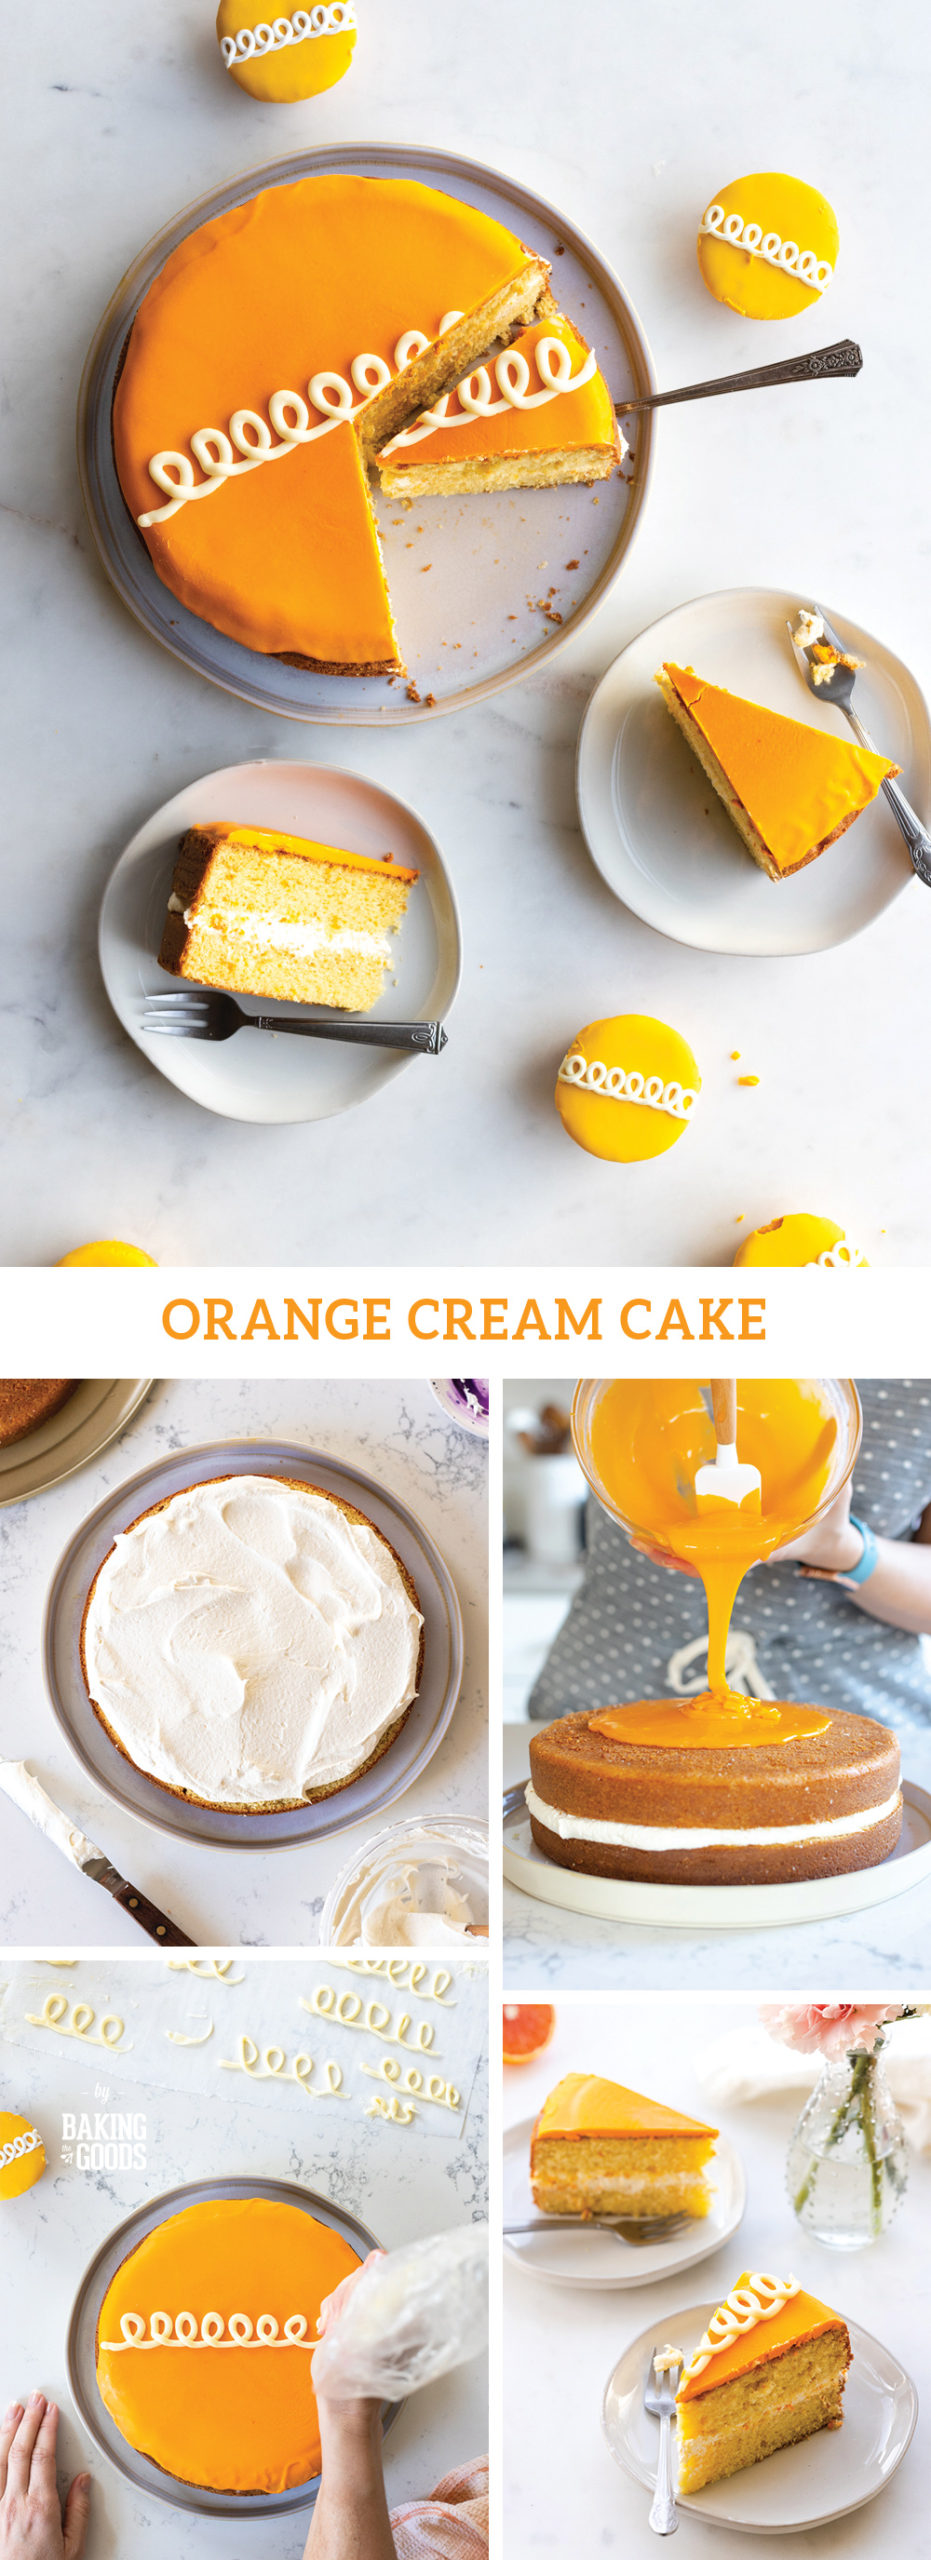
Inspired by the nostalgic cupcake, this Orange Cream Cake is a double layered delight. Fluffy meringue buttercream is sandwiched between orangey, yellow cake layers and topped with an orange white chocolate ganache featuring that signature swirl.
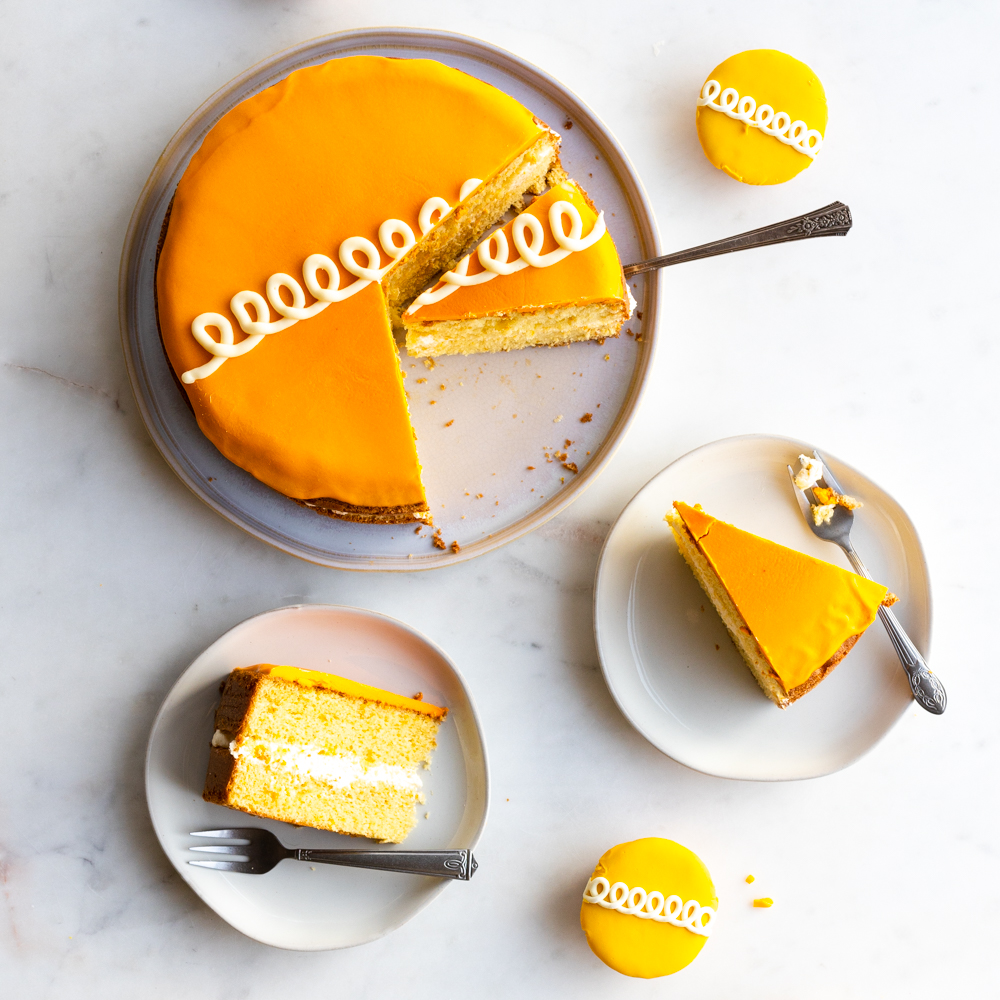
Growing up, the Chocolate Hostess Cupcakes were the mostest. But after a kid in a candy store style binge on brownies, the implications of overindulging on chocolate got the best of me. I swore off all things chocolate for a long while. That's when I reached for the Orange Hostess Cupcakes, instead of their more popular chocolate counterparts. Coincidentally, that's when I realized I'd been missing out on something glorious for the better part of my childhood. This Orange Cream Cake is an ode to that citrusy discovery.
Jump to:
- This Orange Cream Cake has 3 distinct components
- How to make Orange Yellow Cake
- Making Swiss Meringue Buttercream Filling
- Assembling the Orange Cream Cake
- White Chocolate Orange Ganache coats the cake
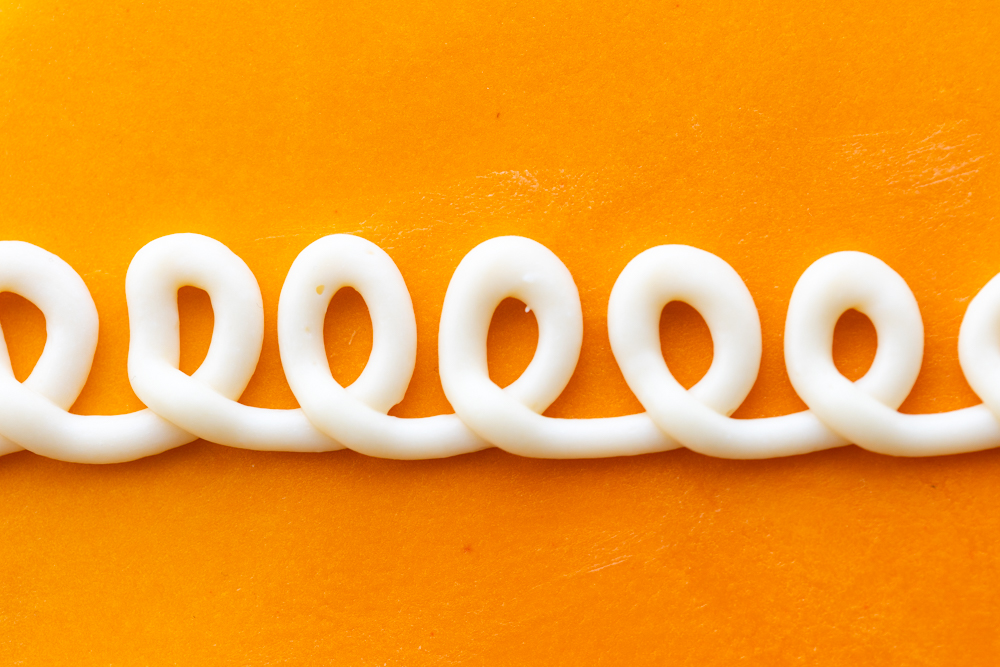
- Adding the signature swoopy swirl to the Orange Cream Cake
- I made all the baking mistakes first so you don't have to!
- Recipe
- Recipe
- Comments
I've been picturing this orange cream dream in my mind forever. It's been at the top of my running recipe idea list since 2017. I'm often intimidated by layered, multi-component cakes, therefore I generally keep my cakes simple.
Some more cake recipes from Baking The Goods
But, I was more than ready to finally tackle this Orange Creamsicle Cake. Conceptualizing, developing, testing and perfecting this recipe turned out to be almost as traumatizing as the bad brownie experience I had as a kid. Until it wasn't.
Getting this recipe just right was a trying effort that required countless iterations. Everything that could go wrong during development, did.
Somehow, I over-baked the cake. I didn't add enough color and ended up with an uncomfortably realistic flesh-tone version. I made the icing ganache too runny. Then, I waited too long to apply the ganache and it thickened. A heat-proof glass bowl cracked while making the Meringue Buttercream Filling. The swirls, ugh the swirls. I went in with an overload of confidence the first time, making a mockery of the swirl-age. Then I got too in my head and overthought the piping.
It was a long road to get here but I can officially and proudly proclaim, this Orange Cream Cake is everything I'd been dreaming up.
A host of unfortunate happenstances hit and I experienced a whole range of emotions; spanning utter defeat and frustration to pure jubilation. I almost gave up on this Orange Cream Cake many times, but I pressed on. Aren't we glad I did?
Next to the trackpad of my laptop is a thick lacquer of shiny meringue. There is orange ganache icing dripping all over my kitchen. Currently, there are 3 different versions of this Orange Cream Cake on my dining room table. All at varying stages of the development process.
Striking the right balance in flavor, texture and aesthetics took some serious doing. However, all of those tests were worth it and it makes my heart so happy to share this Creamsicle Cake with you!
In an effort to recreate the Hostess Orange Cupcakes, I had to start at the source.
I tracked down a box Hostess Orange Cupcakes and got to work. I began by cutting right in and taking a bite. Making notes of the overall texture and flavor. Then I broke it down further and tasted each individual component of the cupcakes.
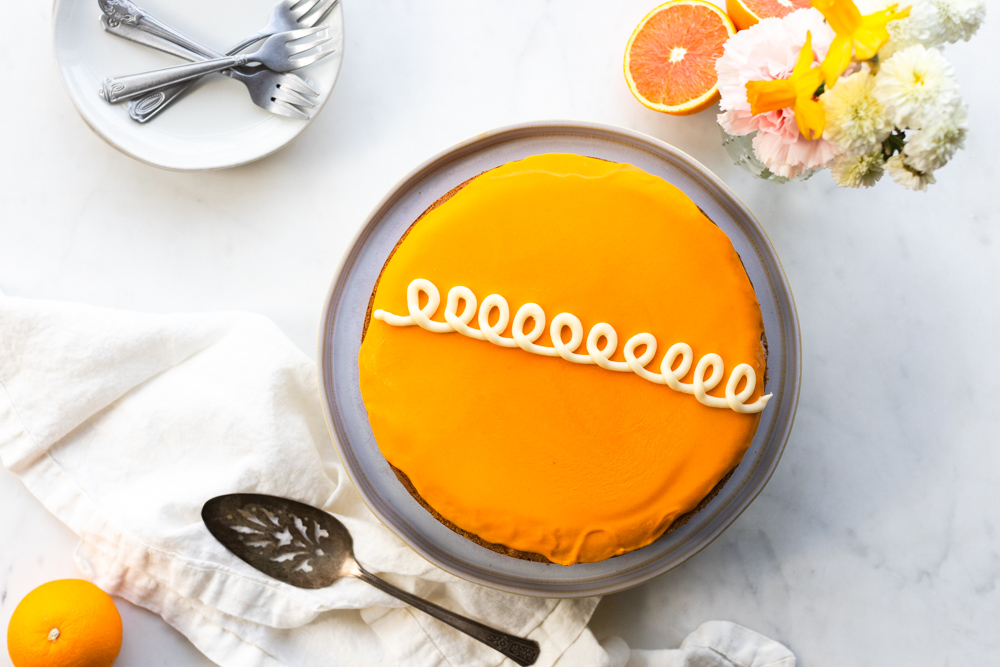
This Orange Cream Cake has 3 distinct components
- Orange Yellow Cake: inspired by the original cupcakes but baked into 2 cake layers that taste like a classic yellow cake but with orange flavor. I can it Orange Yellow Cake.
- Filling: to mimic the original, the cake features a fluffy Swiss Meringue Buttercream that teeters on marshmallowy.
- Icing: A basic White Chocolate Orange Ganache coats the outside of the Orange Cream Cake in a satiny, sunny orange finish.
How to make Orange Yellow Cake
The cake of the original Hostess Orange Cupcake is a little spongy and moist with a medium density to the crumb. I was able to achieve a similar, albeit more flavorful cake, by adapting a classic Yellow Cake recipe to be a bit lighter and a lot more orange. Here's how...
- Lighten up: I lightened up a classic yellow cake by using fewer eggs. Instead of using 6 full eggs, I used just 3 full eggs and 3 egg yolks, saving the egg whites for the Meringue Buttercream Filling.
- Orange Infusion: By adding the juice and zest of an orange, along with pure orange extract, this cake is infused with a bright and citrusy flavor.
- Moist Maker: The moisture from the eggs, butter, whole milk and orange juice gives this cake an ultra-moist crumb without being heavy and excessively dense.
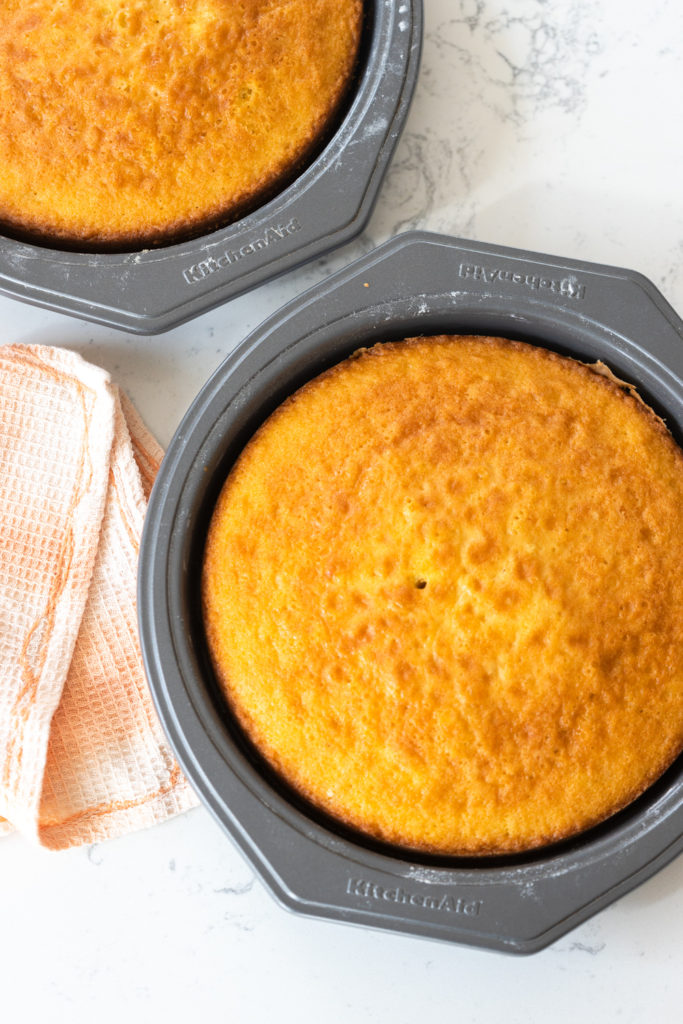
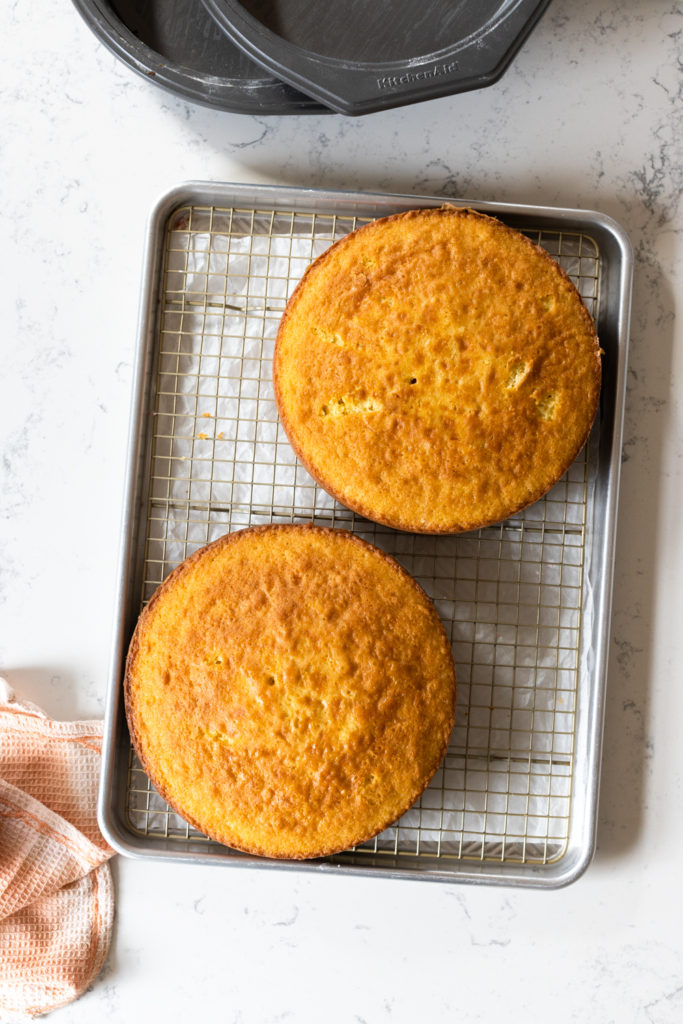
The Orange Yellow Cakes need to cool before decorating
While the Orange Yellow Cakes cool, it's a good time to make the Swiss Meringue Buttercream Filling. First allow the cakes to cool in the pans for at least 20 minutes. Then transfer them to a wire rack to cool faster.
Making Swiss Meringue Buttercream Filling
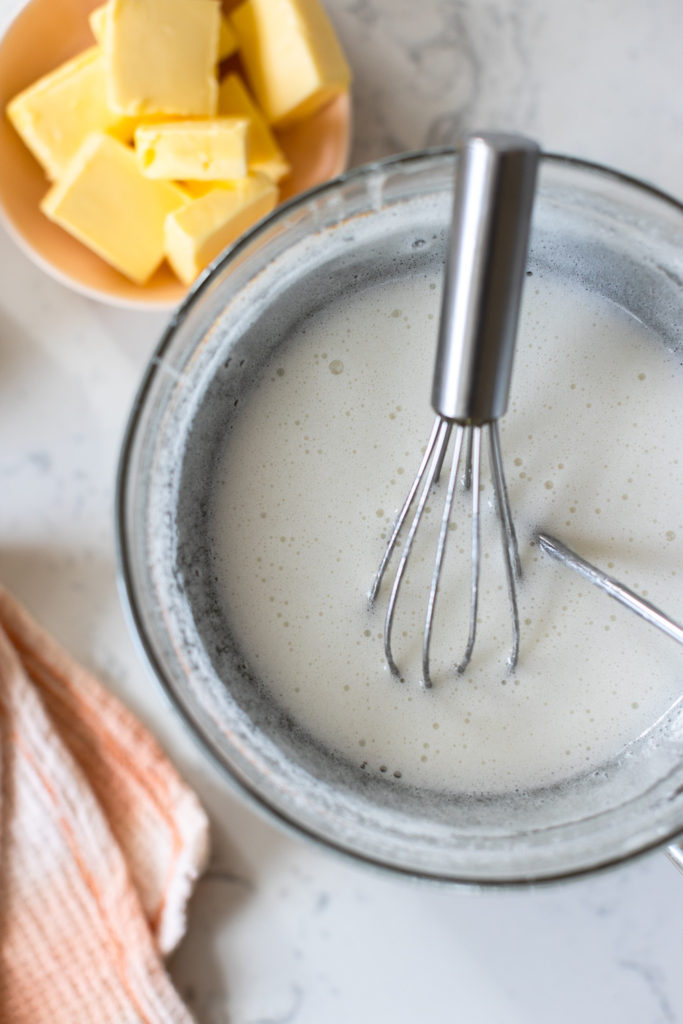
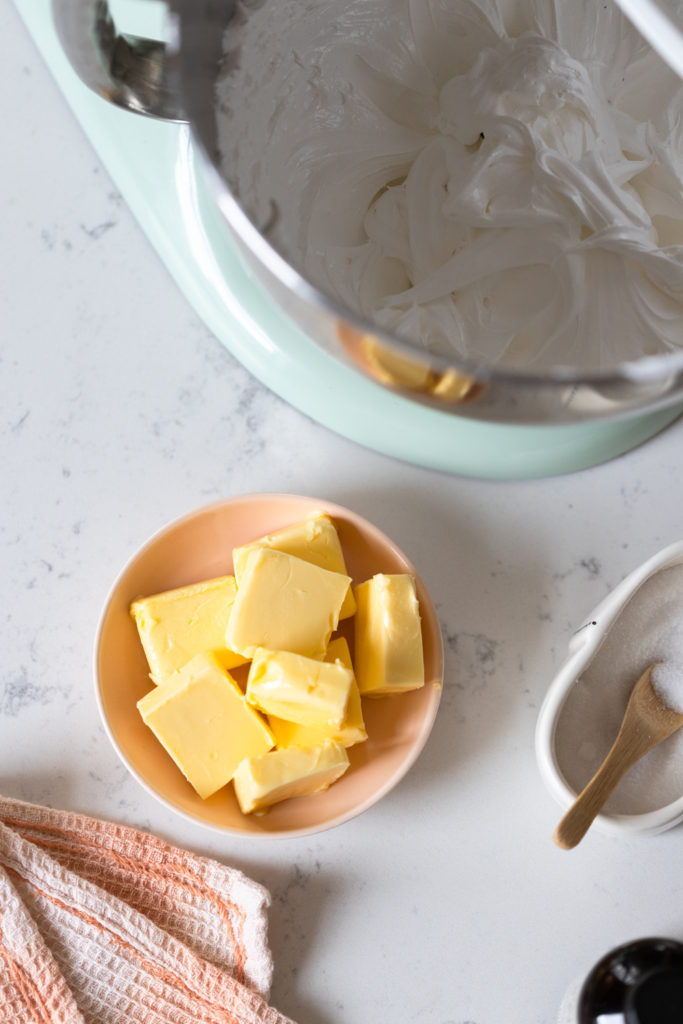
To match the fluffy, marshmallowy creaminess of the filling, I went with a mix of meringue and buttercream. Best of both worlds! The Meringue Buttercream Filling is a light and airy layer that lies between two rounds of Yellow Orange Cake. It's fluffy with enough structure to keep the layers from slipping when you cut in. I used Sally's Baking Addiction's brilliant recipe for Perfect Swiss Meringue Buttercream but cut it in half and cut back on the butter just a bit. It worked just perfectly as the filling!
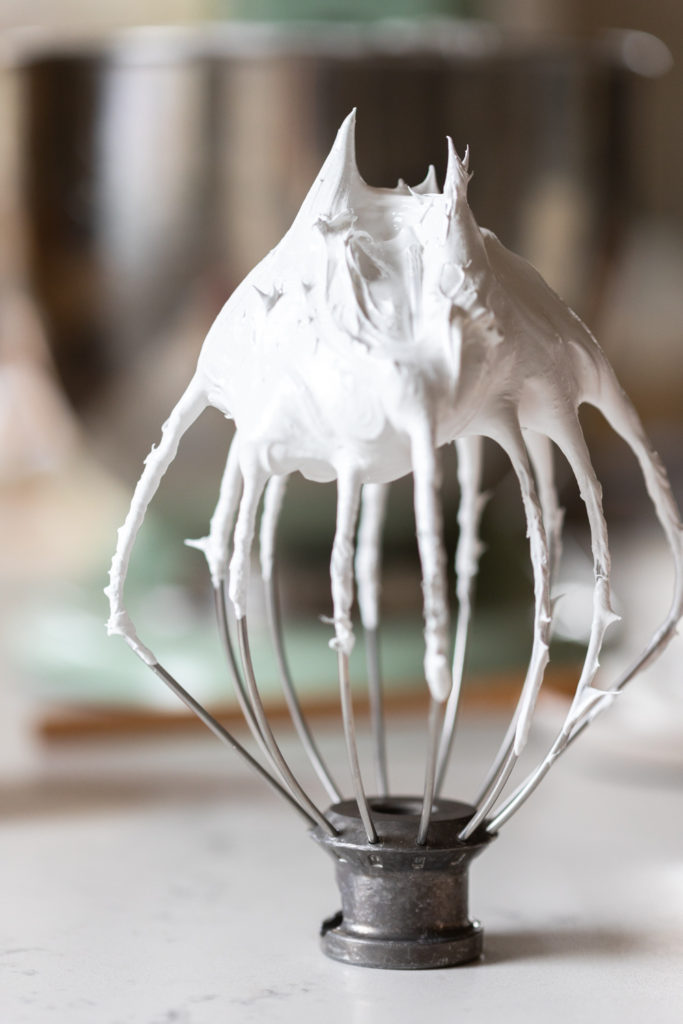
- Whip It Good - By first whipping up a meringue from the egg whites leftover from the cake batter, this filling becomes a marshmallowy marvel. It takes a good 15-20 minutes to whip those whites into shape with a stand mixer, so be patient. I promise it's worth it.
- Butter Me Up - The whipped meringue goes from straight sticky marshmallow to a smooth and creamy delight by beating butter in with the meringue. It's as light as a cloud and ultra creamy.
- Vanillaroma - A dash of vanilla adds depth to the flavors that I swear makes the Meringue Buttercream Filling taste exactly like a lightly toasted marshmallow.
Assembling the Orange Cream Cake
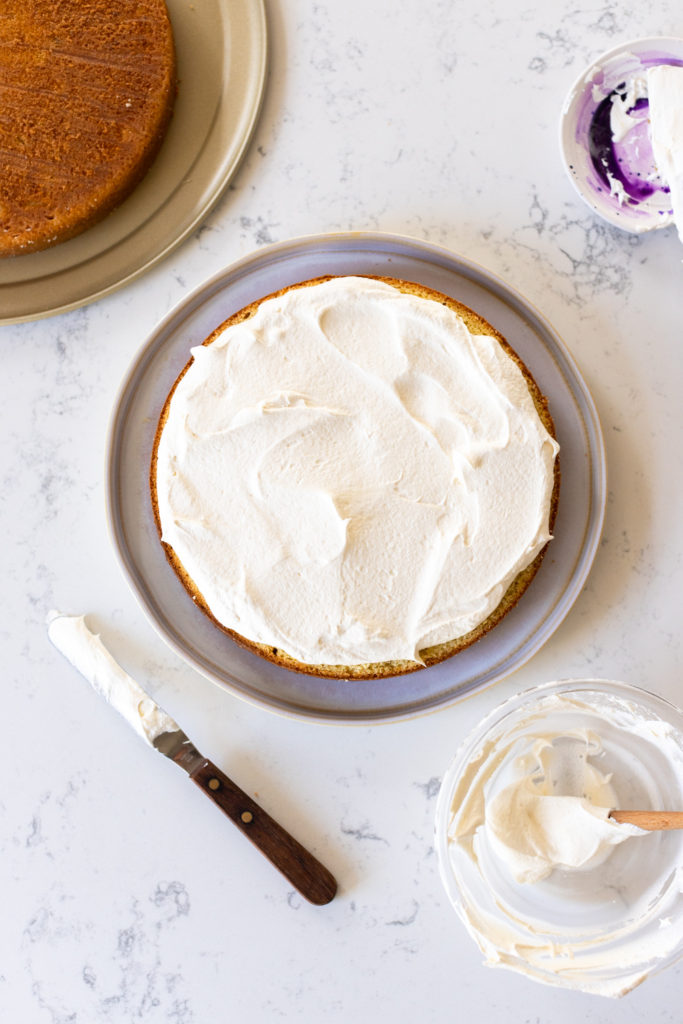
Once the Orange Cream Cake and Swiss Meringue Buttercream are ready, it's time to assemble the cake! This is where things start to get really fun. Since the cake has a smooth ganache topping it's important to have an even, level cake.
White Chocolate Orange Ganache coats the cake
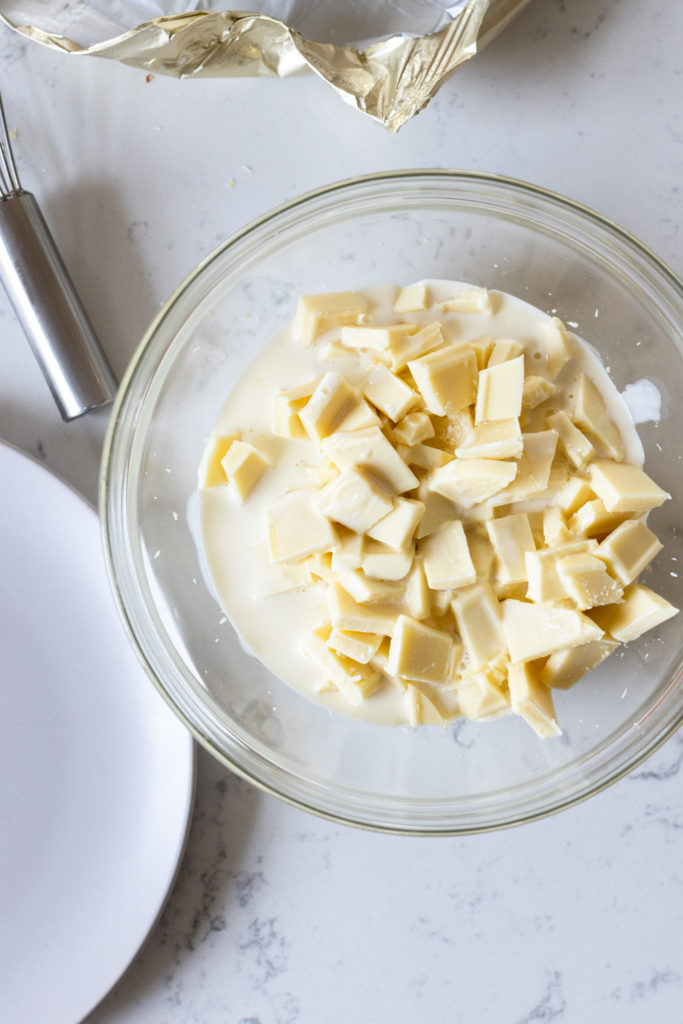
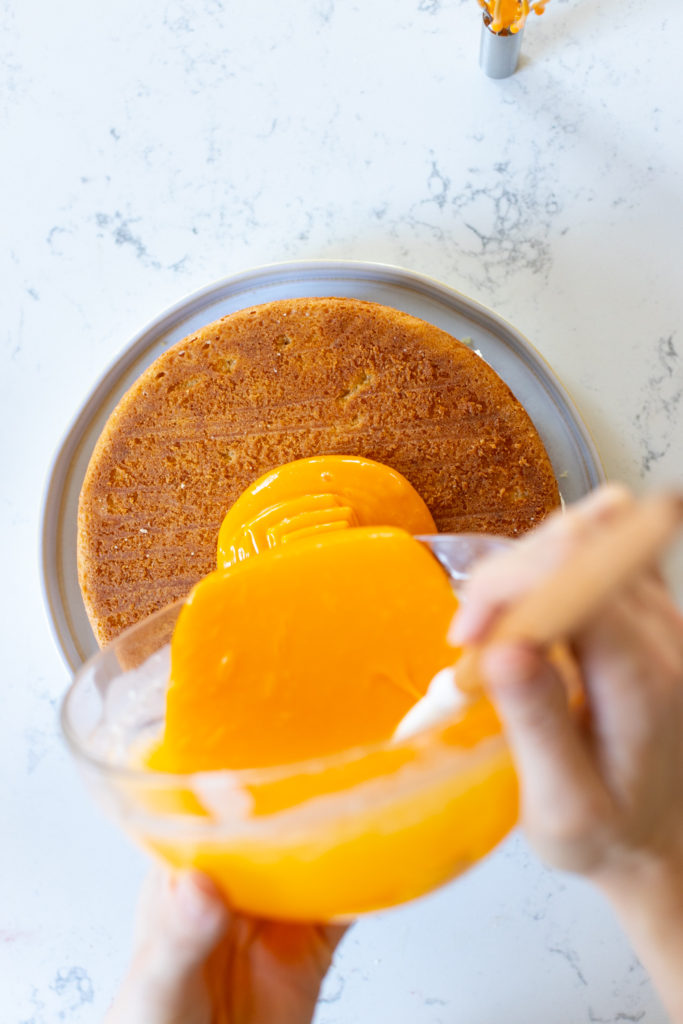
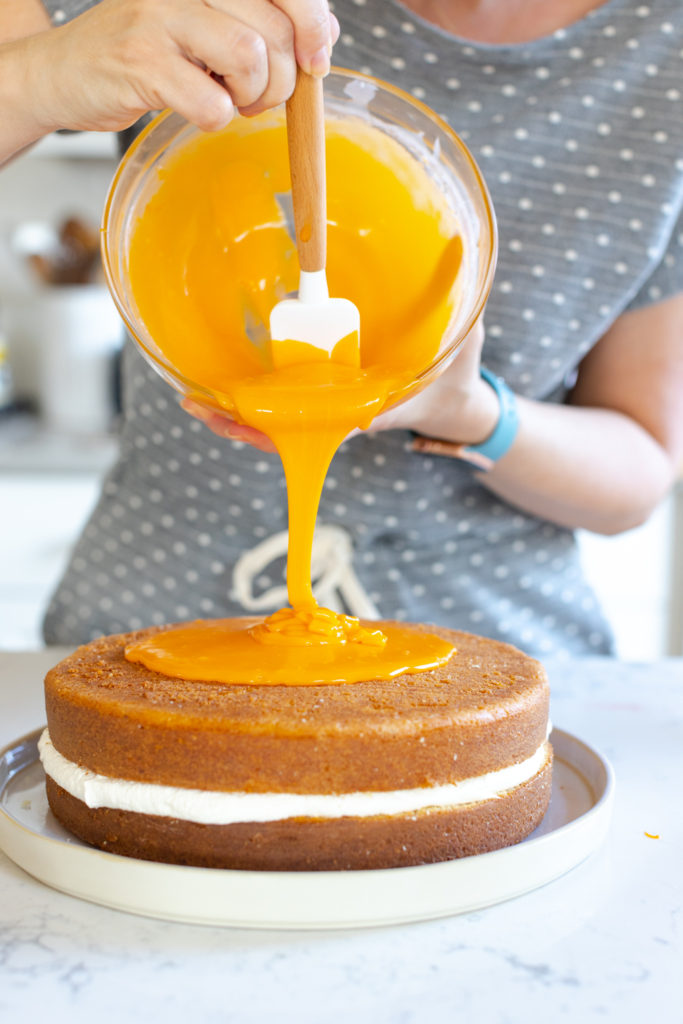
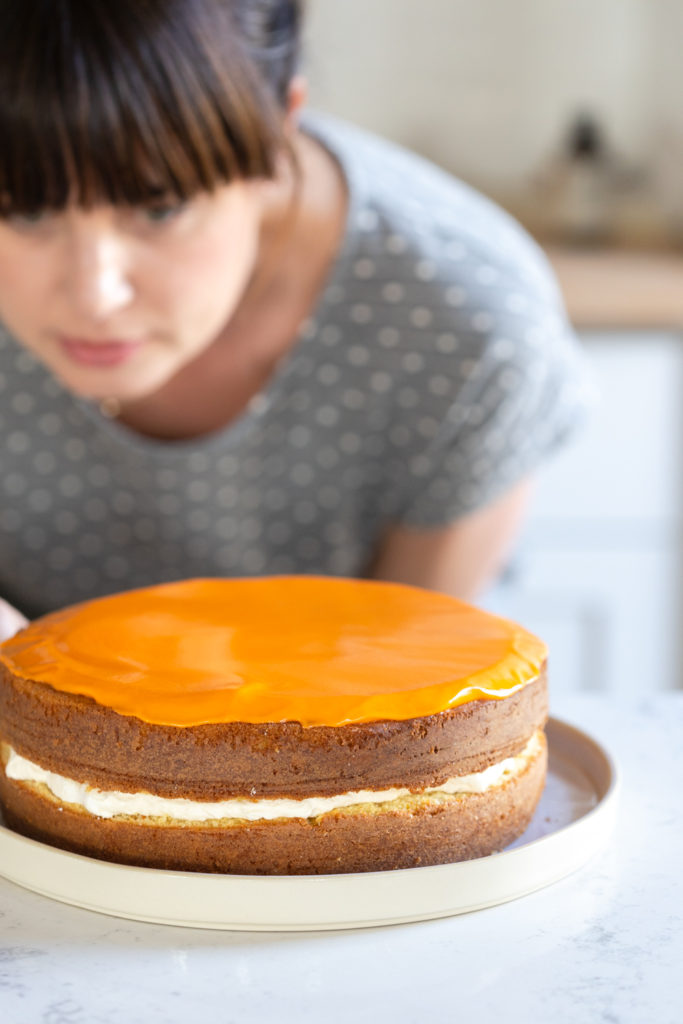
Nothing coats quite like a smooth and creamy stream of ganache. The original cupcake icing just tastes like straight sugar, with a smooth and satiny finish. Instead of focusing on the sweetness, I wanted to take things a step further to amp up the creamsicle flavors. So, I added orange extract and turned up the volume on the orange color for a sunnier effect.
- Smooth As Satin - Ganache is one of the easiest tricks in the book. All it takes is some chopped up chocolate and a splash of hot and heavy cream. Whisk it together and you get a satiny smooth finish.
- Take It Down To Flavortown - A splash of pure orange extract gives the White Chocolate Orange Ganache a bright and fuller flavor.
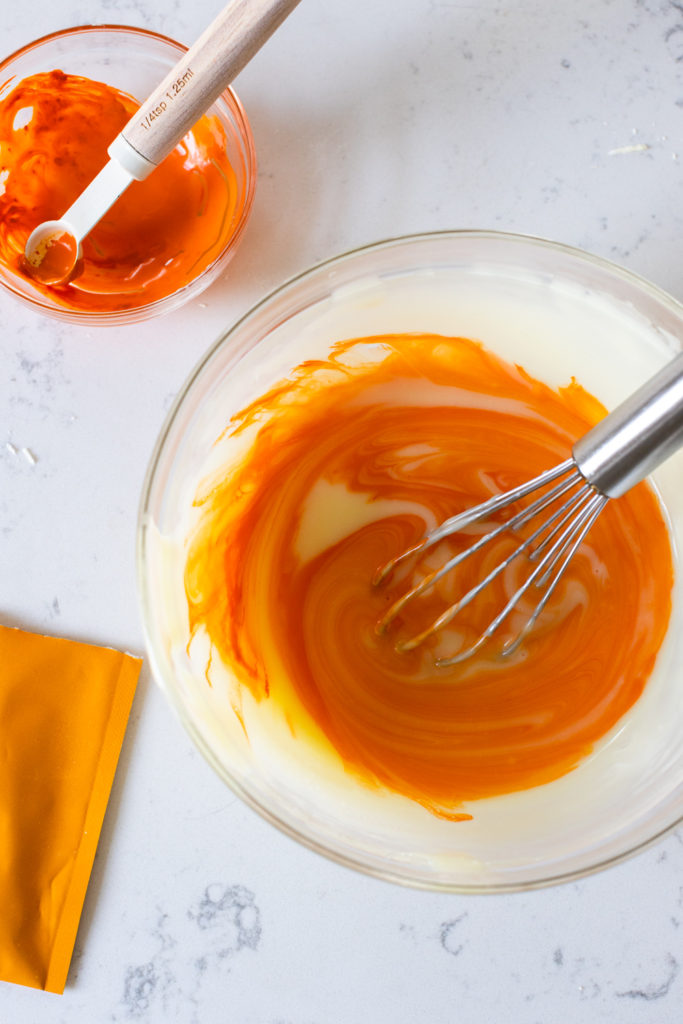
- Color Your World - By adding in some all-natural, powdered orange food coloring from Supernatural, I was able to achieve the glowing orange ganache I'd been imagining. Gel food coloring works here too.
Adding the signature swoopy swirl to the Orange Cream Cake
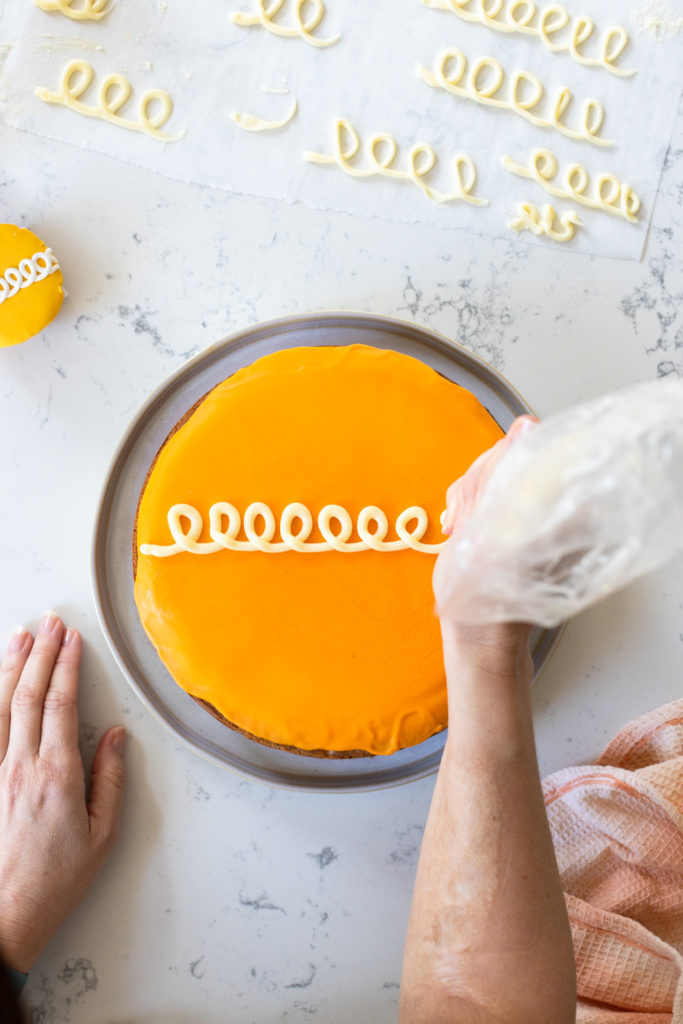
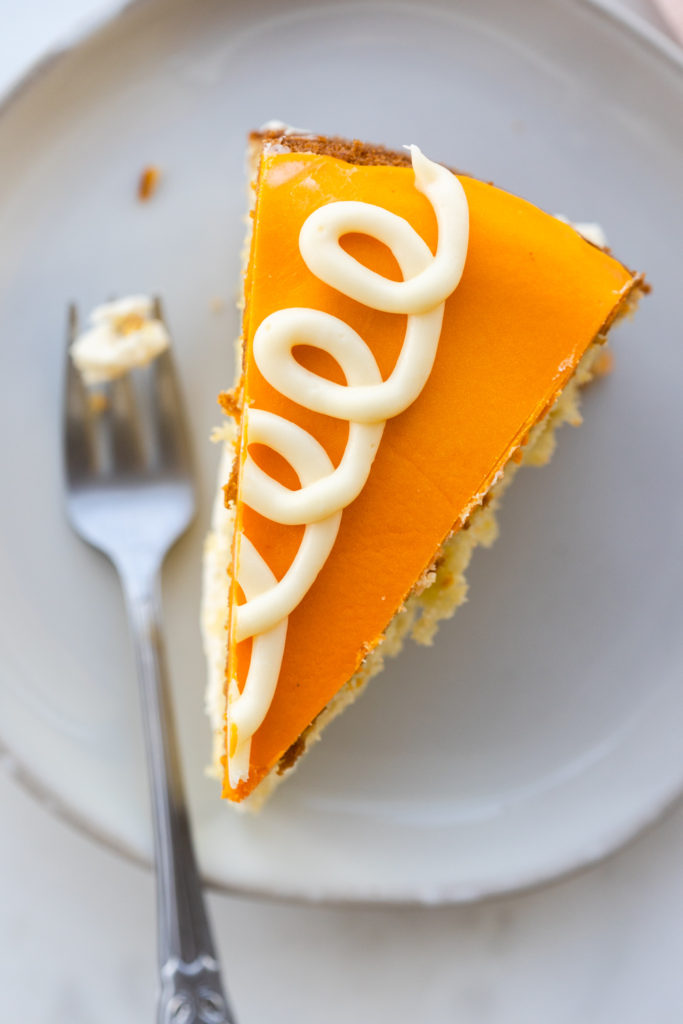
The final step is adding the signature swirl across the top of the cake. I'm a baker who doesn't have much confidence in the cake decorating department. So, this swirl is stressful for me. However, allowing myself a few practice runs on a piece of parchment paper got me in the rhythm and built up my loopy confidence. I highly recommend the parchment practice. Unless of course you are a skilled calligrapher.
Striking the right balance in flavor, texture and aesthetics took some serious doing
My commitment to creating this Orange Cream Cake parallels my memories of discovering the citrusy side of cakes as a kid. While it was devastating to feel betrayed by my love of chocolate, I ended up discovering a new adoration of orange. If I'd never had that setback, I may never have tried a new flavor.
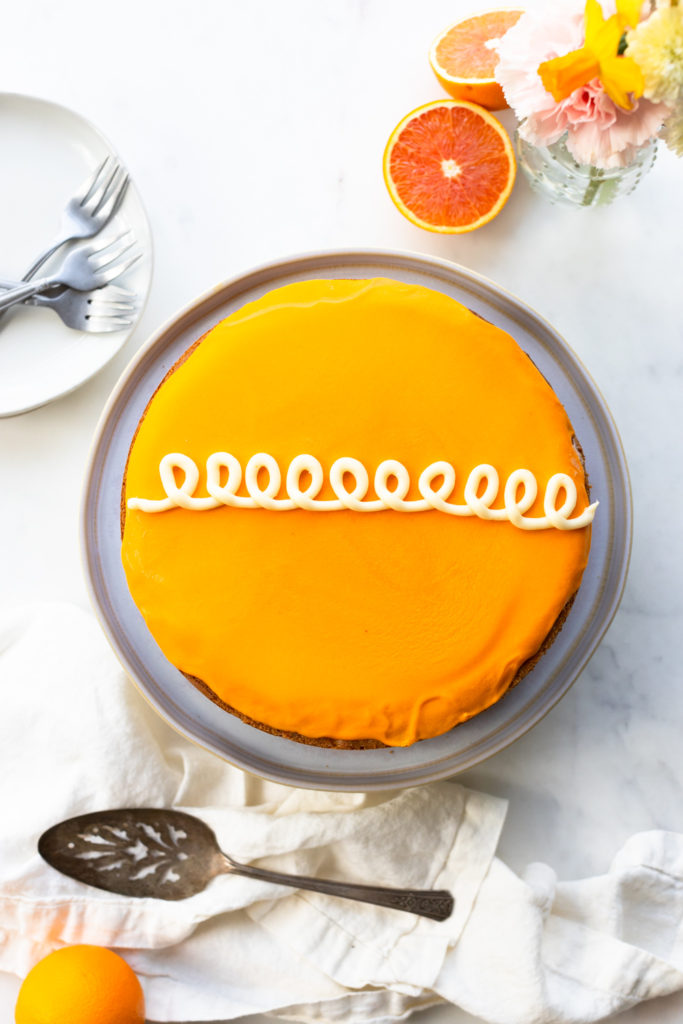
In the end, our setbacks can make us more complex and reflective. This Orange Cream Cake is an example of powering through. Turns out this labor of love was worth all of the behind-the-scenes drama that it took to develop. I hope this recipe brings you as much joy as it brings me. It's nothing but sweet sunshine and swirly smiles.
I made all the baking mistakes first so you don't have to!
This recipe may seem bulky but the details are key to the success of this cake. I covered it all in the recipe because I don't want you to make any of the silly mistakes I made in the development process. I suggest reading through the entire recipe a couple of times before you begin. Then take it step-by-step. If you do this, you are sure to end up with a beautiful Orange Cream Cake that you will be proud to share!
Recipe
PrintRecipe
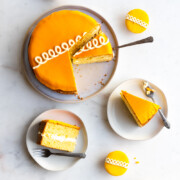
Orange Cream Cake
- Total Time: 3 hours
- Yield: 12 generous slices
Description
Inspired by the nostalgic cupcake, this Orange Cream Cake is a double layered delight. Fluffy meringue buttercream is sandwiched between orangey, yellow cake layers and topped with an orange white chocolate ganache featuring that signature swirl.
Ingredients
ORANGE YELLOW CAKE
- 1 cup unsalted butter (- at room temperature)
- 2 cups granulated sugar
- 6 large eggs (- at room temperature)
- 1 large navel orange (- zested & juiced)
- 3 cups cake flour or pastry flour (- all purpose flour can be subbed in)
- 1 teaspoon fine sea salt
- ¾ teaspoon baking soda
- 1 tablespoon pure vanilla extract
- 1 teaspoon orange extract
- 1 cup whole milk (- at room temperature)
MERINGUE BUTTERCREAM FILLING
- 3 egg whites (- reserved from eggs used in cake batter)
- 1 cup granulated sugar
- ½ cup unsalted butter (- softened but still slightly cold to the touch)
- 1 teaspoon pure vanilla extract
- ⅛ teaspoon salt
WHITE CHOCOLATE GANACHE ICING
- 1 cup white chocolate (- chopped into ¼" chunks)
- ⅓ cup heavy cream
- ½ teaspoon orange extract
- orange food coloring (- natural powder or oil based)
Instructions
ORANGE YELLOW CAKE
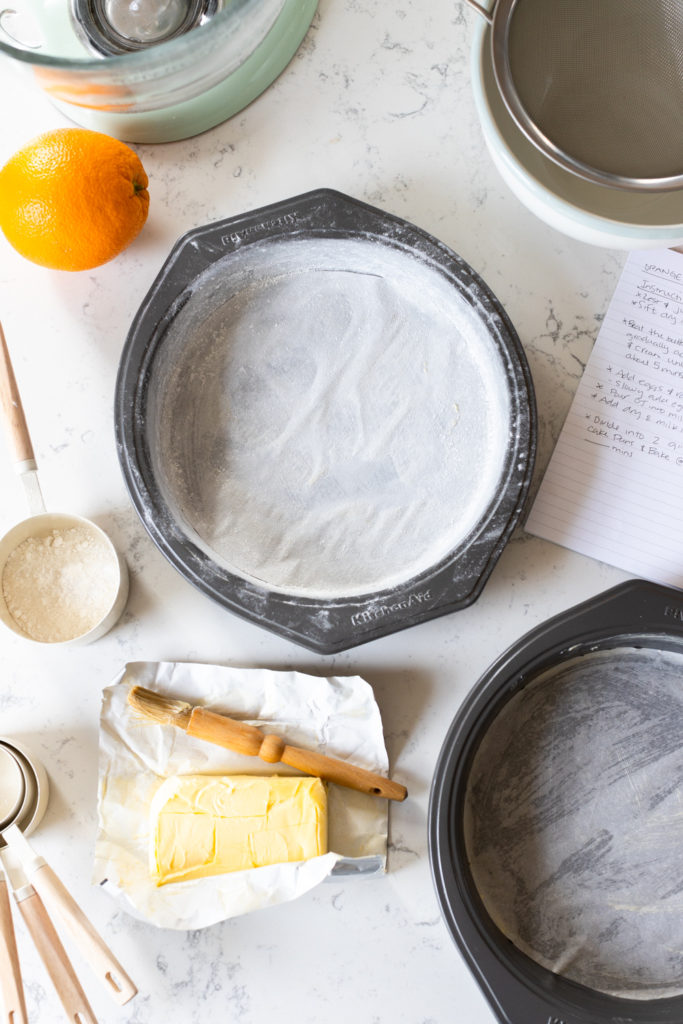
- Begin by preparing two 9" round cake pans. Grease the cake pans with butter or non-stick spray, line the bottom of the pans with parchment paper, and grease the paper. Add a sprinkle of flour, then tap the pan lightly until the bottom and sides are evenly coated with a light layer of flour. Tap over the sink to remove any excess flour.
- Preheat oven to 350°F.
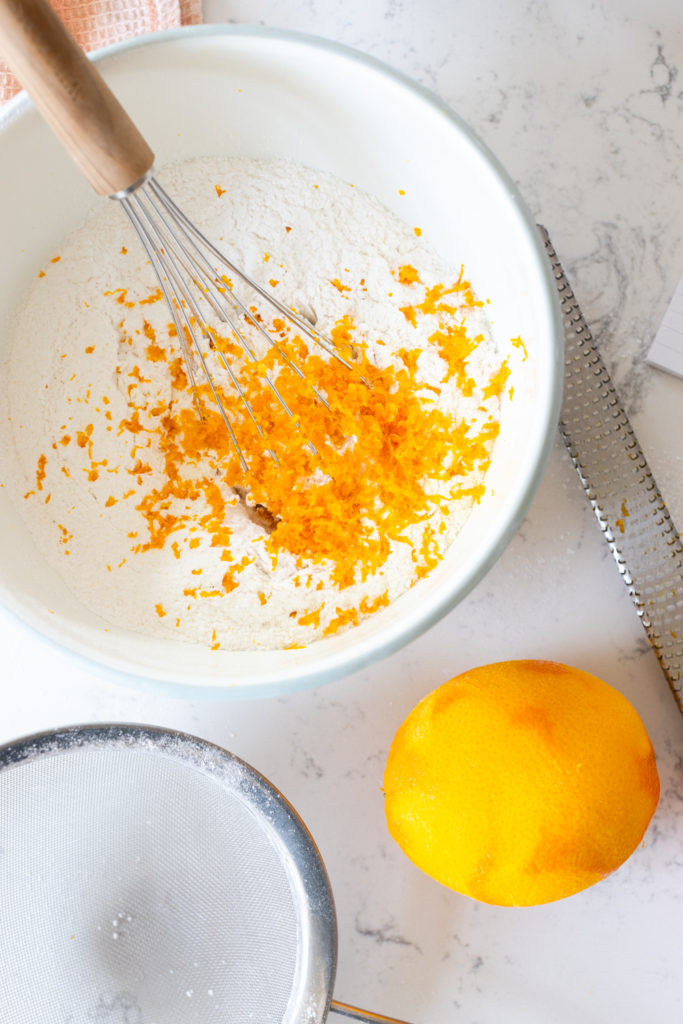
- Place a large sifter or a sieve in a large bowl. Add the flour, baking soda and salt, then sift together. Add the zest of the orange and whisk together. Set aside.
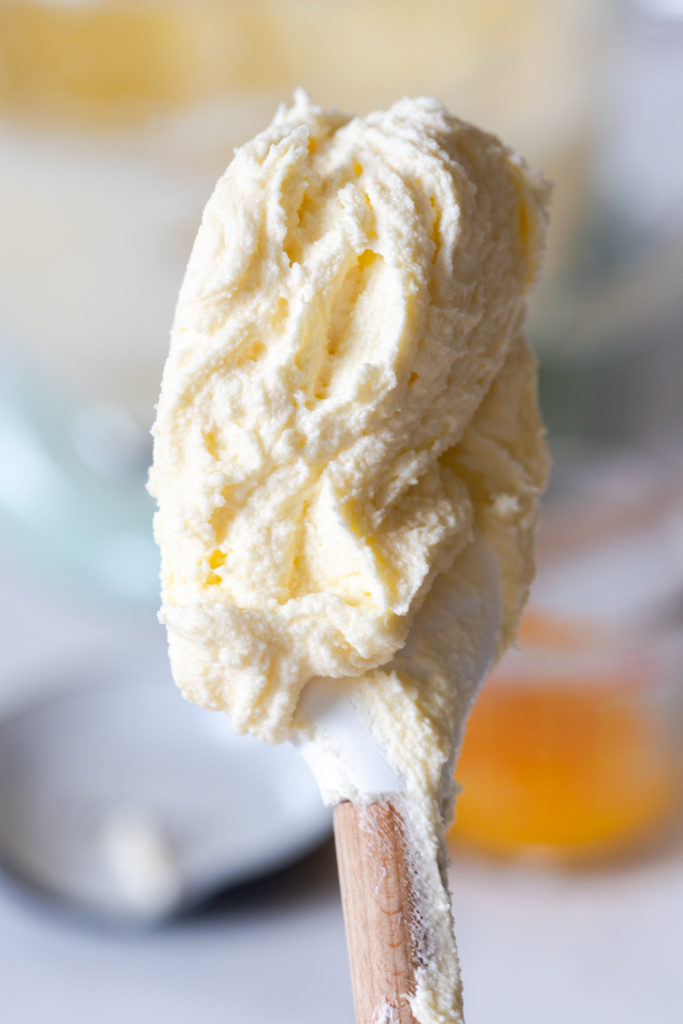
- Add the butter to the bowl of a stand mixer with the paddle attached, beat the butter on medium-high speed for about 2 minutes until creamy. With the mixer on a medium speed, slowly pour in the sugar. Then cream the butter and sugar together on medium-high speed for about 5 minutes, until the mix is light and fluffy.
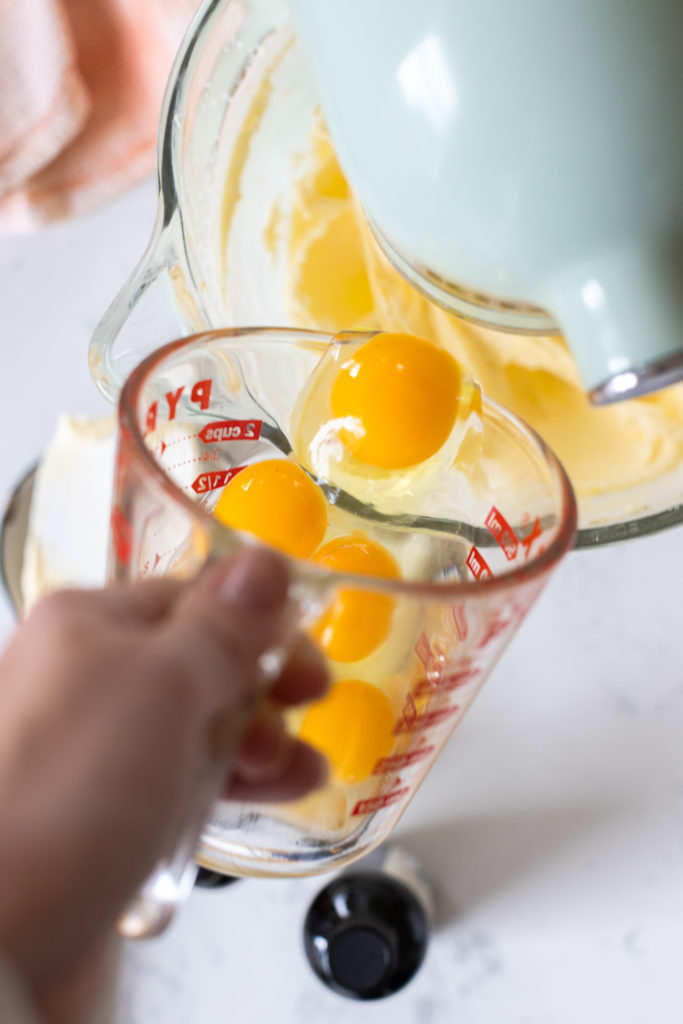
- Separate 3 of the eggs by cracking the egg whites into one bowl and the yolks into another, careful not to get any yolk in with the whites. Set the 3 eggs whites aside for the meringue buttercream filling. Then add the remaining 3 full eggs to the egg yolks. Add the vanilla and orange extract to the egg yolk bowl.
- With the mixer still on medium-low speed, add the eggs, 1 at a time, allowing each egg to be fully incorporated into the batter before adding the next. You may need to scrape the sides and bottom of the bowl with a spatula a time or two.
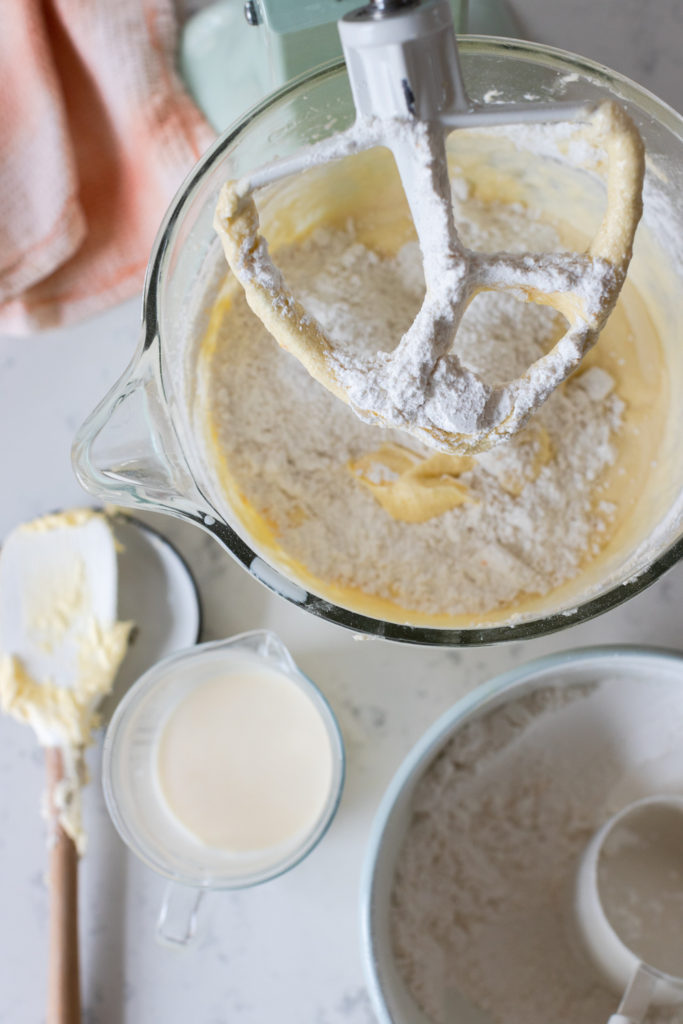
- Add the fresh squeezed orange juice to the milk. With the mixer on a low speed, stir in the the dry ingredients followed by the milk and OJ mixture in 3 additions. Begin with ⅓ of the dry ingredients, stir until just combined, followed by the half of the milk mixture. Alternating two times, starting and ending with the dry ingredients. Mix until just combined and smooth. Don’t over-beat the batter. Scrape down the sides and bottom of the bowl with a spatula to make sure it’s well combined.
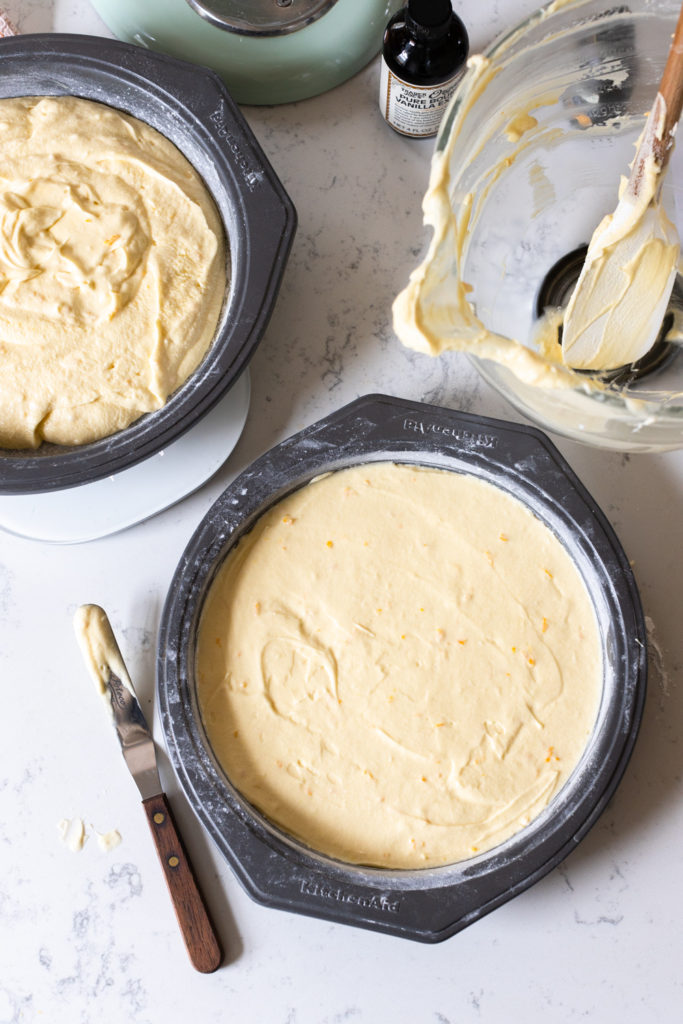
- Divide the batter into the prepared pans (a kitchen scale helps here) and smooth the top with a spatula. Bake in the center of the oven, on the same rack, for 30 to 35 minutes or until a wooden skewer inserted in the center comes out clean and the cake bounces back when lightly pressed.
- Remove the cakes from the oven and let them stand in the pans for 20 minutes. Run a butter knife between the cakes and the edge of the pan to keep from sticking. Gently invert the cakes to release from the pans and cool completely on a wire rack. Once they cakes have cooled down, it helps to stick them in the fridge to chill before slicing, this makes the slicing process a little easier.
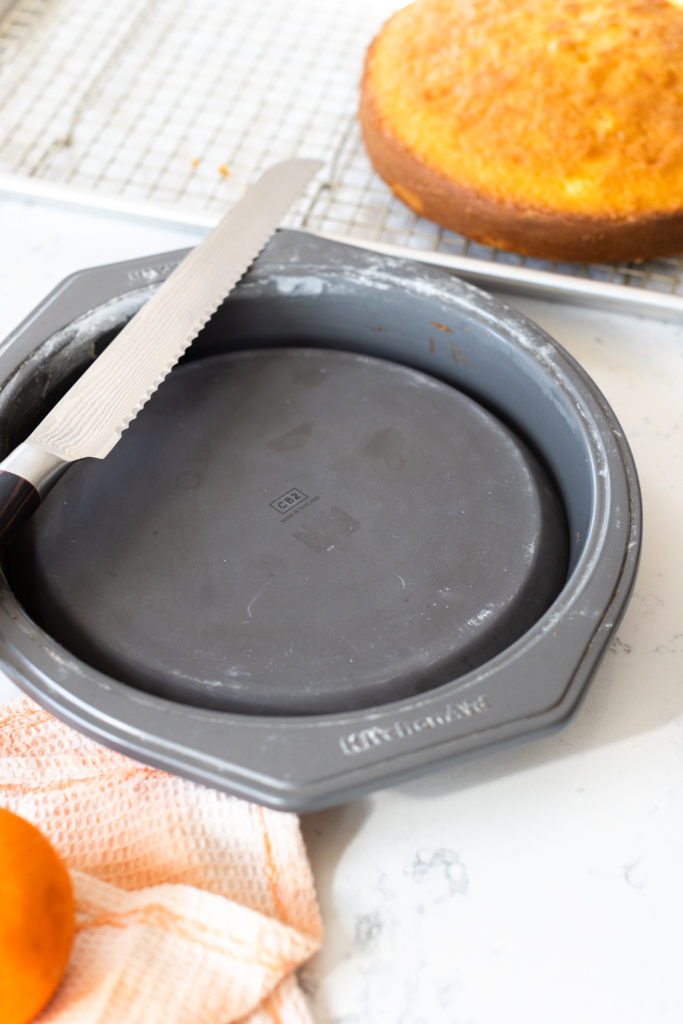
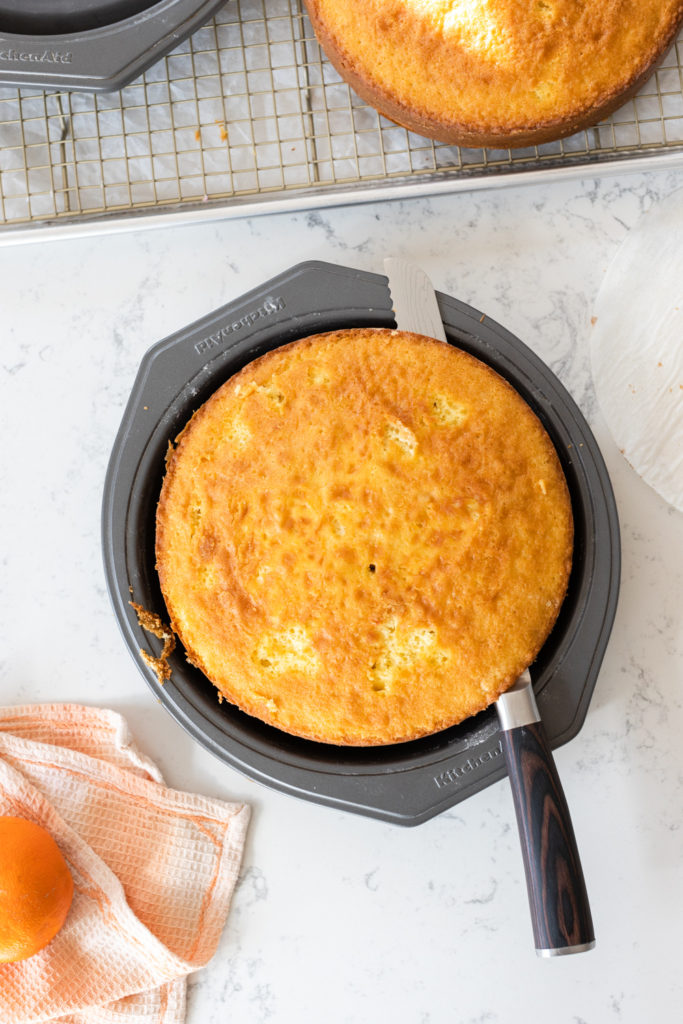
- To achieve even layers and smooth top, you'll likely need to level the cake layers. If the cake has domed up, you'll need to even it out by slicing off the dome. One easy way is to place a slightly smaller plate inside the cake pan, boosting the cake up enough to cut off the dome and flatten out the cake. Use a serrated knife to cut through by gently resting the knife along the rim of the pan and using the pan as a guide. Carefully cut through the cake and use a side to side sawing motion to slice all the way through, until you have an even surface layer. Remove from the pan and place back on the wire rack. Repeat with the second layer. If you've accumulated a lot of crumbs, gently brush the top of the cake with a pastry brush to remove excess crumbs. Snack on those cake scraps, they are delish!
MERINGUE BUTTERCREAM FILLING
- Whisk the sugar into the reserved egg whites leftover from the cake batter. Use a double boiler or set a heatproof bowl over a saucepan filled with two inches of simmering water over medium heat. Careful to to let the bottom of the egg whites bowl touch the water.
- Whisk the egg whites and sugar constantly until the sugar dissolves and mixture has thinned out. This may take 4-5 minutes. It will thin out and become frothy white on top. You can test if it’s ready by quickly dipping your finger or a clean spatula in and rubbing the mixture between your fingers but be careful because it will be very hot! it should be smooth and silky with no sugar granules. You can also use a thermometer, the desired temperature should be right around 160°F.
- Immediately transfer the mixture to the bowl of a stand mixer fitted with a whisk attachment. With the mixer on a medium-high speed, beat until beat until soft peaks form, then beat on high until stiff peaks form. You'll know you've hit stiff peak stage when you have glossy peaks that stand straight up. This will likely take at least 10-15 minutes up to 20-ish minutes, if the weather is humid.
- Make sure the meringue and the bowl have cooled down before moving on to the butter stage. If it's really warm, stick the bowl (along with the meringue) in the fridge to cool down for a few minutes. You want it room temperature so you don't inadvertently melt the butter.
- Switch the stand mixer to the paddle attachment. The butter should be softened but still slightly cool to the touch. On a medium-high speed, add the butter 1 tablespoon at a time. Allow each addition of butter to fully mix in before adding the next. Once the butter has been added, turn the mixer down to medium-low speed and add the vanilla and salt. Beat on medium-high for about 1 more minute, until smooth and creamy.
FILL THE CAKE
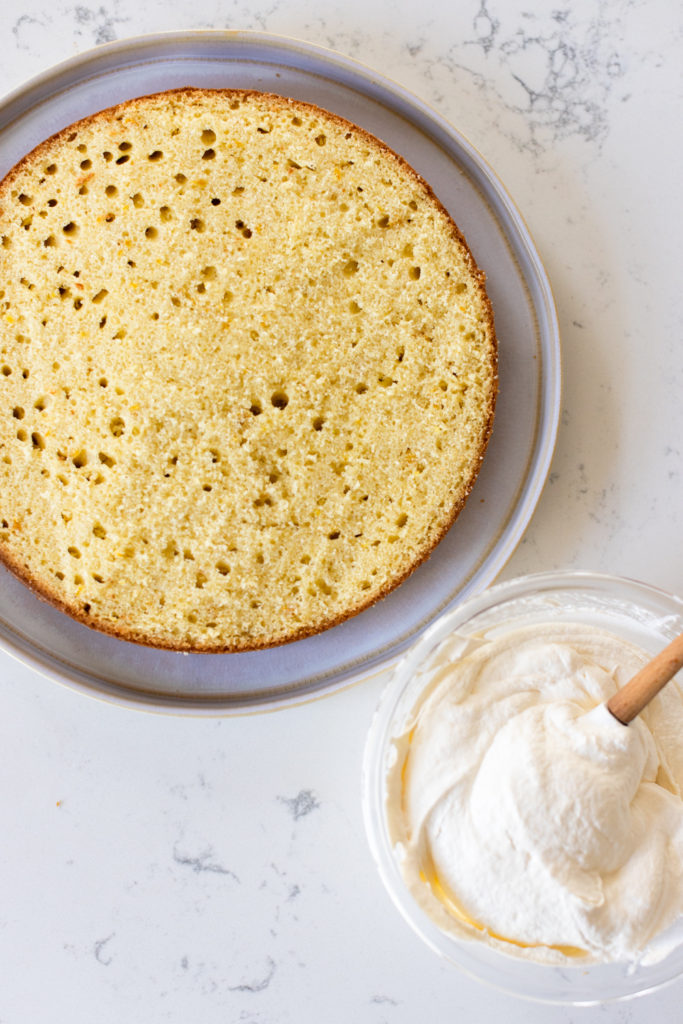
- If you haven't already, remove the parchment rounds from the bottom of the cake layers. Place the bottom layer, cut side up on a cake plate or cake stand.
- Use a spatula to gently spoon the Meringue Buttercream Filling onto the center of the bottom layer. Then use an offset spatula to gently spread the filling in an even layer over the cake, leaving about ½" unfrosted along the perimeter.
- Place the top layer, cut side down, on top of the filling. Gently nestle it on and press down carefully until the cake looks level.
WHITE CHOCOLATE GANACHE ICING
- Add the chopped white chocolate to a heatproof bowl.
- Heat the heavy cream on the stovetop or in a heatproof bowl in the microwave for 45 seconds, just until it begins to bubble.
- Pour the heavy cream over the chopped white chocolate. Cover the bowl with a plate and allow the mixture to sit for 1-2 minutes. Whisk or stir the mixture until the chocolate and heavy cream are combined. If some bits of chocolate aren't fully melted, re-heat the mixture over a double boiler or in the microwave in 10 seconds intervals, whisk until smooth and creamy.
- Whisk in the orange extract until fully incorporated. Use a measuring cup to scoop out ¼ cup and set aside for the swirl.
- Add in a few drops of food coloring to the bowl and whisk until smooth. Adding more until desired orange color is achieved.
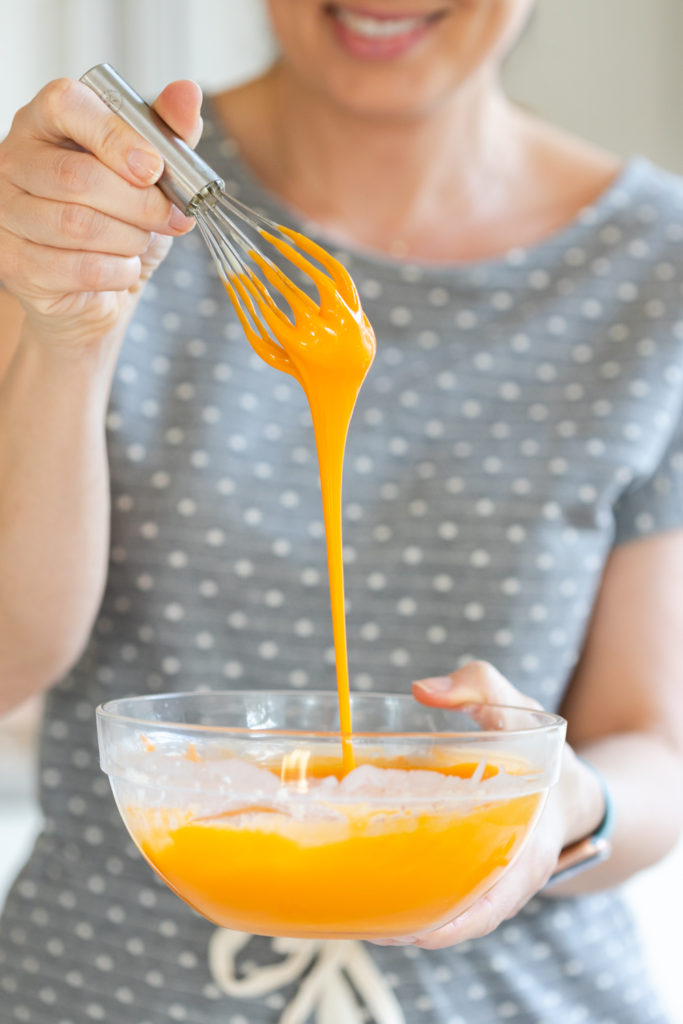
- Allow the orange colored ganache to sit at room temperature for about 25-30 minutes. You want it to thicken up before adding it to the cake. But, it should still be pourable. You can test this by dipping in a spatula, the ganache should run off the spatula in a slightly stalled, smooth pour that ribbons and holds it shape for a few moments in the bowl without instantly spreading into itself. If it's too runny, it will run off the sides of your cake and if it's too thick, it won't spread. You want to find that Goldilocks sweet spot in between.
- Once you've got the right consistency going, gently and smoothly pour the orange ganache over the center of the cake, it should slowly and smoothly spread to towards the sides. The goal is to get it to spread just to the edges and maybe drip down the sides a bit. If it hasn't spread to edges on it own after a few minutes, you can encourage the spread by carefully lifting the entire cake, on the plate, and gently tilting it to get the spread happening. Rotating until the ganache nearly reaches the edges all the way around. Alternately, you can use an offset spatula to spread the ganache over the top, but you risk not getting that perfectly even, smooth spread. Either way, it's going taste great. If any air bubbles occur, use a toothpick or wooden skewer to poke then and smooth out the ganache.
- Allow the orange ganache to set for another 30-ish minutes, until a smooth and satiny eggshell finish starts to form.
- Once the orange has set. Add the signature swirl using the remaining white chocolate ganache. You'll want it thicker than the orange ganache so it doesn't spread and holds it shape. I've found it works great after sitting at room temperature for about an hour, which aligns perfectly with the setting of the orange ganache. It should be smooth and soft but not runny.
- Prepare a piping bag and coupler with a Round Cake Decorating Tip size #5. Pour the remaining white chocolate ganache into the piping bag.
- I can't stress this enough...PRACTICE YOUR SWIRLS! I developed this recipe so there is more than enough white chocolate ganache to practice with. Lay out a piece of parchment paper for a test canvas. Holding the bag upright, not at an angle, pipe a short row of loopy swirls. This will help you determine if the ganache is the right consistency and get you in the flow! The ganache should smoothly pipe out and hold its shape when piped without spreading. If it's still spreading, wait a few minutes before trying again. If it too thick, it may be hard to squeeze. If that happens, you'll need to rewarm the ganache in the microwave or over a double boiler, just slightly. A pain yes, but a necessary step.
Once the consistency feels right, pipe a couple more practice loops to get the hang of it. If you're worried about running out of ganache, you can alway use an offset spatula to scrape up the practice swirls and return the ganache back to the piping bag. - When you feel confident in your looping skills, give it a whirl and pipe that big fat signature swirl over the center of the cake. You've got this!
- Allow the ganache to set completely before serving. It may take up to another hour or longer. But it will be worth it. Serve with a smile and brighten everyone's day with a sunny slice of this cutie Orange Cream Cake that you made with your whole heart!
Notes
- This recipe may seem bulky but the details are key to the success of this cake. I suggest reading through the entire recipe a couple of times before you begin. Then take it step-by-step. You've got this!
- This cake can be stored at room temperate for up to 3 days or 5 days in the refrigerator.
- I adapted Sally's Baking Addiction's brilliant recipe for Perfect Swiss Meringue Buttercream for the filling.
- Category: Dessert
- Cuisine: cake

Comments
No Comments