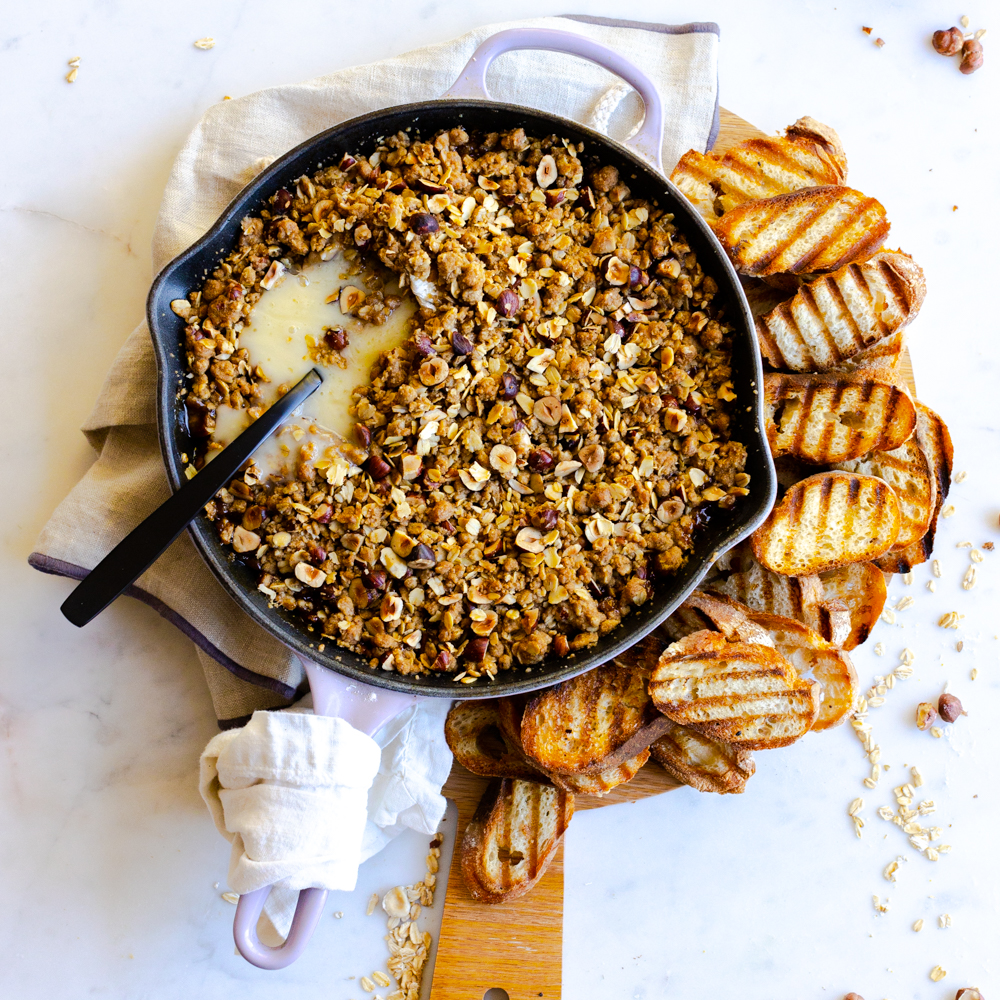
This Baked Brie Apple Crisp is my coping mechanism of choice for transitioning from summer into fall. I am always reluctant to let summer slip away. It's my soul season. And I'm happiest sitting under the warm sun sipping on something cool. But, its inevitable and the only way I know how to deal with the devastating transition from summer into fall is through food.
Apples are a soft way to bridge the seasons. They still taste fresh and fruity but lean into the fall flavors naturally. These Apple Bottom Hootenanny Pancakes and my Brown Butter Apple Oat Walnut Bread with Whipped Honey Butter are both easy ways to slip into the fall season.
After a few months of oven avoidance, baking crumbles, crisps and cobblers is a nice venture into seasonal shift. Despite my whining, I actually do welcome my lonely oven with warm, oven-mitted arms.
I've found that this Baked Brie Apple Crisp eases the tension of the transition. It's more interesting than a classic Apple Crisp. But it's still easy to make and really brings the comfort. This easy apple crisp recipe has 3 integral ingredients that weave together like a snuggly knit sweater you'll want to wear all season.
This Baked Brie Apple Crisp recipe has 3 distinct components
- Hazelnut crisp topping
- Spiced, sweet apples
- Melty, buttery brie cheese
My Baked Brie Apple Crisp recipe pulls classic fall flavors, colors and textures together and then descends deep into the coziest of caverns with creamy Brie cheese. This rustic, one skillet wonder is as easy as can be and fills your house with those homey fall aromas we forgot about over the summer.
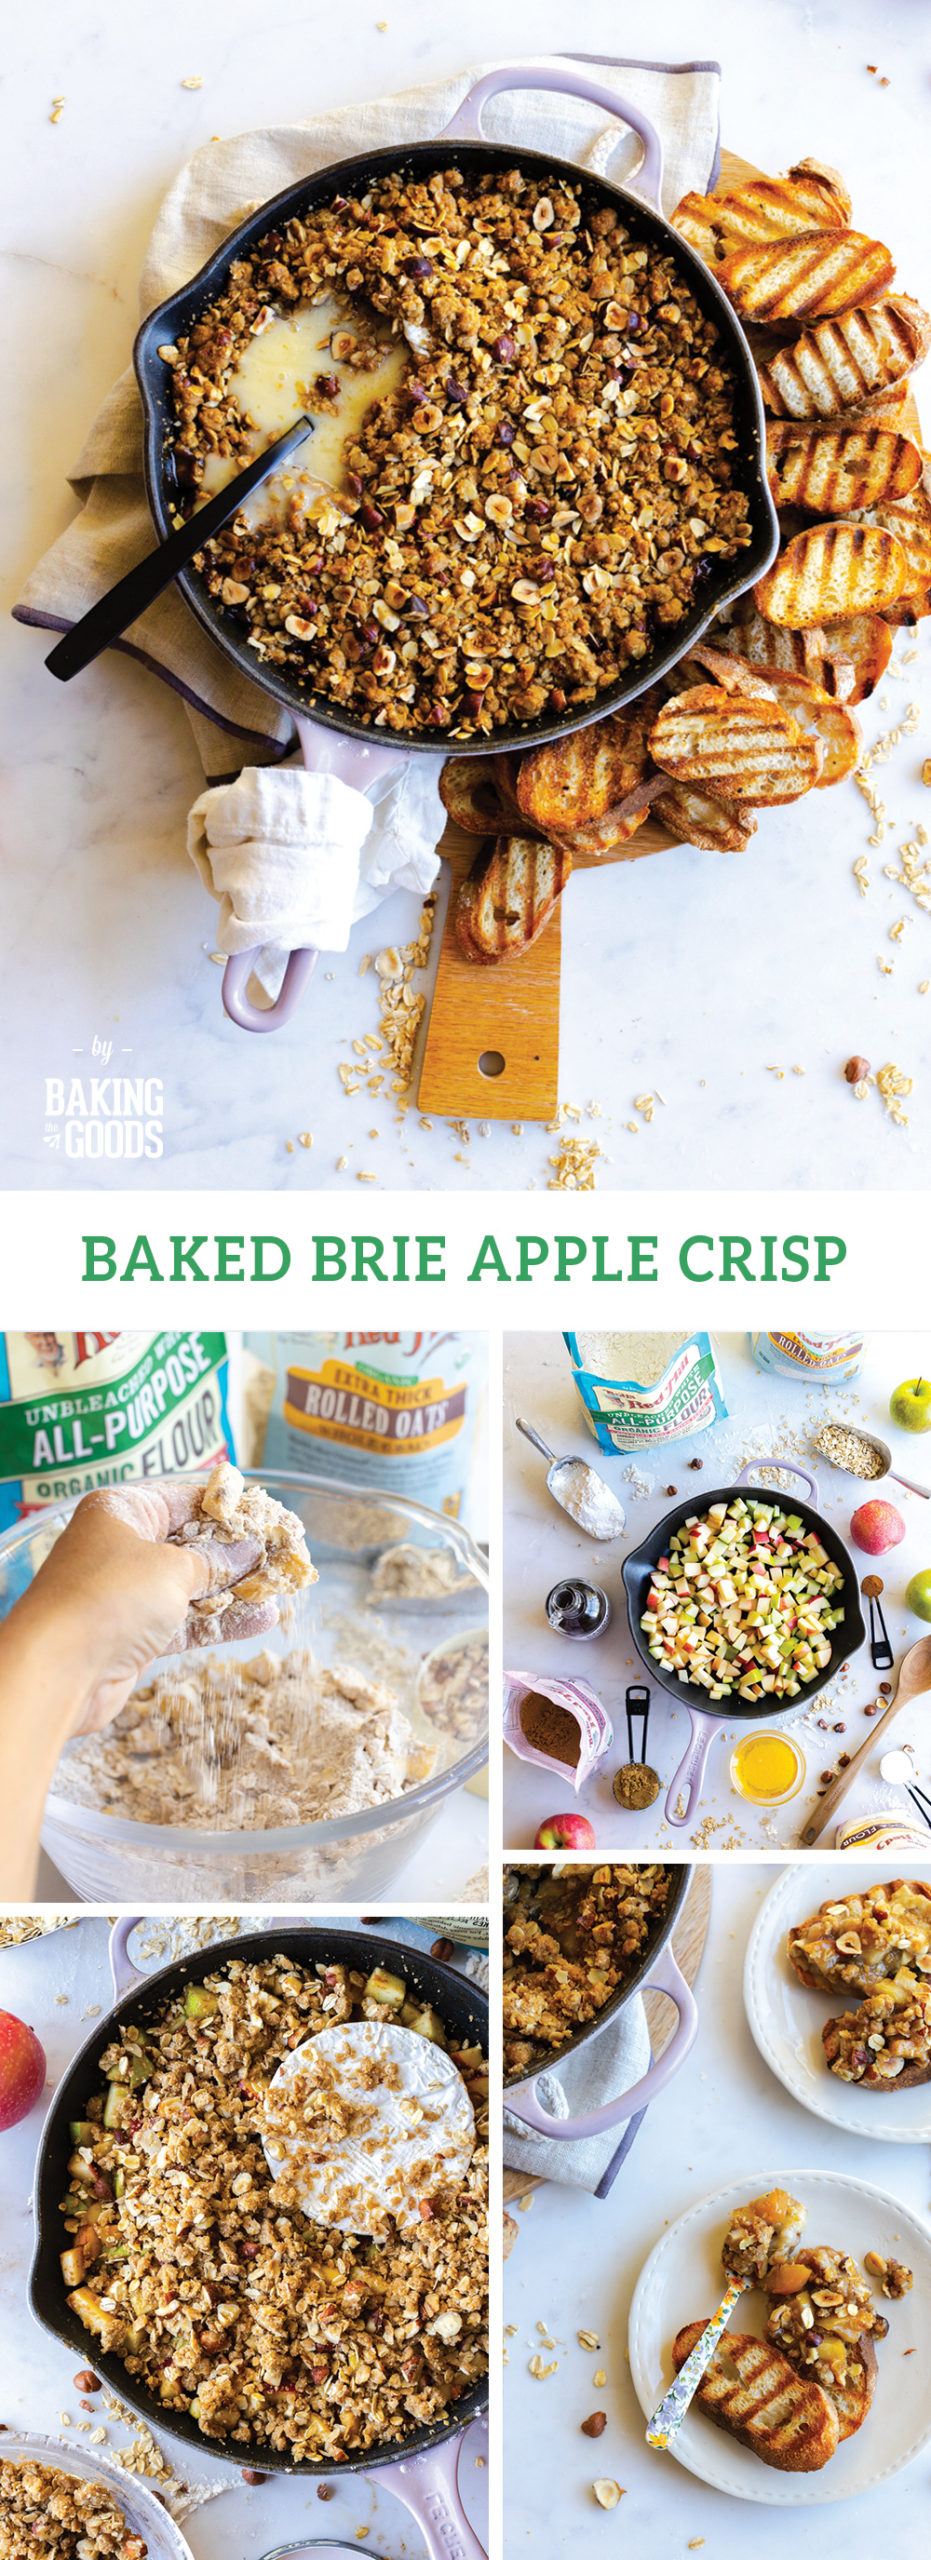
First of the season apples get tossed together with butter, brown sugar, cinnamon and smooth, sweet maple syrup. Then they slide to side and make way for an entire wheel of brie that nestles in with the spicy, sweet fruit. Apples and all get blanketed under a textural layer of fall flavors in the crumbly hazelnut crisp topping. It's an adventure in seasonality, made with chewy Bob's Red Mill extra thick rolled oats, rich brown sugar, and a seasonal mix of spicy cinnamon, cardamom, and chopped hazelnuts. All bound together in textural harmony with all purpose flour and rich butter.
Everything bakes in a single skillet, including that full brie wheel
Rind and all. I can feel some skeptical looks, but I assure you, the rind is fully edible and even encouraged to enjoy. The bloomy rind is part of the brie experience. And while it may seem off putting because the rind is a mold, it actually adds depth in both texture and flavor. If you just can't get past it, I get it. But, you kinda need that rind to keep things together while this Baked Brie Apple Crisp bakes. Once you dive in, you can simply peel back the rind if you wish.
Make the Hazelnut Crisp Topping
- Combine flour, oats, brown sugar, salt, cinnamon and cardamom. Toss together.
- Simply smoosh the cold, cubed butter into the mix with your hands until it becomes a rough and crumbly texture with large, pea sized chunks.
- Add the hazelnuts and toss together until combined.
- Refrigerate or freeze to while you prepare the apple filling. Chilling helps it keep its crumble texture while it bakes.
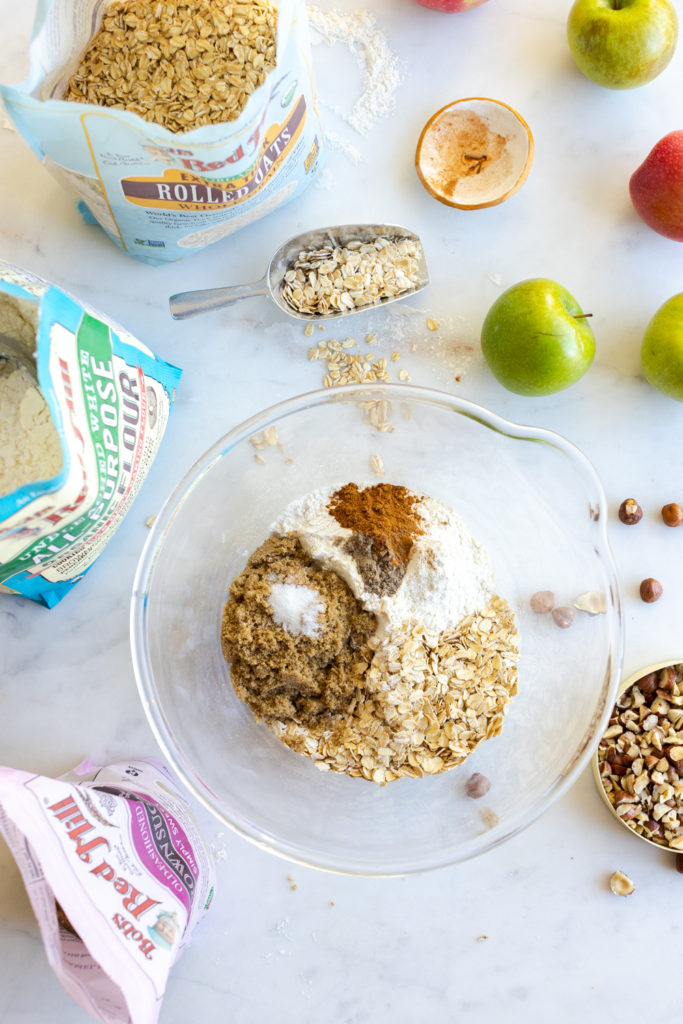
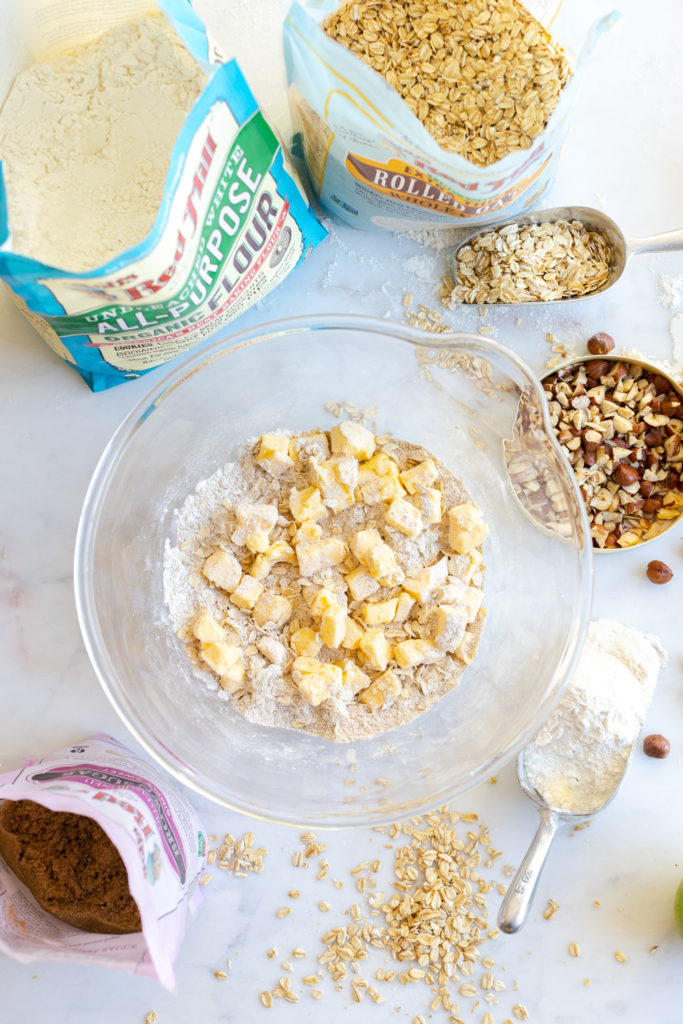
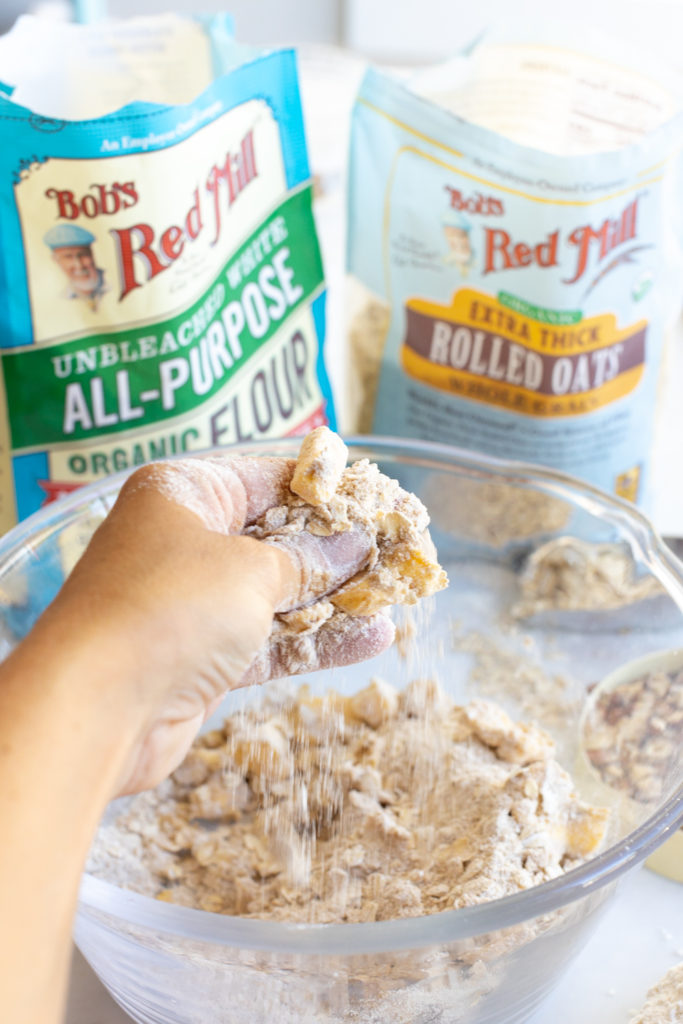
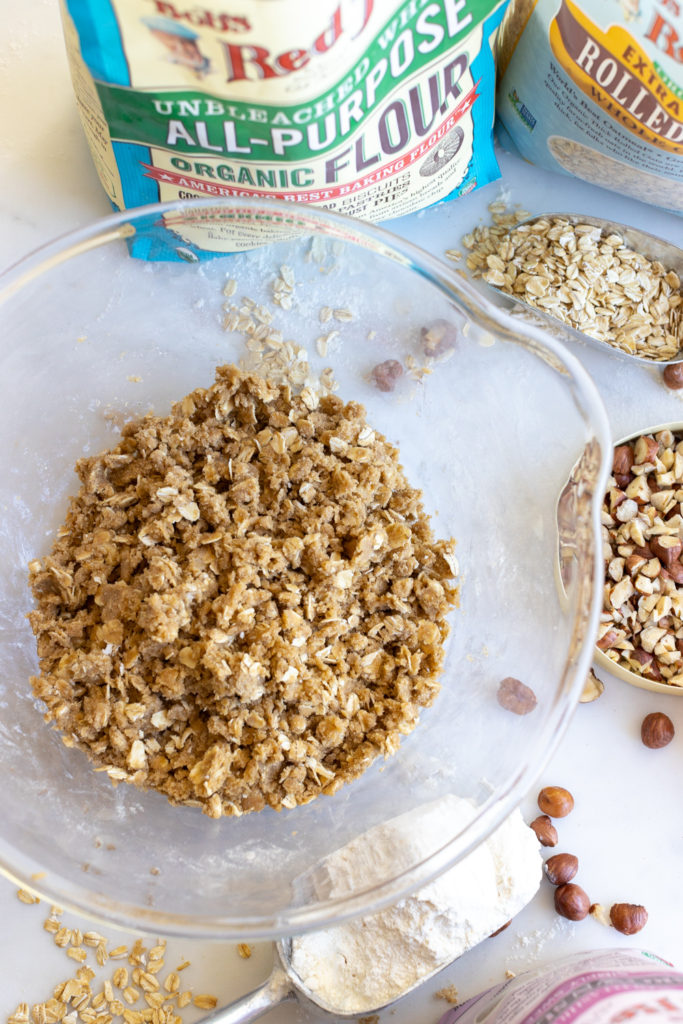
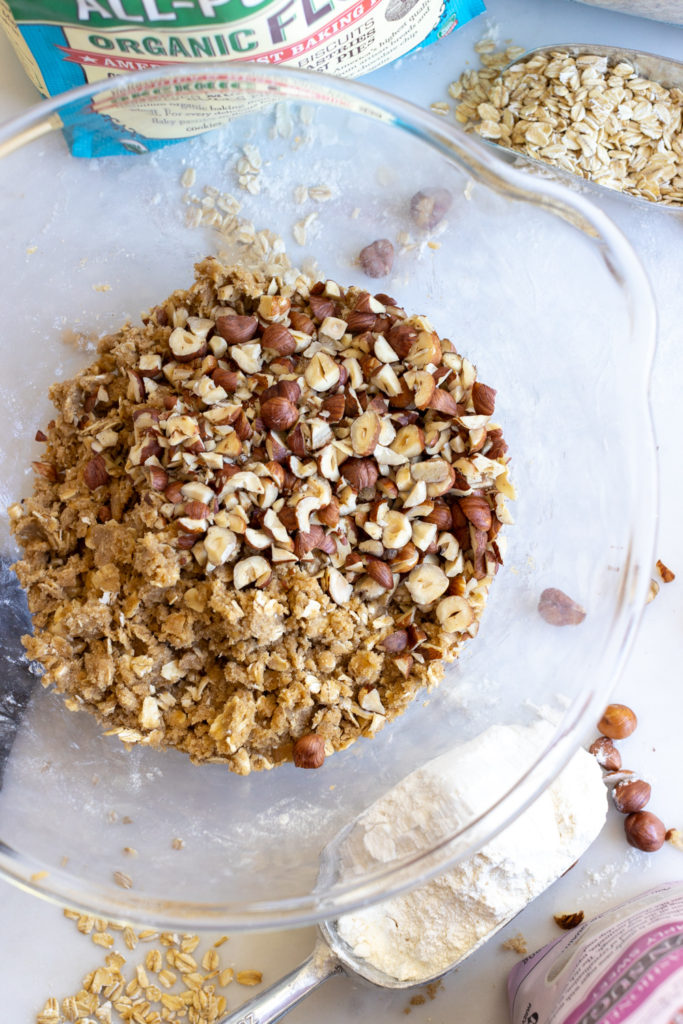
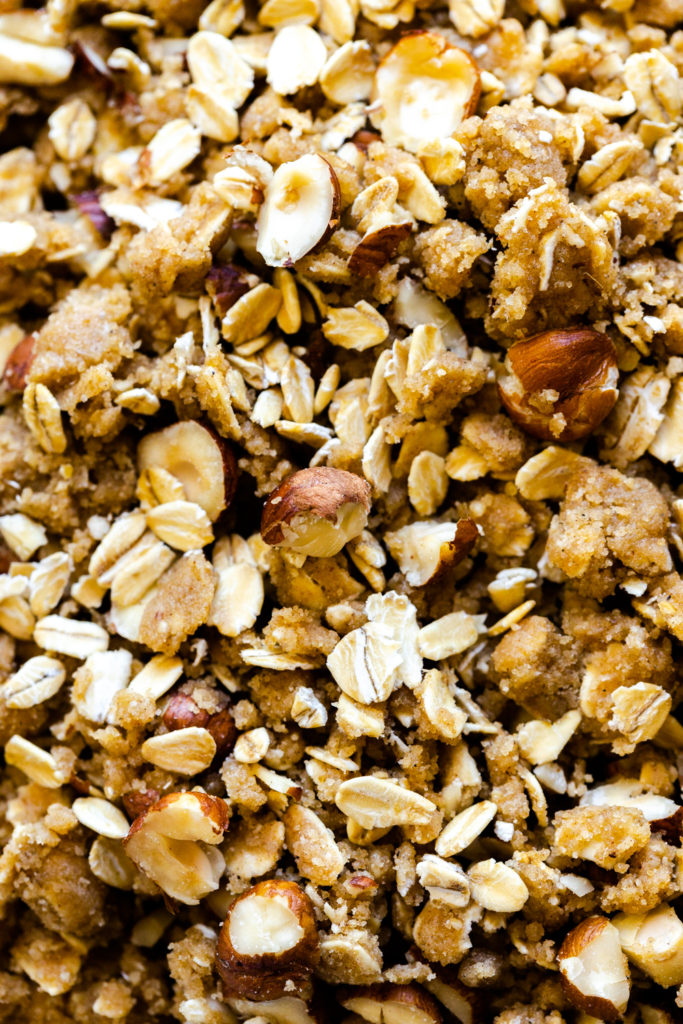
Cinammon-y apples, crispy, spiced oats and hazelnuts, that's like the embodiment of autumn. The warm brie acts as the chunky wool scarf that completes the whole fall ensemble. It symbolically ties the sweater, socks and stocking cap together. Serve it with grilled or toasted bread hunks and fresh apples to really rock the fall feels.
Make the Apple Brie Filling
- Place the whole Brie cheese wheel in the freezer. This will firm it up and help it maintain its shape while baking so you can control the cheese ooze!
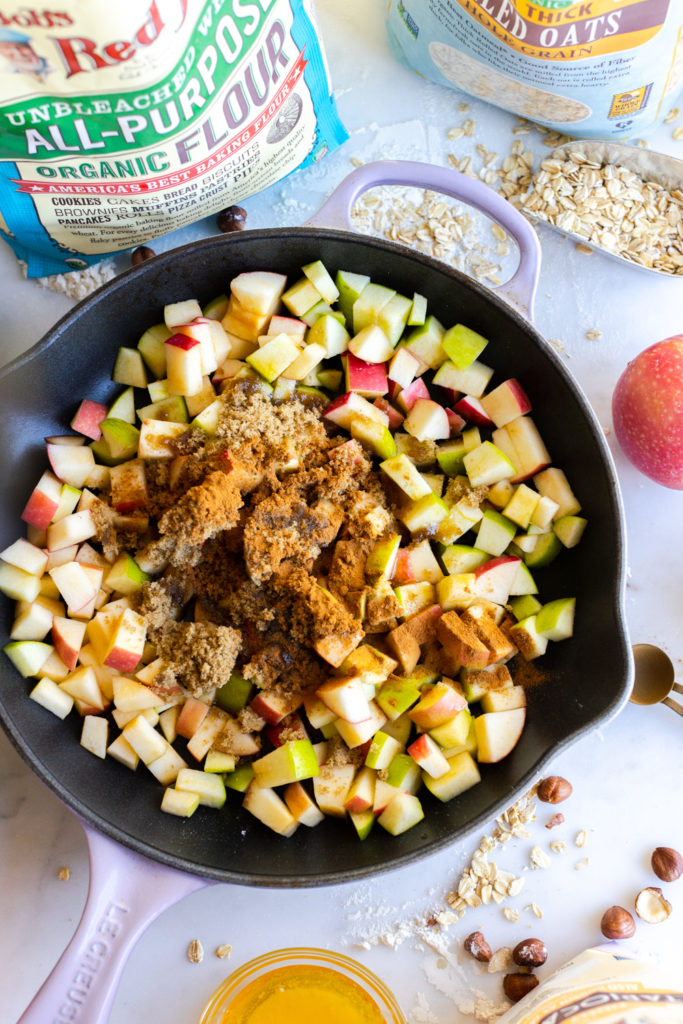
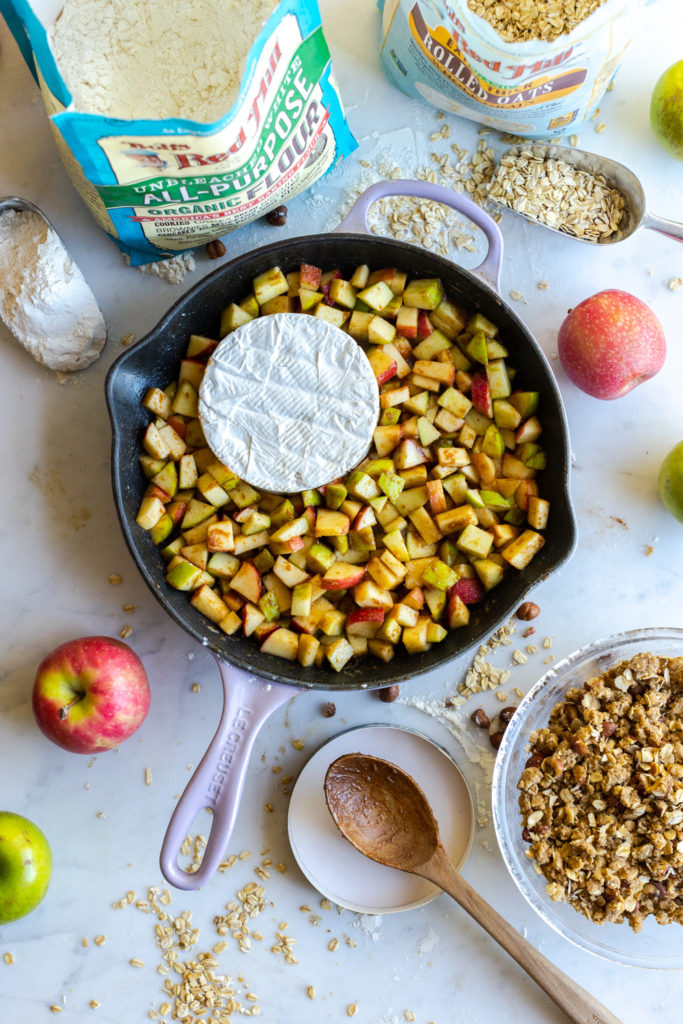
- Toss the chopped apples with brown sugar, cinnamon, salt, maple syrup and melted butter together in cast iron skillet.
- Add the tapioca flour and toss to combine until absorbed. It helps thicken the filling as it bakes.
- Scrape some of the apples to the side to make a well for the chilled Brie, then place the entire Brie cheese wheel (rind and all) in the well.
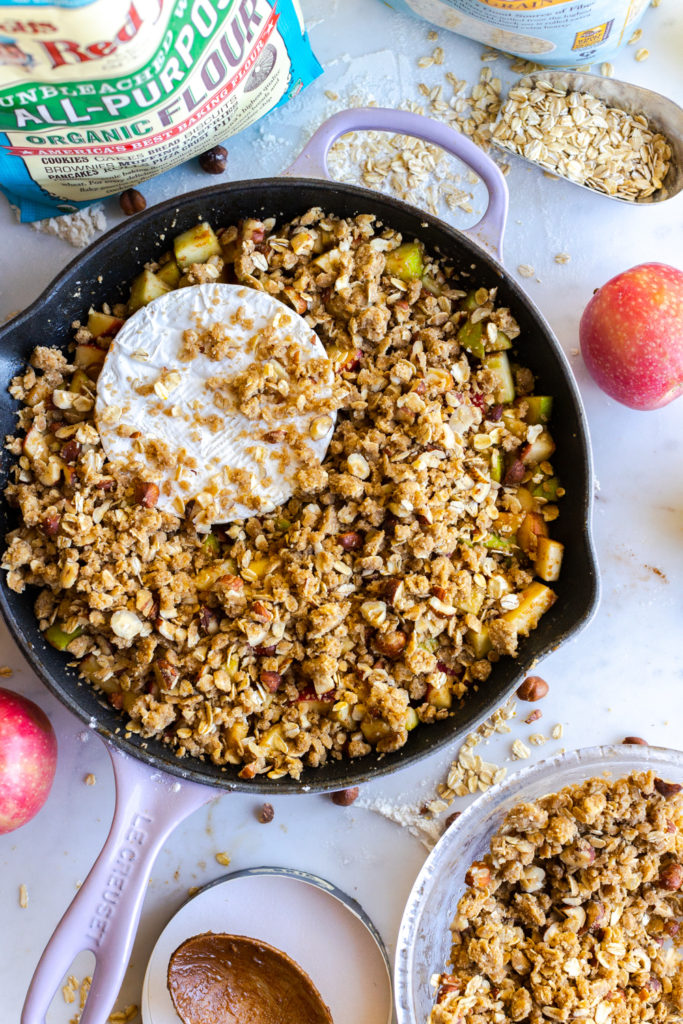
- Top the apples and Brie evenly with chilled hazelnut crumble topping.
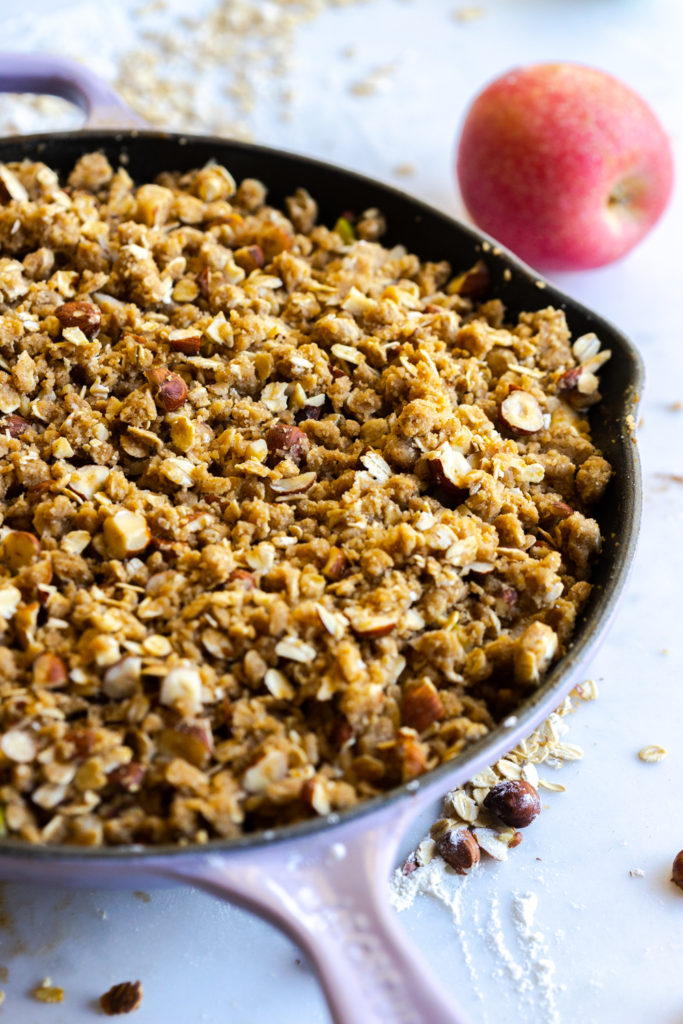
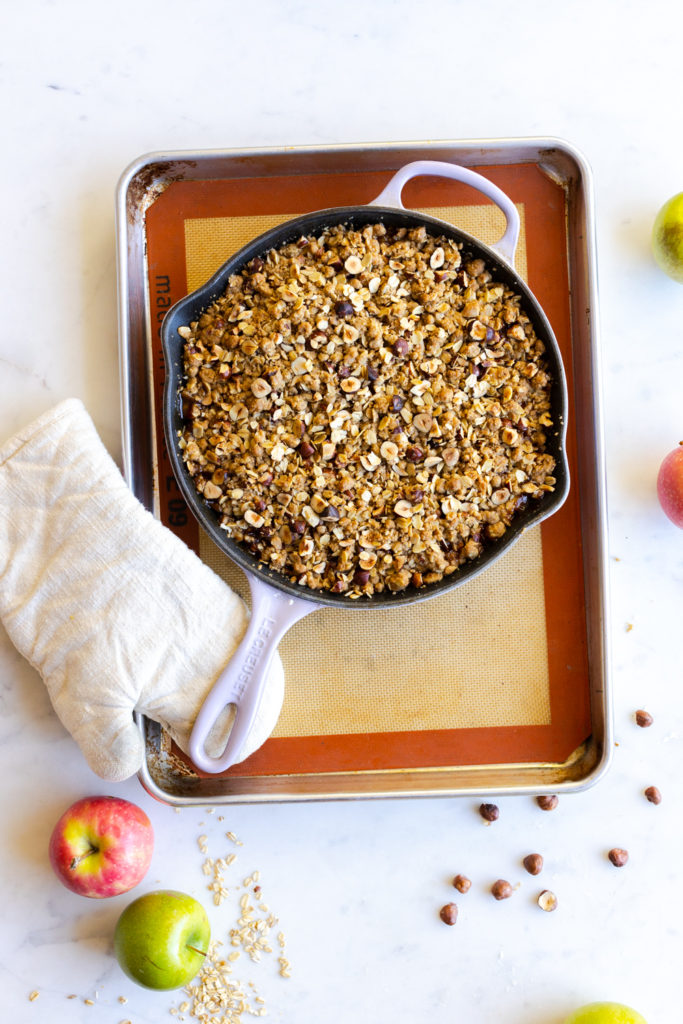
- Bake at 350°F for 40 - 45 minutes until the filling is bubbly and the top is golden and crispy.
How to serve the Baked Brie Apple Crisp
- Sprinkle with sea salt flakes if you're a person who likes a little salty with their sweet like me.
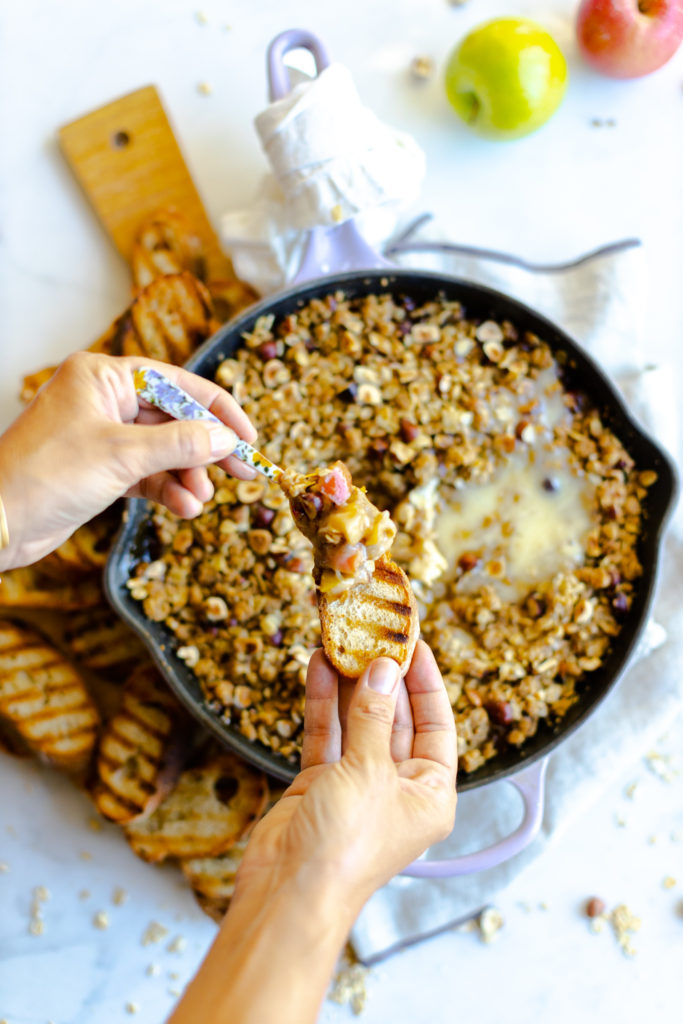
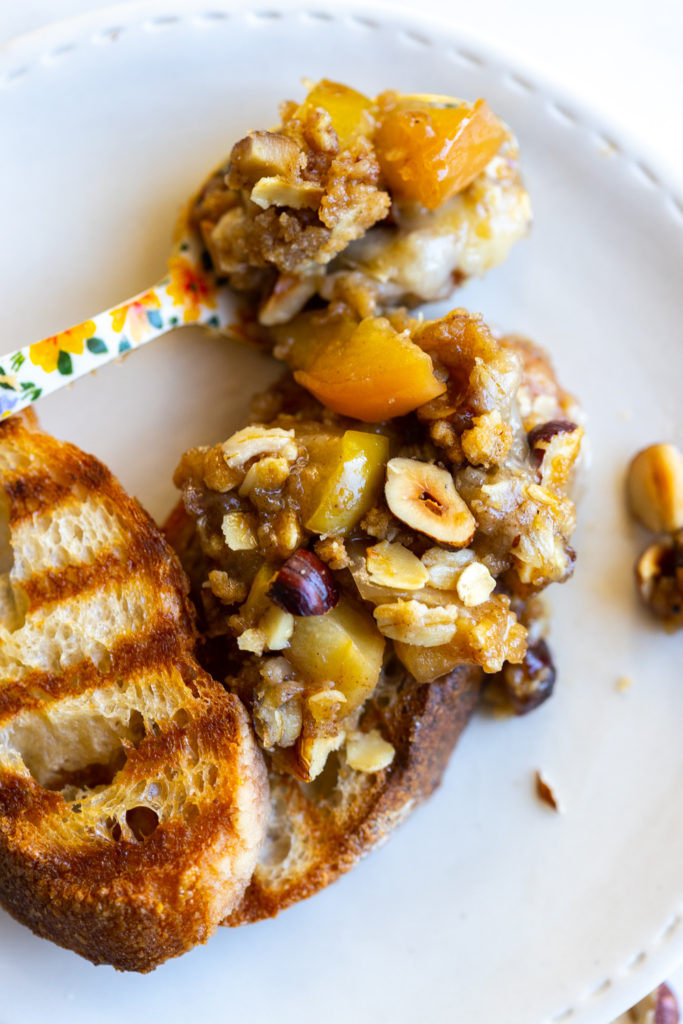
- Then, use a spoon to puncture the brie so it can ooze out into the crisp.
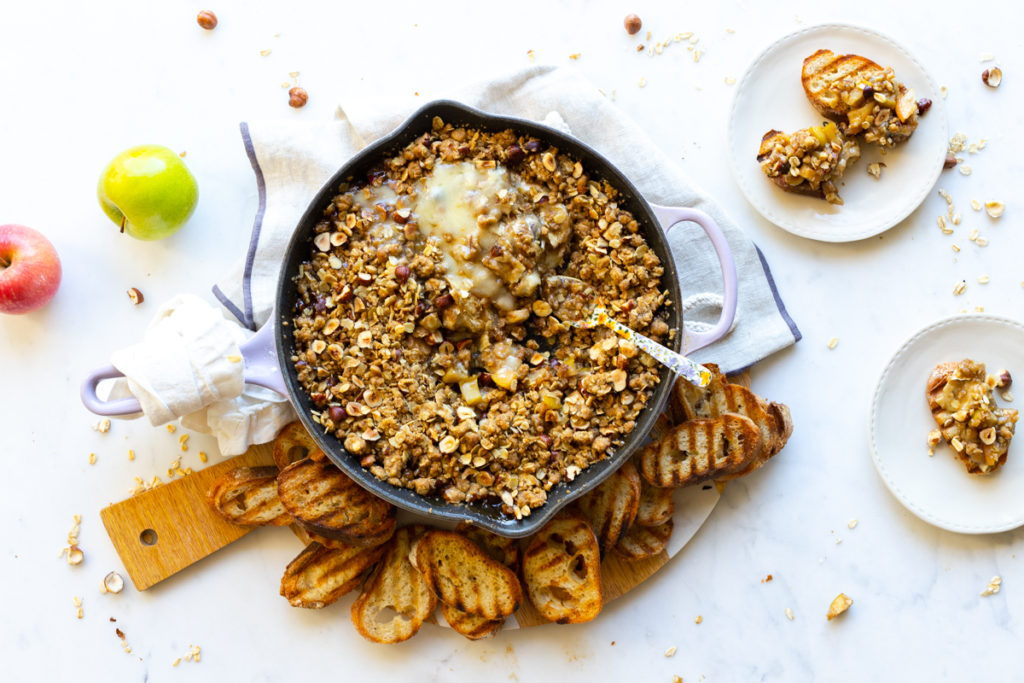
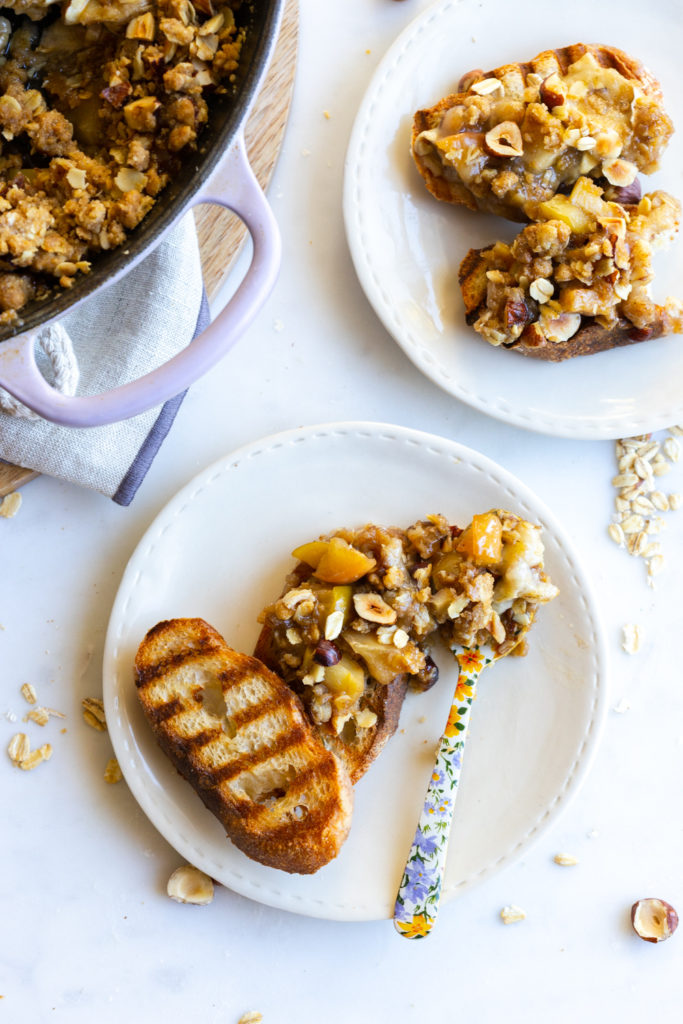
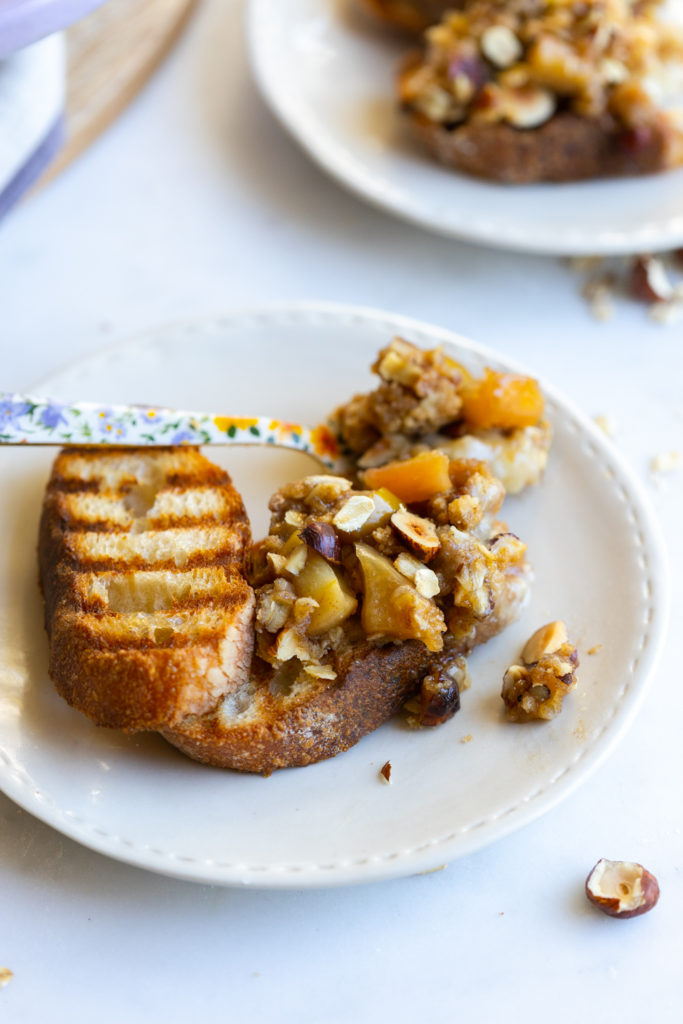
- Serve immediately with grilled bread, sliced baguette, sliced apples or crackers of your choice.
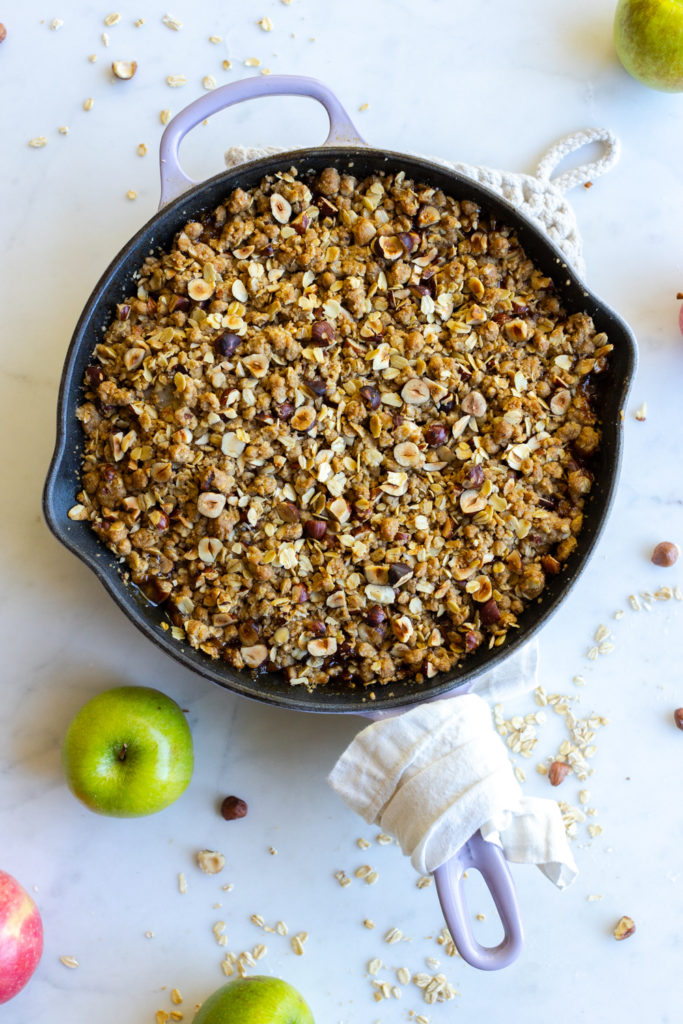
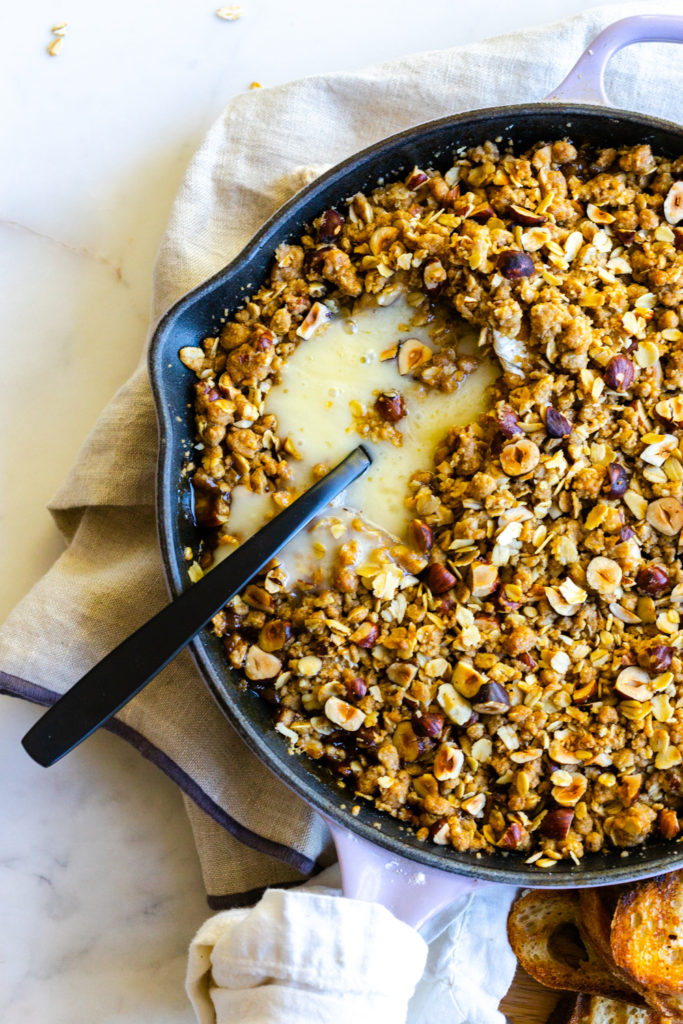
The moment you burst that brie and the melty rivers go oozing out into the crisp topped apples, you can feel yourself sink deeper into the season. As much as I hate to see summer go, this crisp softens the blow with ooey gooey, buttery brie and all of my favorite fall flavors. Slip into a chunky cable knit sweater and your warmest wool socks, then settle in to bake this easy and rustic Baked Brie Apple Crisp all fall.
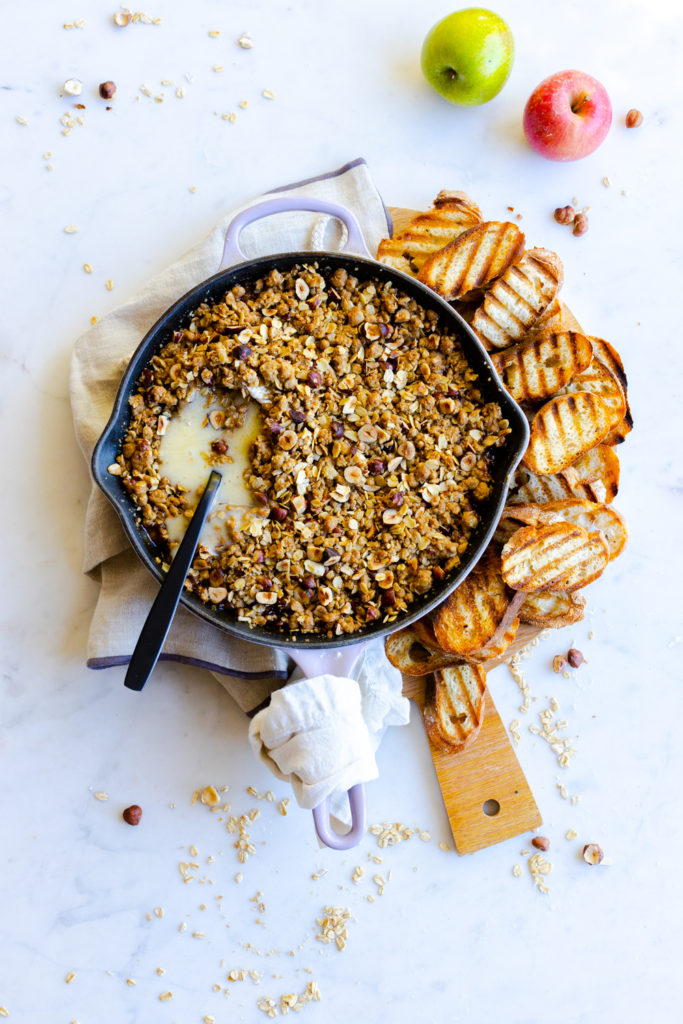
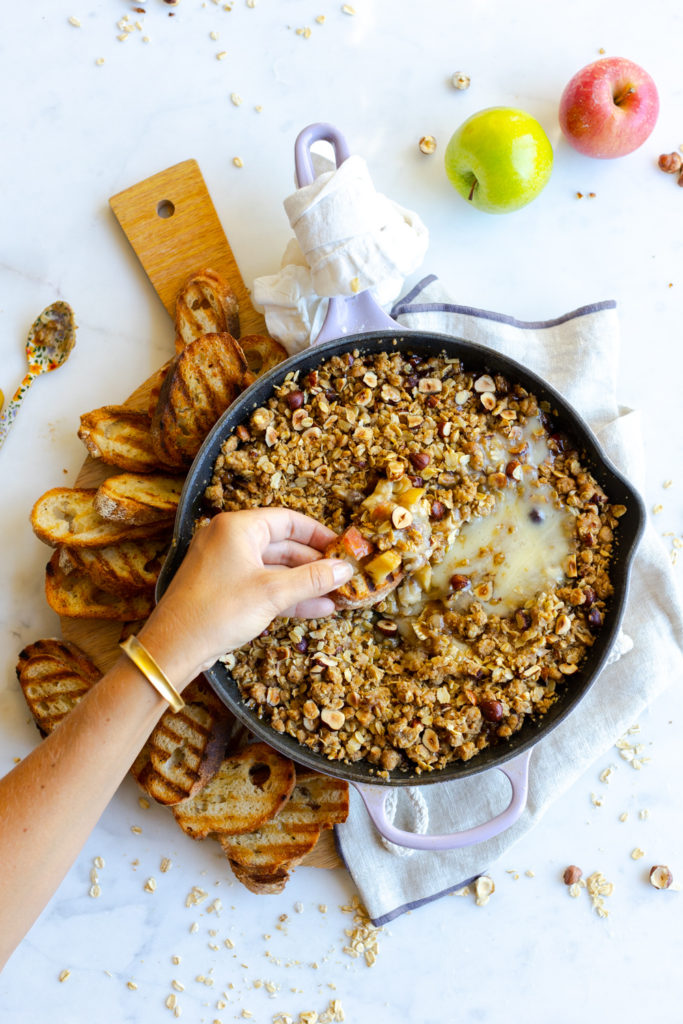
This post was made is in partnership with Bob’s Red Mill. Follow Bob’s Red Mill on Instagram and Facebook or check out bobsredmill.com to shop their impressive lineup of flours, whole grains, seeds, and so much more.
Thank you for supporting me and the brands that I love!
Recipe
Baked Brie Apple Crisp
- Total Time: 1 hour 10 minutes
- Yield: 28
Description
Maple and cinnamon spiced apples and a full wheel of Brie cheese get blanketed and baked under a textural layer of crumbly, spiced hazelnut crisp topping. This Baked Brie Apple Crisp is served straight from the oven and the Brie is immediately burst, creating rivers of ooey-gooey goodness running throughout.
Ingredients
HAZELNUT CRUMBLE TOPPING
- ¾ cups all purpose flour (- or GF flour of your choice)
- ¾ cups thick rolled oats
- ½ cup brown sugar
- ¾ teas ground cinnamon
- ½ teaspoon ground cardamom
- ½ teaspoon fine sea salt
- ½ cup unsalted butter (- cold and cut into ¼" cubes)
- ½ cup hazelnuts (- roughly chopped)
- ½ - 1 teaspoon sea salt flakes (- optional, to taste)
APPLE BRIE FILLING
- 3 cups Granny Smith, Pink Lady or Honeycrisp apples, chopped into ½" chunks (- about 3 medium apples)
- ¼ cup brown sugar
- 2 tablespoons maple syrup
- 2 tablespoons melted butter
- ½ teaspoon ground cinnamon
- ½ teaspoon fine sea salt
- 1 tablespoon tapioca flour
- 8 ounce Brie Cheese wheel
Instructions
- Before you begin, place the whole Brie cheese wheel in the freezer. This will firm it up and help it maintain its shape while baking so you can control the cheese ooze. No biggie if you don't chill it first. It will be delicious either way!
HAZELNUT CRUMBLE TOPPING
- Arrange a rack in the middle of the the oven and heat to 350°F.
- In a medium sized mixing bowl, combine flour, oats, brown sugar, salt, cinnamon and cardamom. Toss or whisk together.
- Use your hands to smoosh the cold butter cubes into the mix until you have a rough and crumbly texture with large, pea sized chunks. Add the hazelnuts and toss together until combined.
- Place the crisp topping in the refrigerator or freezer to chill while you prepare the apple filling. Chilling helps it keep its crumble texture while it bakes.
APPLE BRIE FILLING
- Place the chopped apples in a 10 ¼" cast iron skillet, 9" pie plate or 11x7-inch baking dish. Add brown sugar, cinnamon, salt, maple syrup and melted butter and toss together. Allow to sit for a few minutes while the juices release.
- Add the tapioca flour and toss to combine until absorbed. It helps thicken the filling as it bakes.
- Scrape some of the apples to the side to make a well for the chilled Brie, then place the entire Brie cheese wheel (rind and all) in the well.
- Top the apples and Brie evenly with chilled crumble topping.
- Place on a parchment or Silpat lined baking sheet and bake at 350°F for 40 - 45 minutes until the filling is bubbly and the top is golden and crispy.
- Sprinkle with some sea salt flakes if you're a person who likes a little salty with their sweet. Then, use a spoon to puncture the brie so it can ooze out into the crisp. Serve immediately with grilled bread, sliced baguette, sliced apples or crackers of your choice.
- Prep Time: 25 minutes
- Cook Time: 45 minutes




Comments
No Comments