
PUBLIC Announcement: Today's very special post was lovingly written for and brought to you by PUBLIC Bikes, and may even make you feel all the feels you felt way back when you first learned to ride a bike.
Baking and bicyles
Around age 10, I became the proud owner of a 10 speed white Murray with a lavender and teal graphics package. I’d been pining for a multi-speed for months, and that moment when I first switched gears, I believed I could fly. I loved and cared for that bike like nothing I’d owned before. I stored it in the garage, hand washed it and added personal flair by precisely placing a Simpsons sticker on the headset and tricked out the wheels with color coordinated spoke beads.
My bike opened up a whole new world of adventures and excitement that I never knew existed. For the first time in my life, I was able to ride anywhere I wanted, on my own terms. Down the hill to my BFF’s. Through the woods and over the dips. To the supermarket to buy candy. Past my crush’s house (feeling mortified when he was outside playing basketball as I rolled by in excruciatingly slow motion). I cruised, I careened, I crashed. It was my first taste of independence, and boy was it sweet.
Sometime during Junior High, riding a bike became the international symbol of Nerd status, and my bike was buried in the garage behind the Pogoball and the Radio Flyer. I survived high school, went on to college and had more jobs than I care to remember. By then, I simply didn’t have the space in my life, or my apartment, for a bike.
Years later, well into my 20s, my husband surprised me with a sparkling electric blue vintage cruiser for my birthday. It had been so long since I’d ridden a bike, but that old adage rang true as muscle memory took over and I pedaled my way through the neighborhood. I rode like the wind and felt myself lift off the ground, pedaling past the moon straight back to my childhood in one of those magical ET moments. That vintage feeling of newfound freedom took over and I fell in love with biking again.
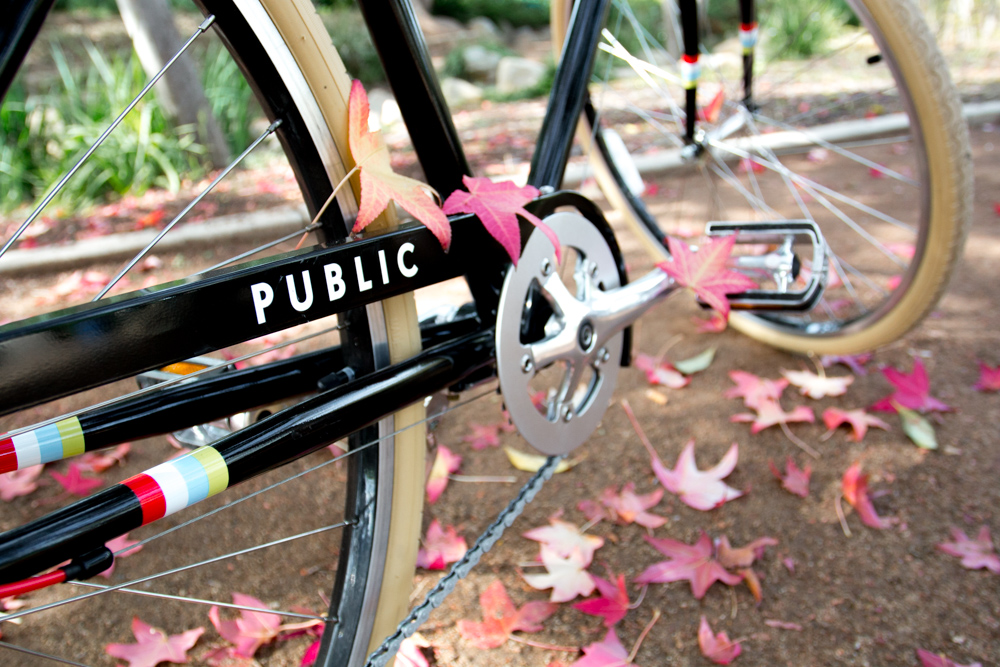
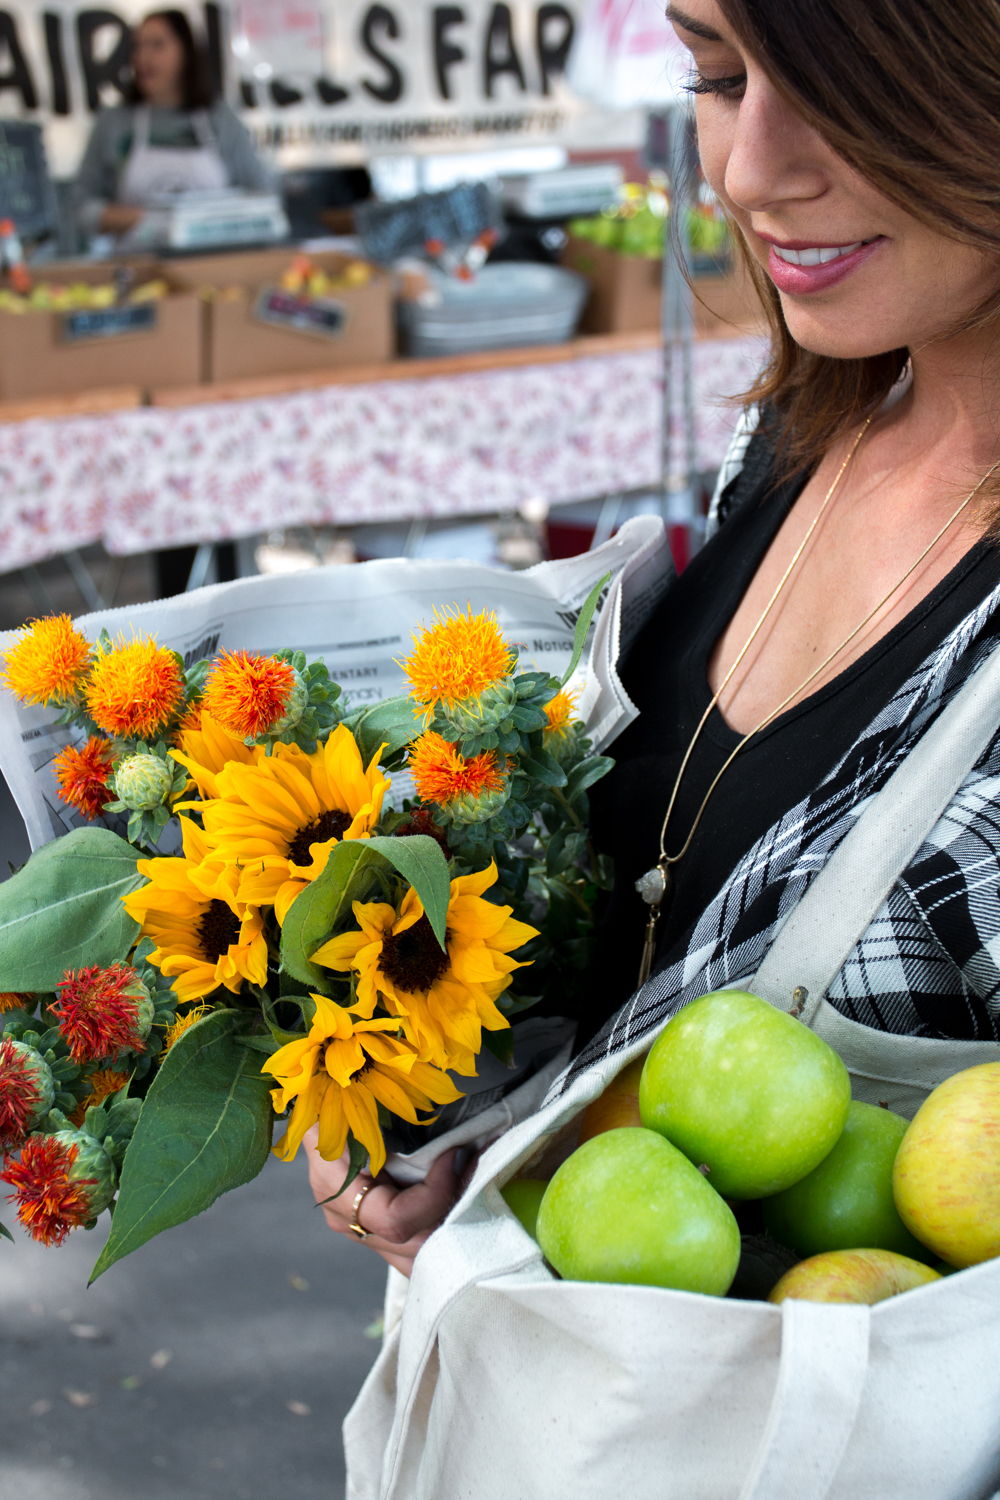
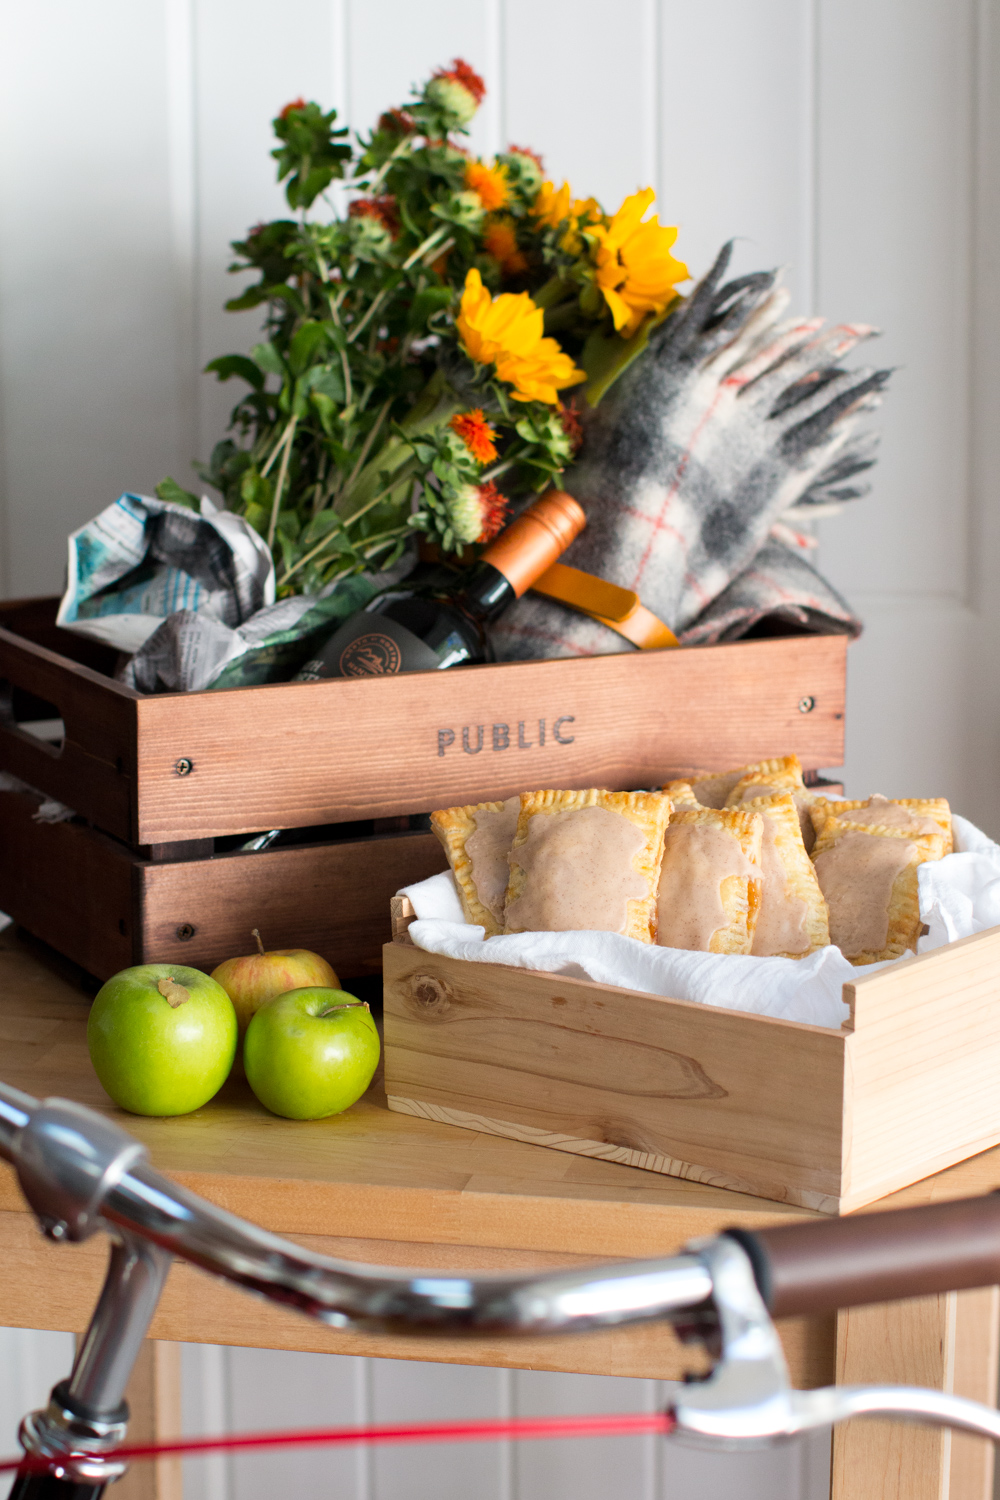
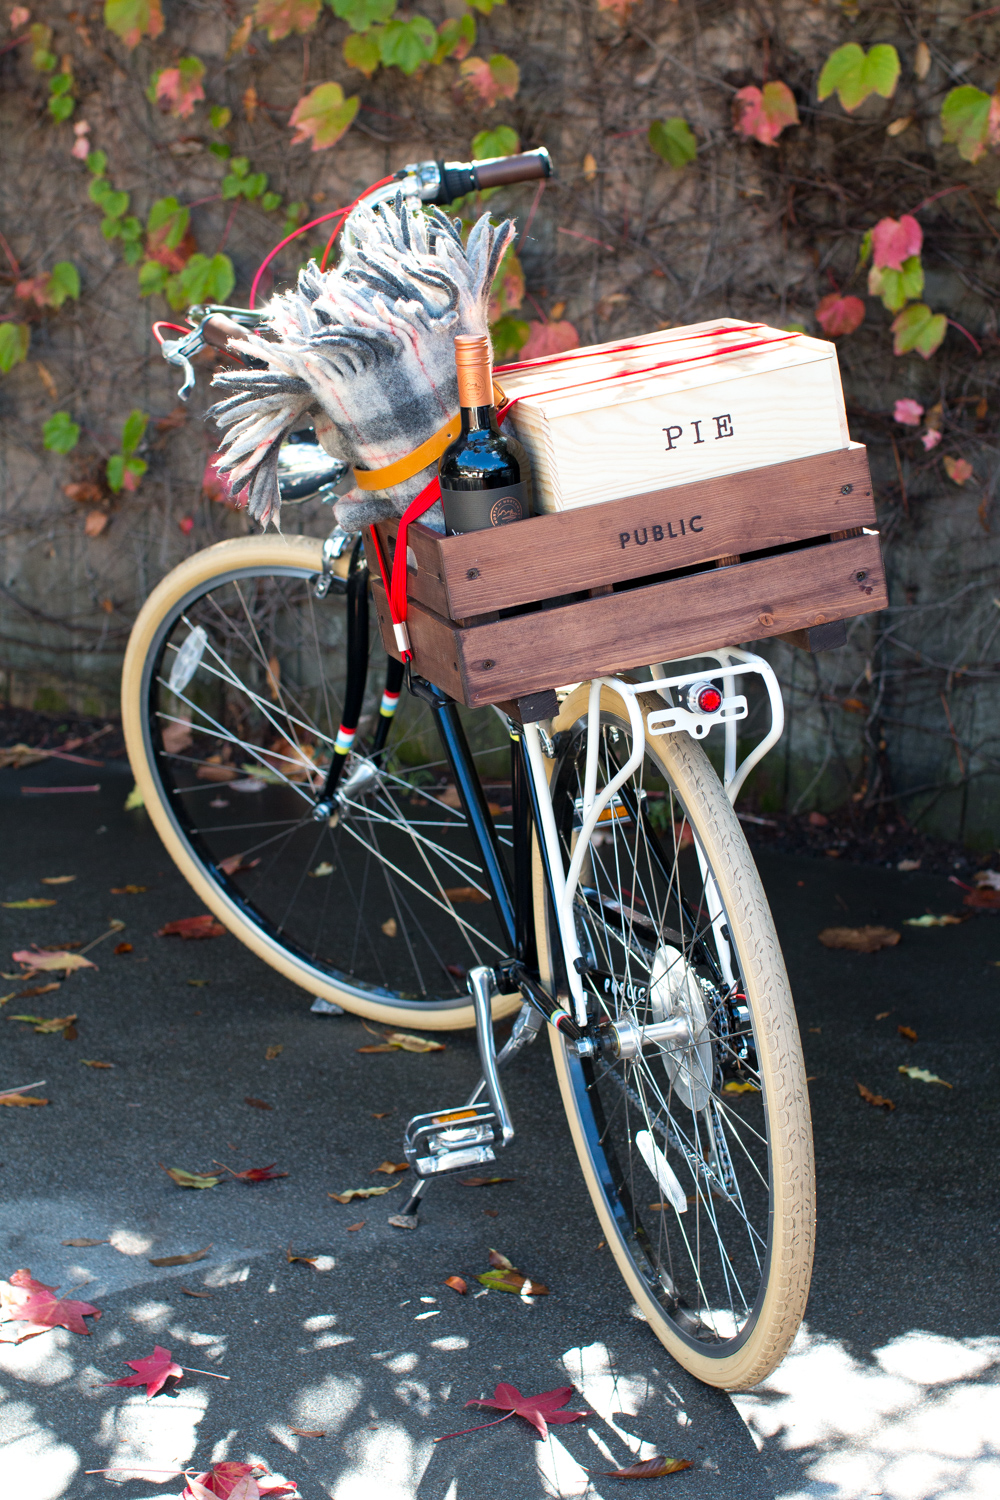
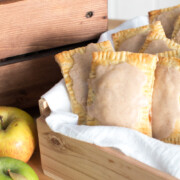
I still get a twinge of nostalgia when I cruise around on my PUBLIC V7. This time of year, between the crisp weather and the saffron-colored harvest moon, those ET flashbacks are palpable. To capture the spirit of the season, I rode my bike to my local farmer’s market and loaded up on seasonal goods. There is no better Fall fruit than apples, and seeing them stacked high at the market inspired me to recreate another childhood treat, the Pop Tart.
Let's make pop tarts
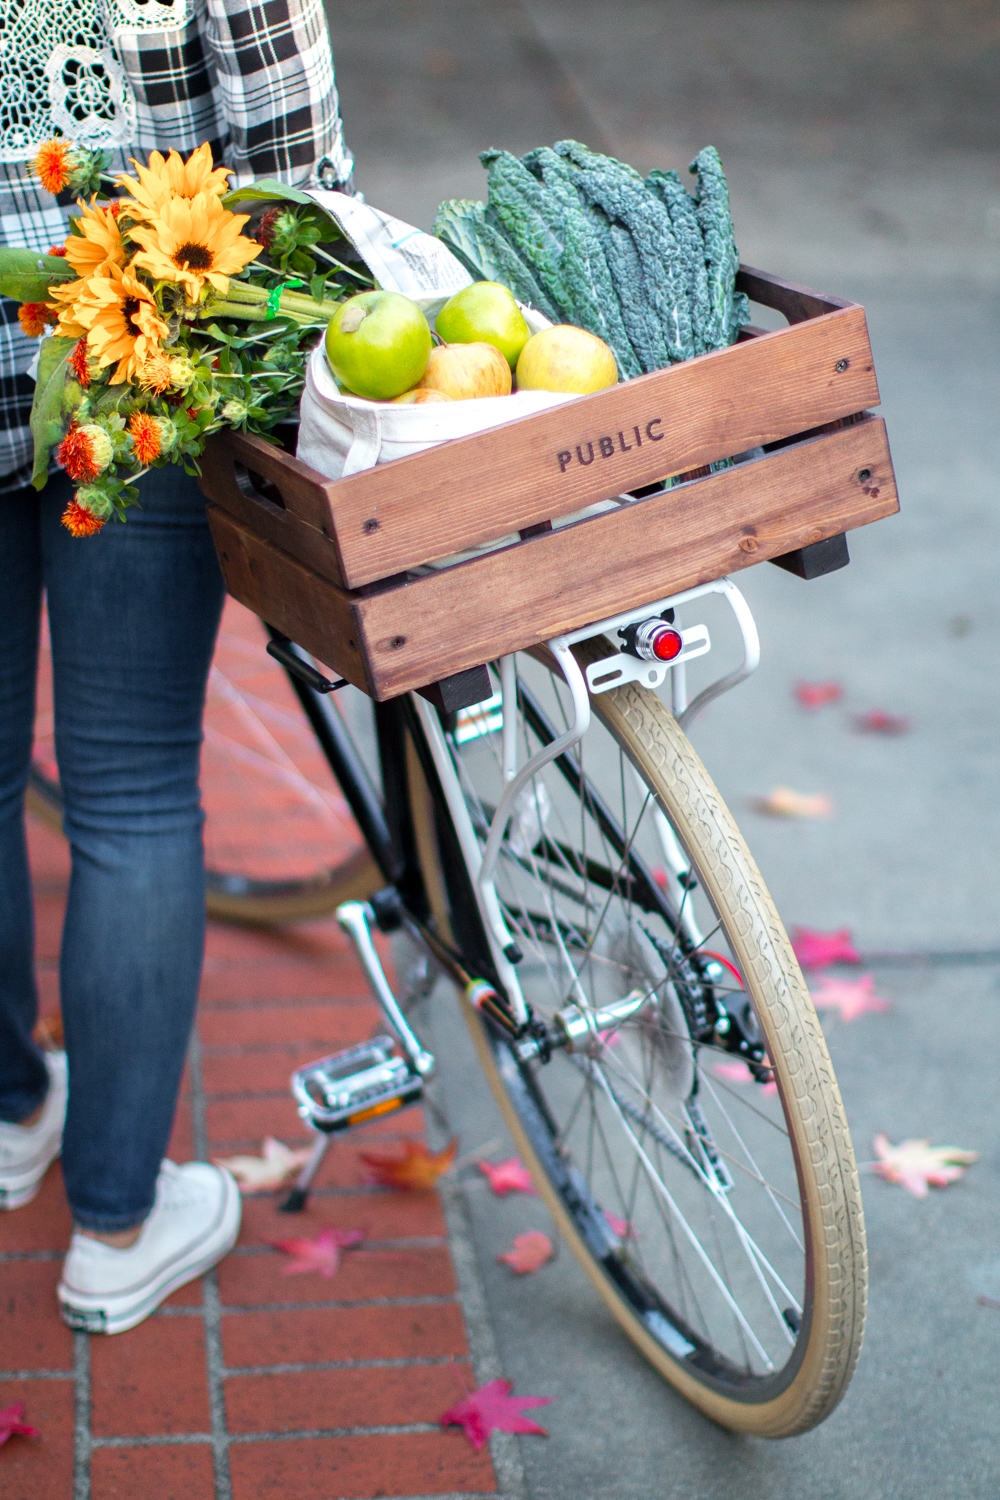
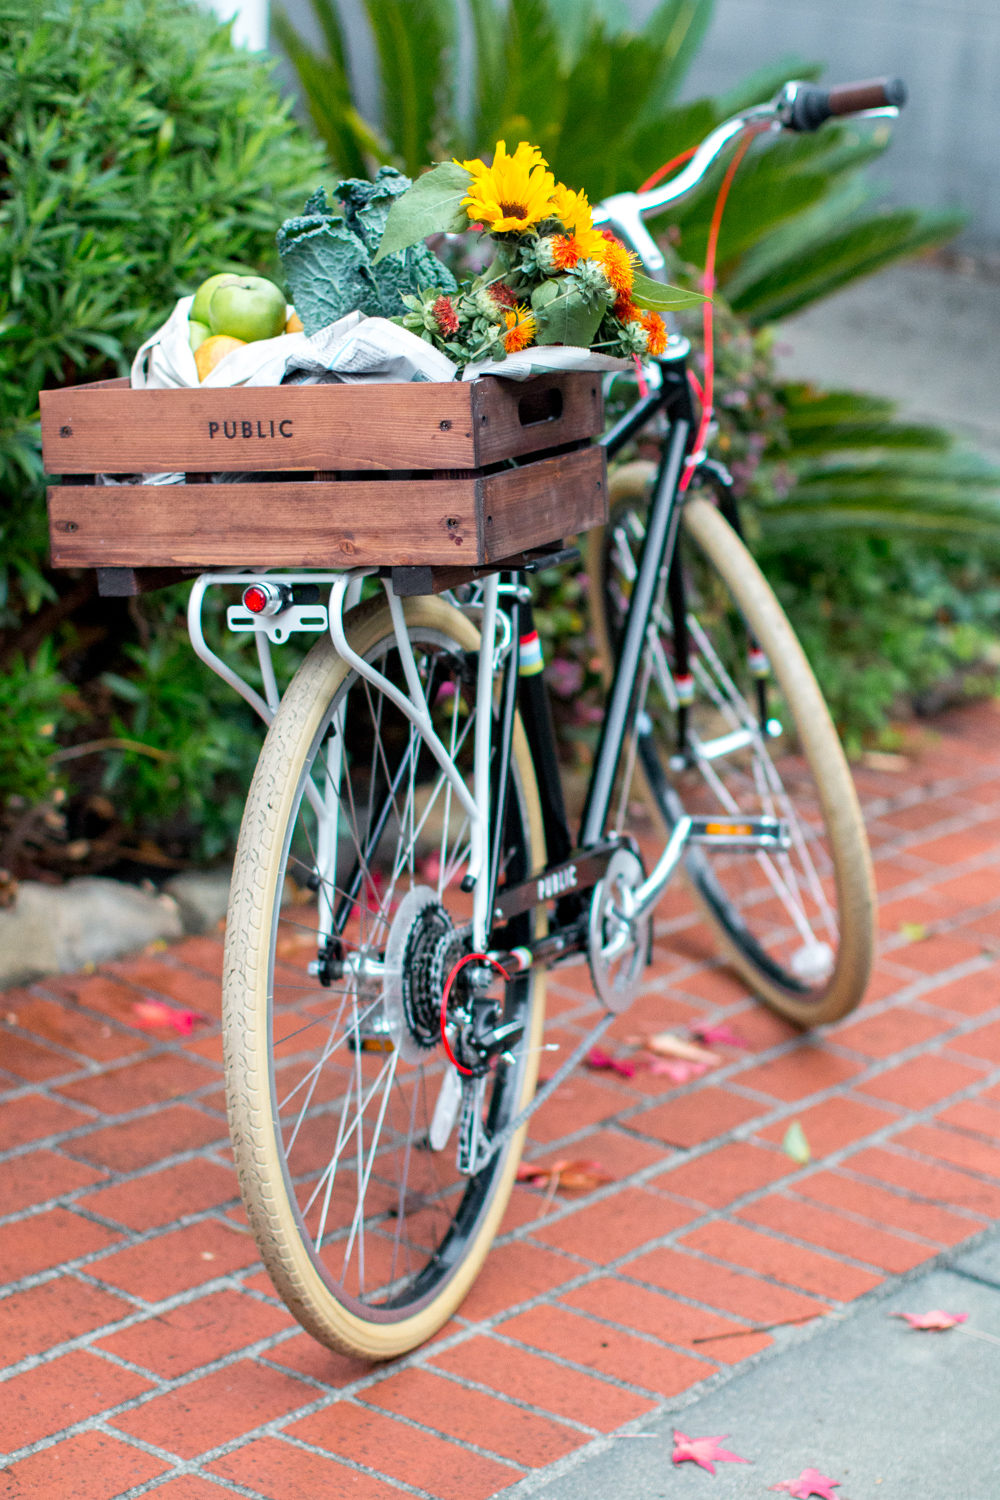
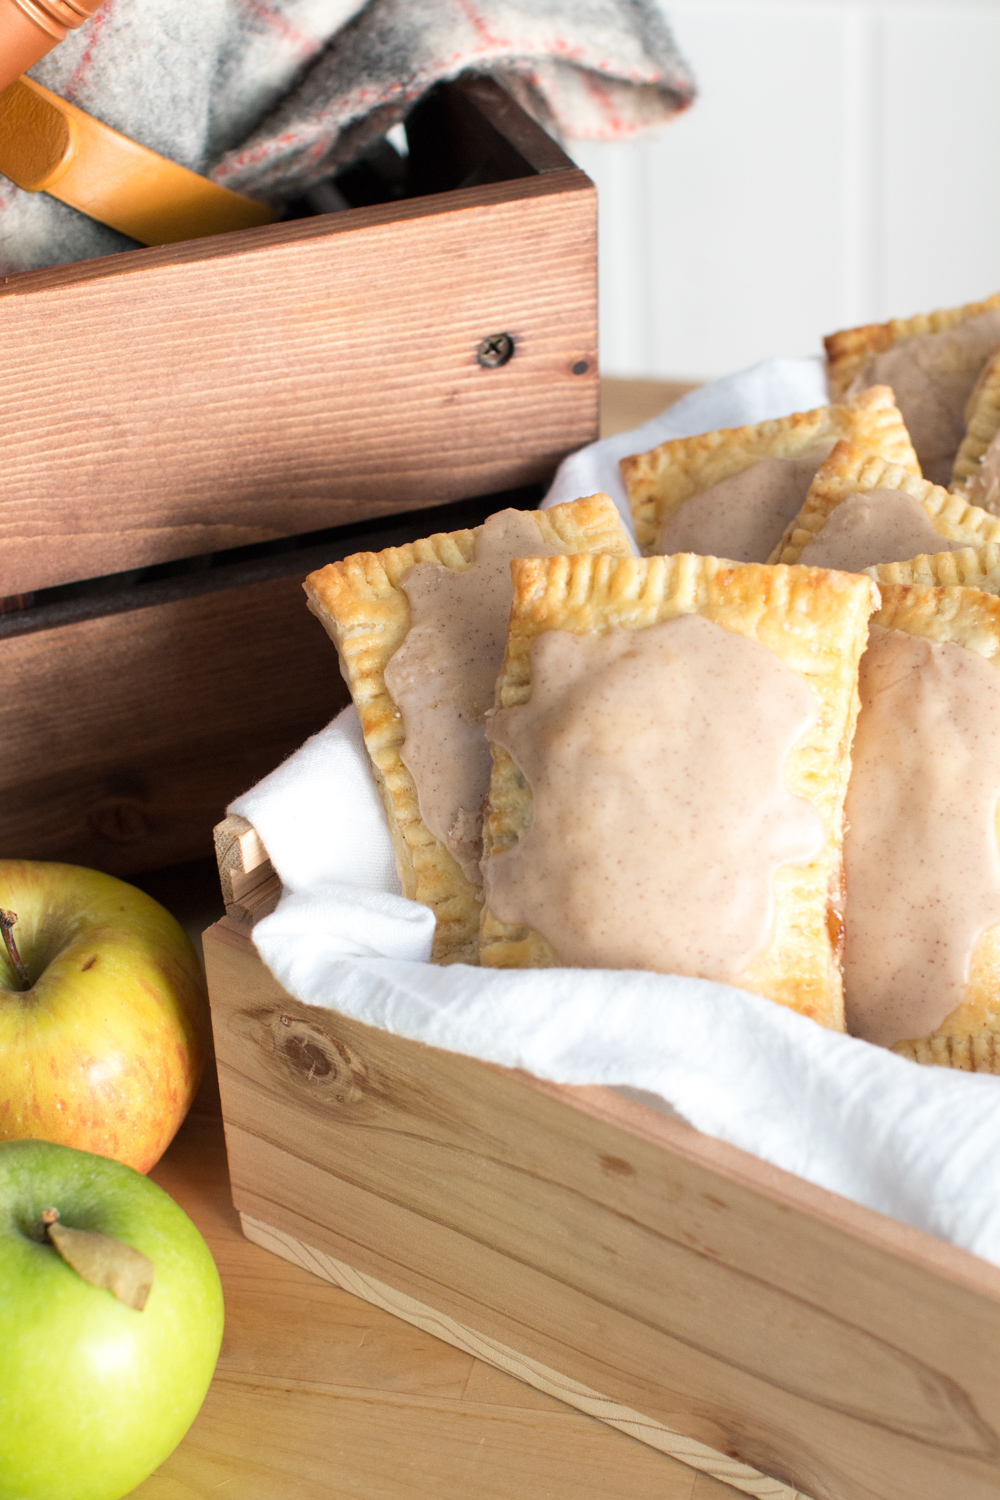
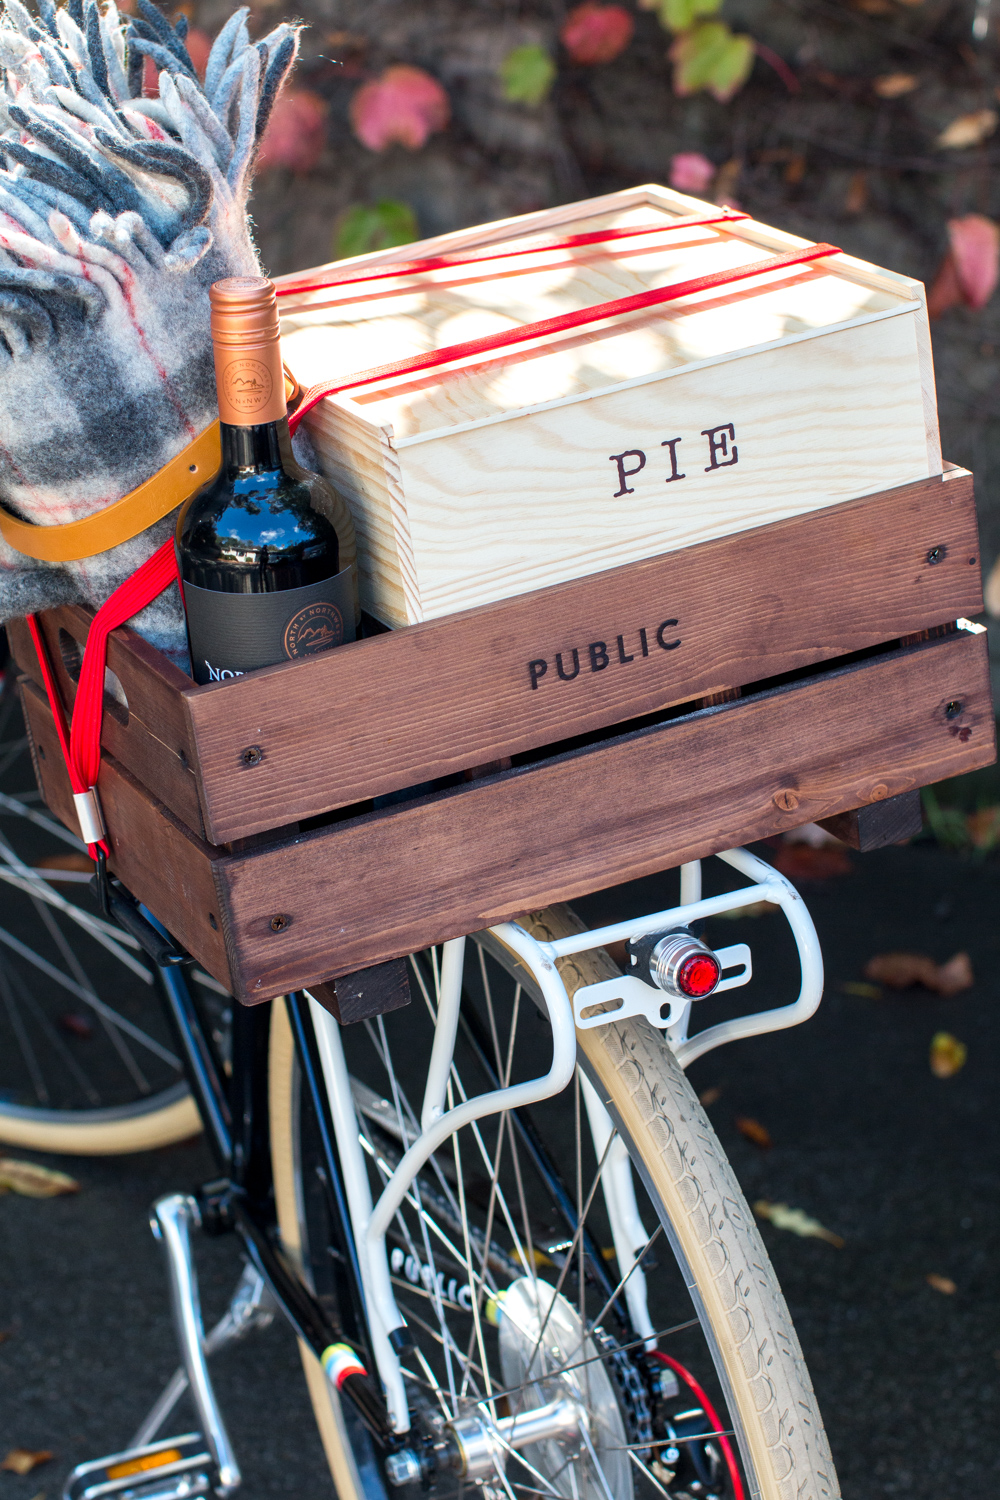
These Maple Glazed Apple Cinnamon Pop Tarts are made with locally grown farmer’s market apples and transported home with love and care in my handy dandy, vintage-inspired PUBLIC Wooden Bicycle Crate and strapped in tight with these colorful Two Strip Bungee Straps. Quality ingredients, good old fashioned techniques and the combined love of biking and baked goods are what make these Maple Glazed Apple Cinnamon Pop Tarts so special.
We all deserve to feel like a kid again. So, let your inner-child out to play with a long, adventurous bike ride and a batch of Maple Glazed Apple Cinnamon Pop Tarts.
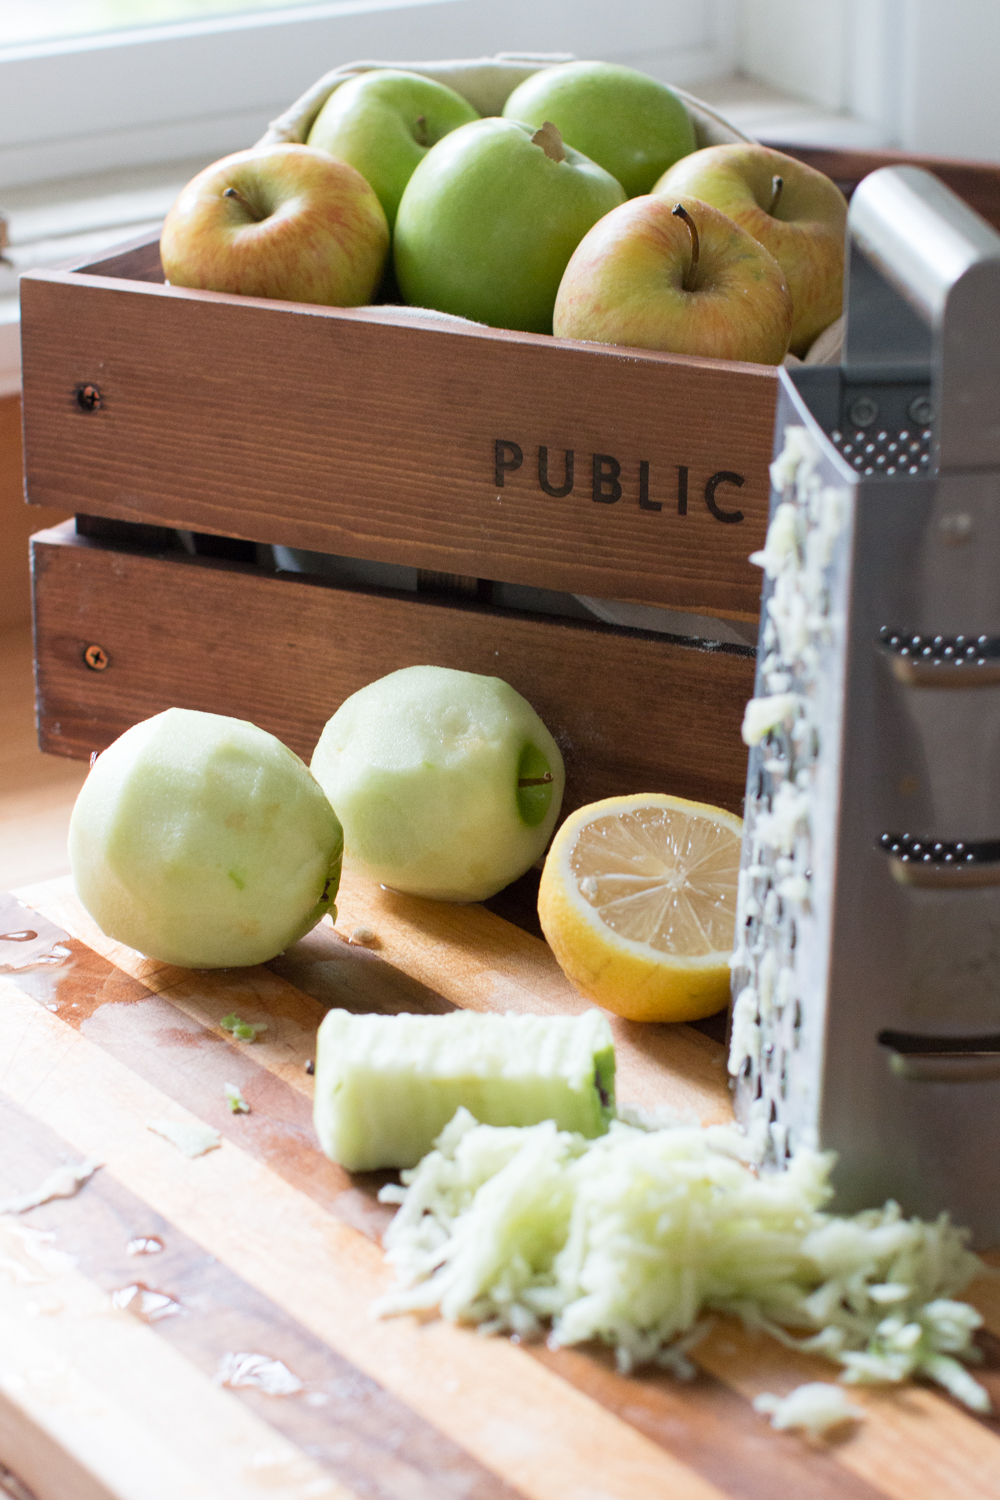
Ingredients from the farmer's market

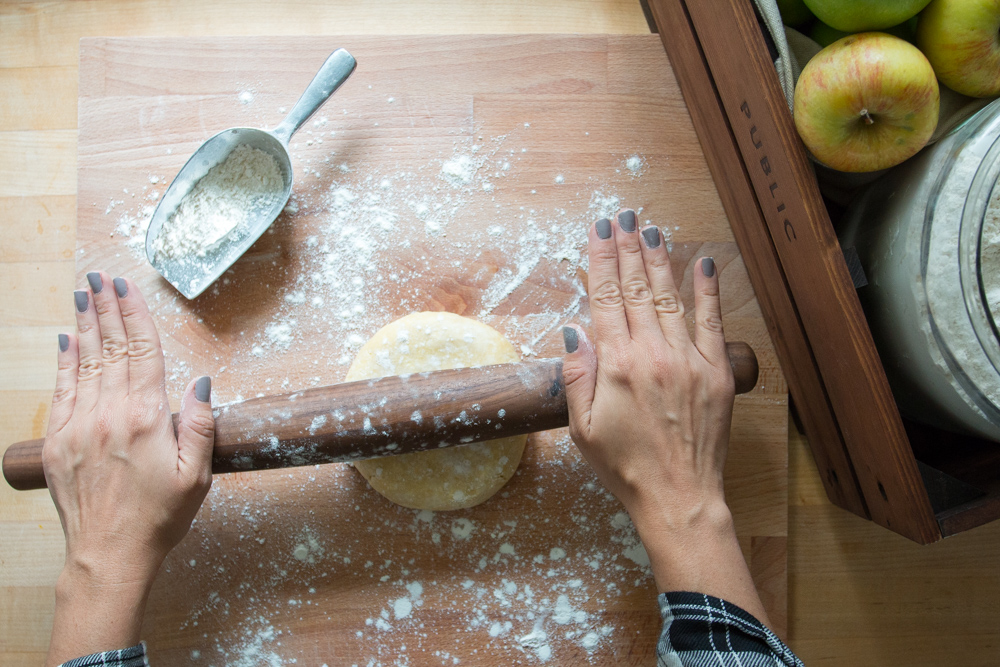
Start with my simple all-butter pie dough
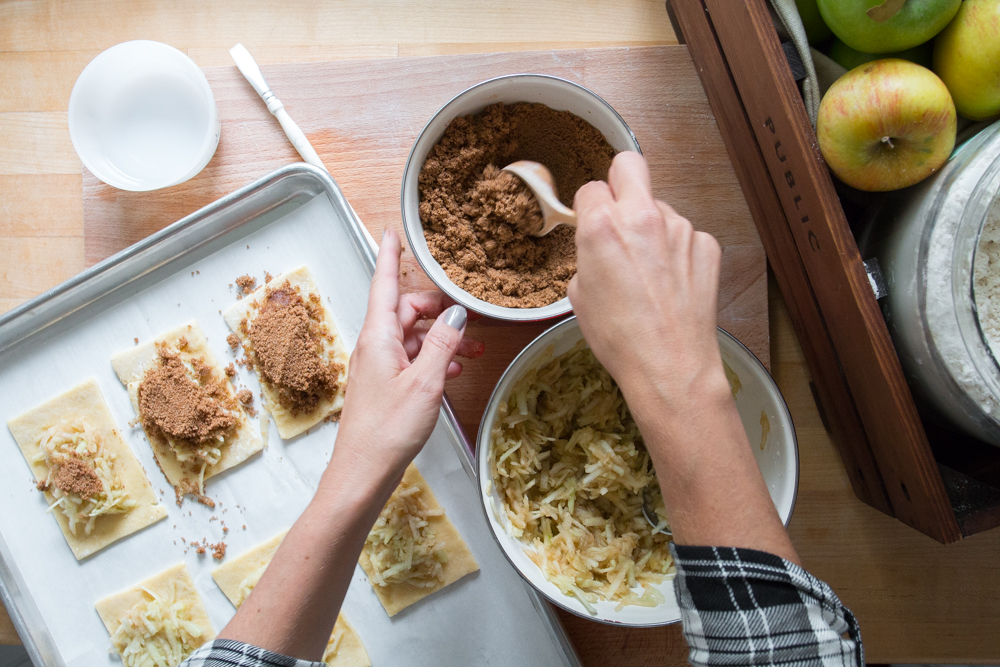
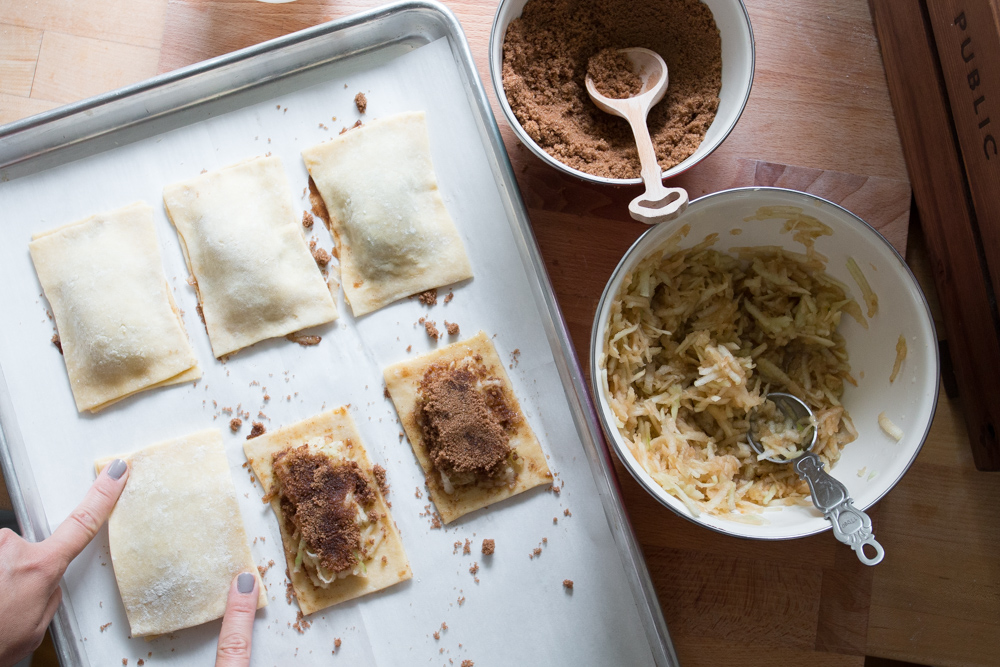
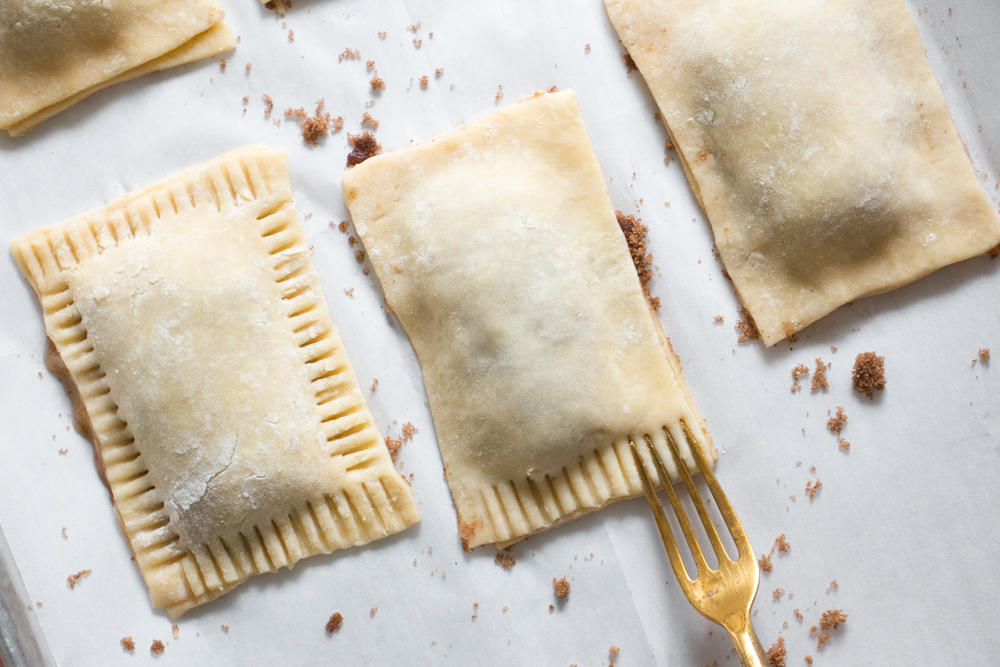
How to fill and seal each tart
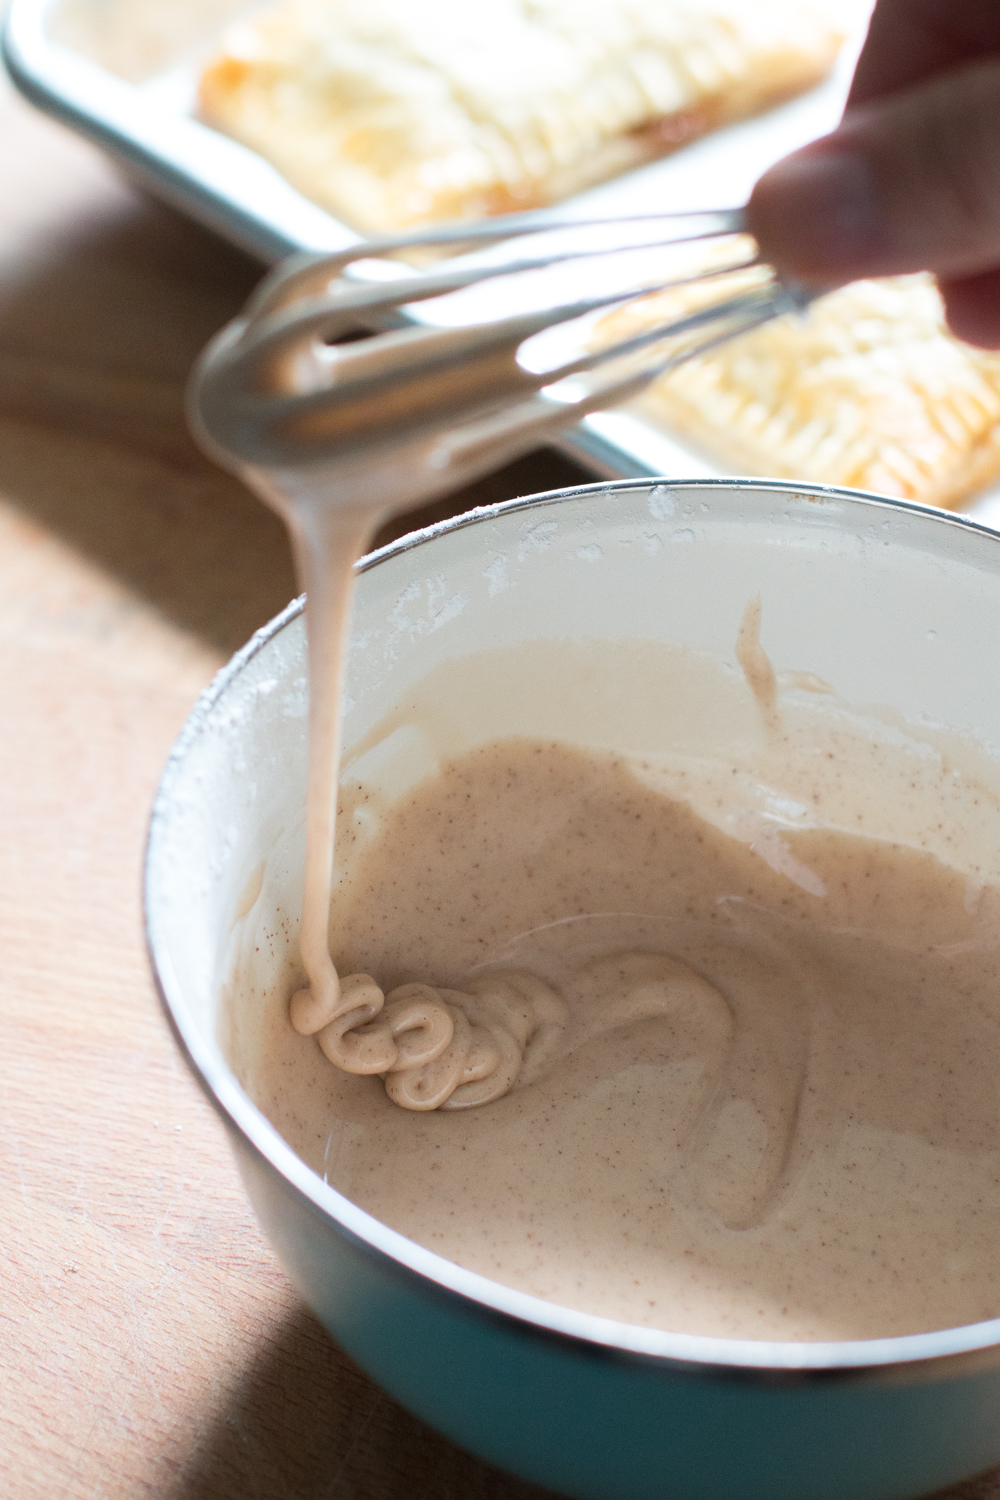
Making a maple cinnamon glaze

Recipe
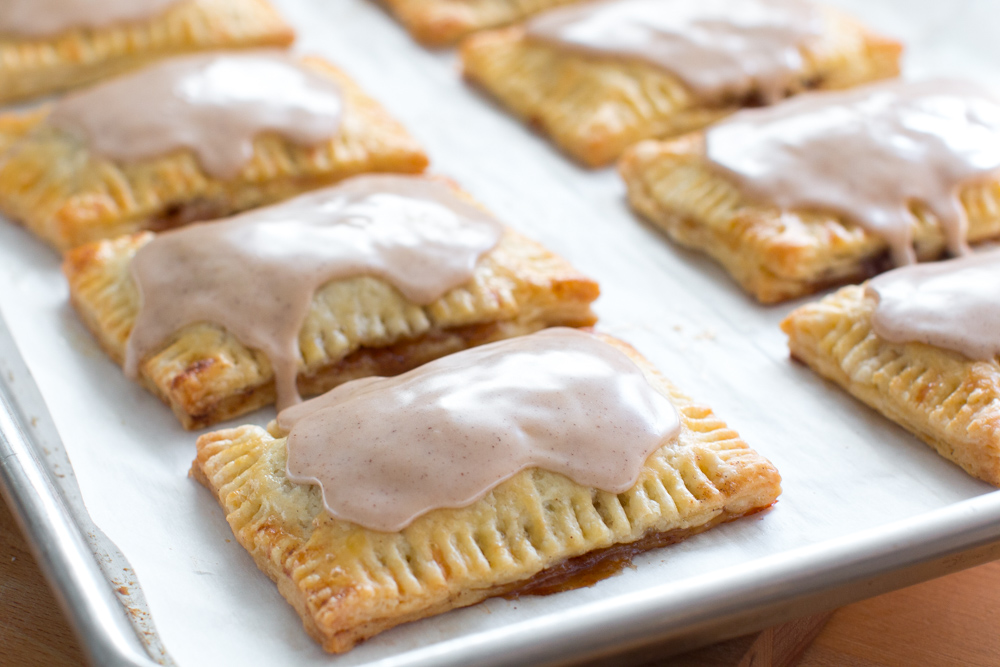
Maple Glazed Apple Cinnamon Pop Tarts
- Total Time: 2 hours 45 minutes
- Yield: 12 1x
Description
All of the Fall flavors shine like a harvest moon in these sweet and spicy Maple Glazed Apple Cinnamon Pop Tarts. Recipe developed by Baking The Goods for PUBLIC Bikes.
Ingredients
PIE DOUGH
- unsalted butter (cold - 1 cup (2 sticks))
- all purpose flour - 2.5 cups
- granulated sugar - 2 tablespoons
- salt - 2 teaspoons
- ice cold vodka or apple cider vinegar - ¼ cup
- ice cold water - 2-4 tablespoons
- medium egg -1
APPLE CINNAMON FILLING
- tart apples (Granny Smith - 4-5, depending on size)
- brown sugar - ½ cup
- cinnamon - 2 teaspoons
- lemon - 1 tablespoon
MAPLE ICING
- powdered sugar - 1 cup
- cream - 1-2 tablespoons
- maple extract - ½ teaspoon
- cinnamon - ½ teaspoon
Instructions
PIE DOUGH
- Cube the cold butter into ¼"- ½" cubes and put back in the fridge to firm up for a few minutes.
- Cut in the butter by blending the flour mixture with either a pastry blender, two butter knives or by squishing it between your fingers, careful to not melt the butter.
- Slowly pour the vodka or apple cider vinegar into the dough, using a pastry blender or fork to combine until pea sized chunks form and the dough is just starting to come together. At this point, check the hydration level of the dough by gathering a small fistful; if it holds together, it’s ready. If it is dry or crumbly, slowly add the ice cold water, 1 tablespoon at a time, combine using a pastry blender or a fork. Test the dough by pinching it occasionally.
- *Be careful to add only as much water as it takes to combine the dough into a ball or disk.
- Form the dough into two disks and wrap them in plastic. Chill for at least 1-2 hours before rolling and forming.
- Once your pie dough has chilled, on a lightly-floured counter, roll one disk into a rectangular shape, ⅛"-¼" thick.
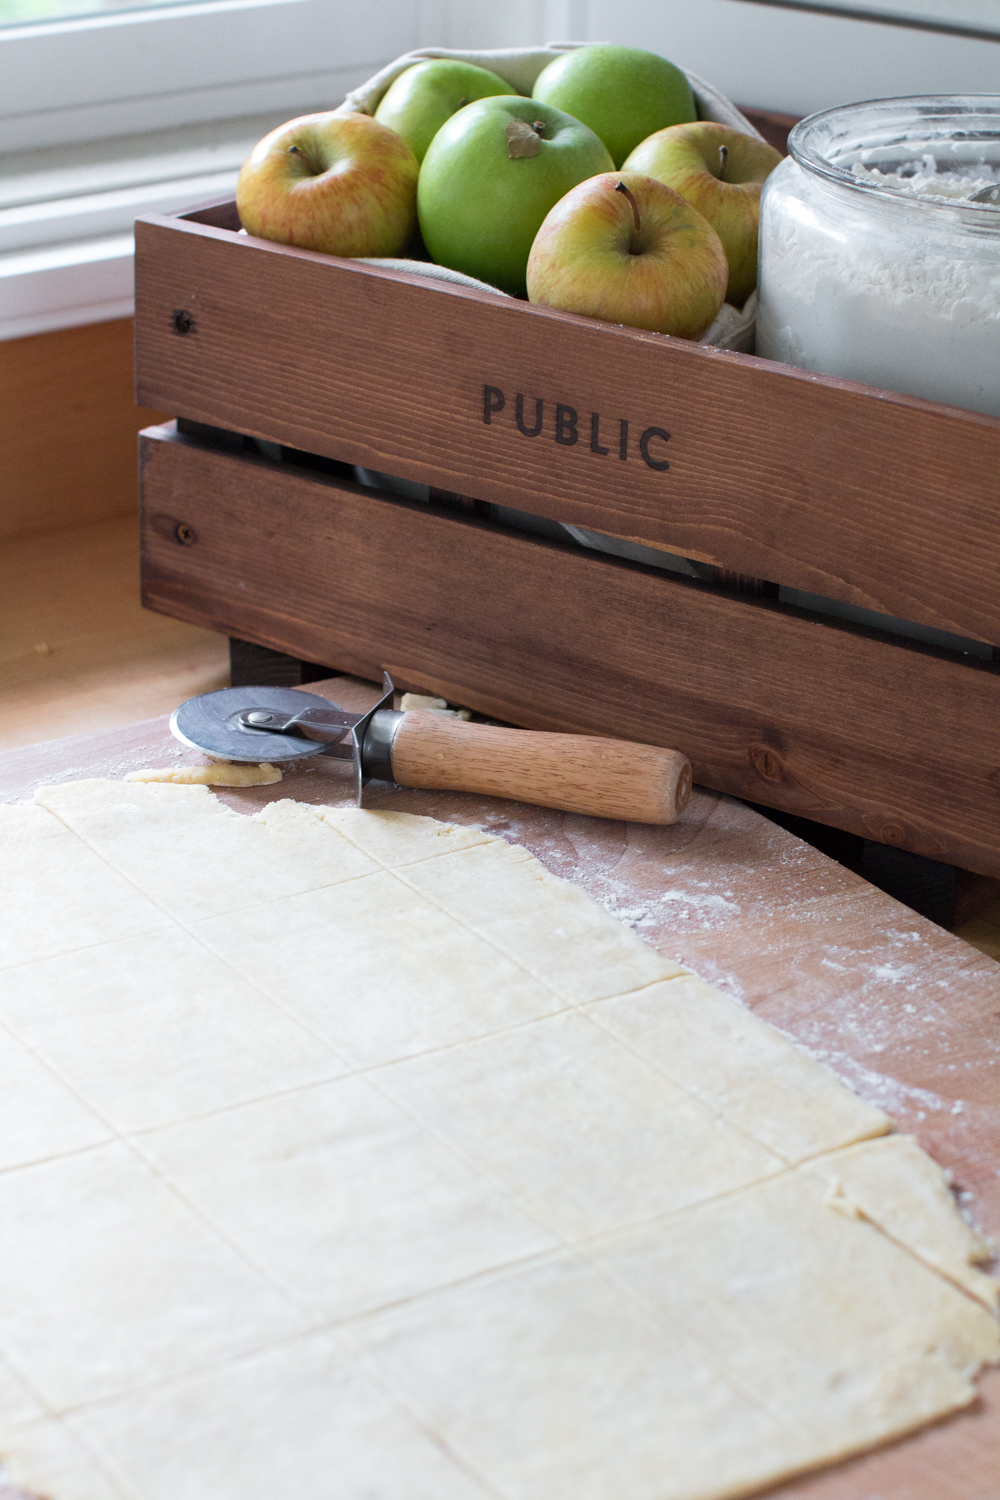
- Using a ruler and a pizza cutter or knife, measure and cut the dough into 4” x 3” rectangles. Gather the dough scraps together, form a disk and re-roll, cut more rectangles.
- Transfer the rectangles to a lined baking sheet, and chill in the refrigerator for about 30 minutes. You should have 24 rectangles.
APPLE CINNAMON FILLING
- Combine the brown sugar and cinnamon together in a small bowl.
- Peel the apples and grate them using a cheese grater.
- Top 12 dough rectangles with about 1 ½ - 2 tablespoons of grated apple then top each with 1 tablespoon of the brown sugar mixture, leaving about ½ “ all the way around.
- Lightly brush a small amount of cold water around the edges of the of the dough. Gently seal the edges by pressing together. Create a decorative crimp by pressing the edges of the dough together with the back of a fork.
- Place the pop tarts back on the lined baking sheet, and return to the refrigerator or freezer to chill for another 30 minutes.
- Preheat the oven to 375°.
- Whisk the egg with a dash of water in a small bowl.
- Remove the chilled pop tarts from the refrigerator or freezer. Using a pastry brush, lightly brush the pop tarts with the egg wash.
- Bake until the pop tarts are golden brown, about 20 - 25 minutes, rotating the pans halfway through.
- Remove the pop tarts from the oven, and let stand to cool.
MAPLE GLAZE
- Sift the powdered sugar and cinnamon into a medium bowl. Whisk in the maple extract and 1-2 tablespoons of cream until the mixture runs off the whisk like slow molasses.
- Spoon about 1 tablespoon of glaze onto each pop tart, smoothing the glaze to the crimped edges with the back of the spoon or a small spatula.
- Allow the glaze to set before serving.
Notes
If you don't plan on using the dough within a few hours or on the day you prepare it, you can store the dough in the freezer. (If it sits in the refrigerator too long, it could start to turn a grayish color.)
This dough will last at least a couple of months if wrapped up tightly in the freezer. Defrost the frozen dough overnight in the fridge before using or on the counter 1.5 -2 hours before using.
- Prep Time: 2 hours 20 minutes
- Cook Time: 25 minutes

Sabrina says
These pop tarts look perfect! Yum!