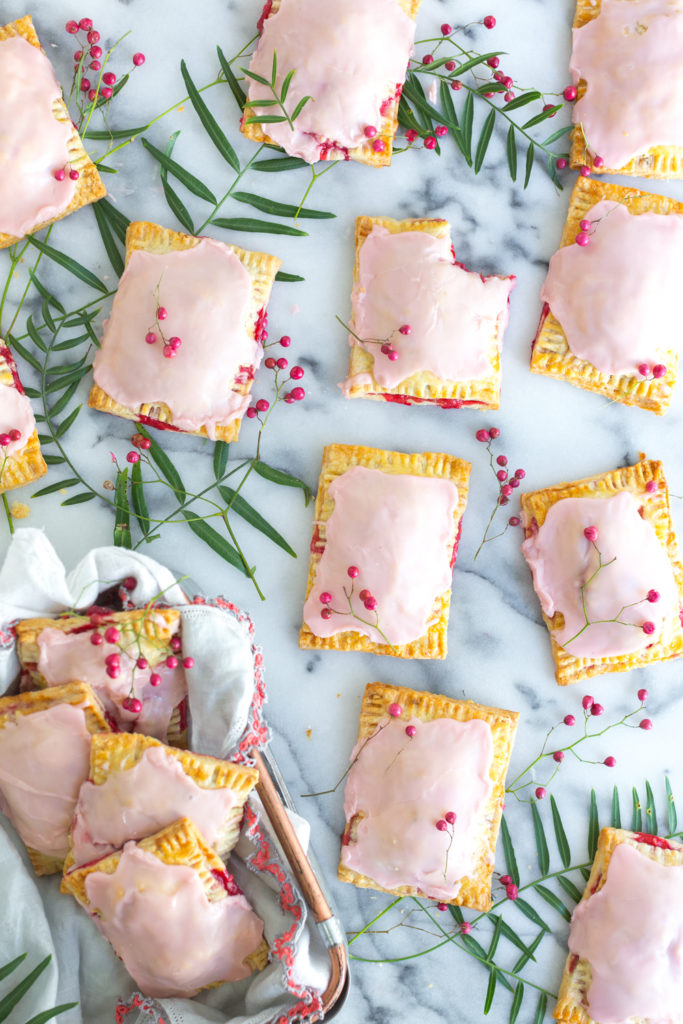
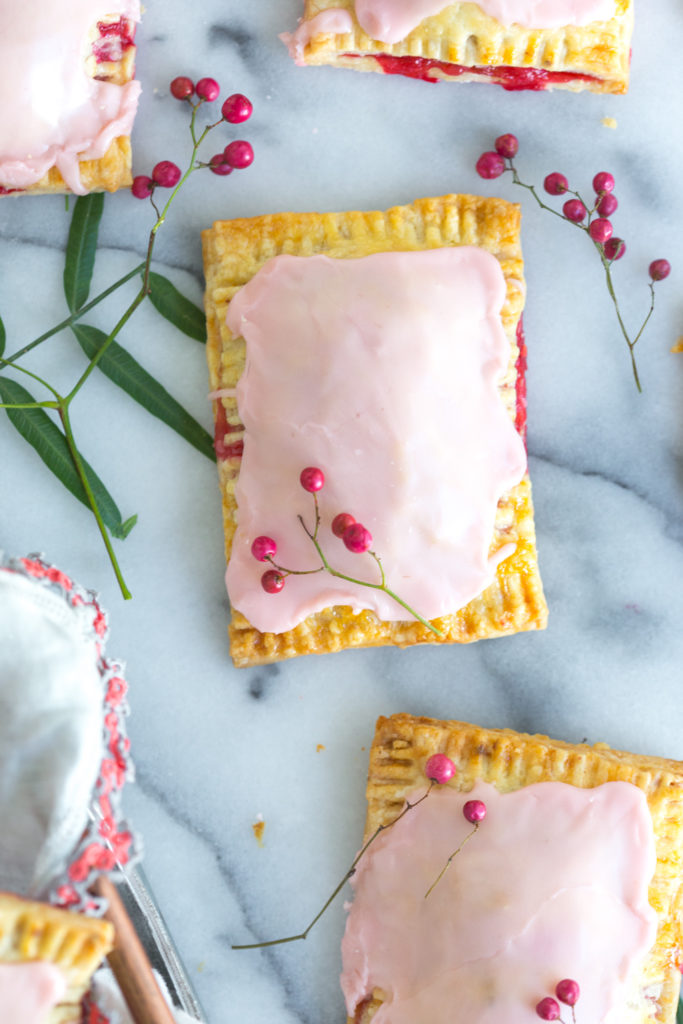
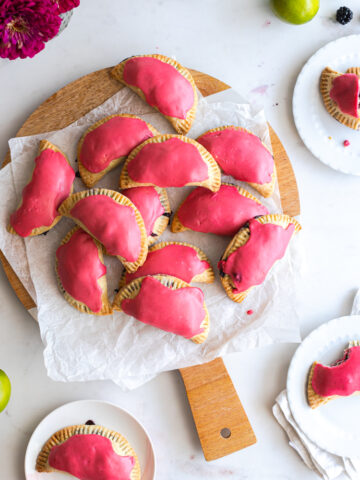
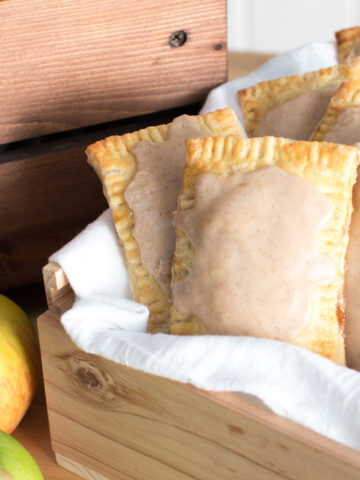
These Raspberry Rhubarb Pink Peppercorn Hand Pies are a balanced mix of tart and tangy, warm spice and soft sweetness all wrapped in a buttery crust & covered in pretty pink glaze.
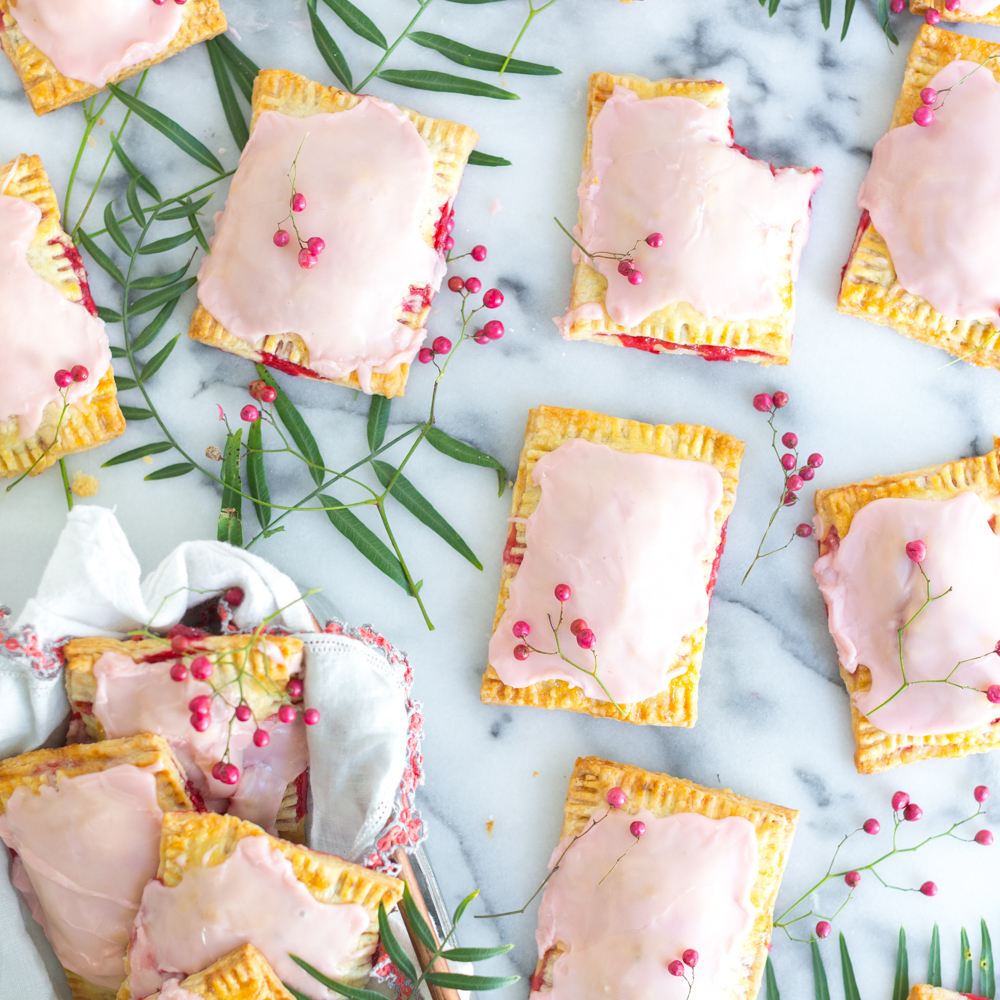
Sure, you know strawberry & rhubarb are a great match but have you ever had raspberry & rhubarb?
Strawberries and rhubarb have been in a comfortable place for years, we all know they go well together. But, they’ve had their heyday. It’s time to explore new territory and branch out of our comfort zone. Sorry to say it but move over strawberries, rhubarb’s got a new side piece. My recipe for Raspberry Rhubarb Pink Peppercorn Hand Pies is a pretty pink foray into the untapped world of deeper flavors and jammier textures.
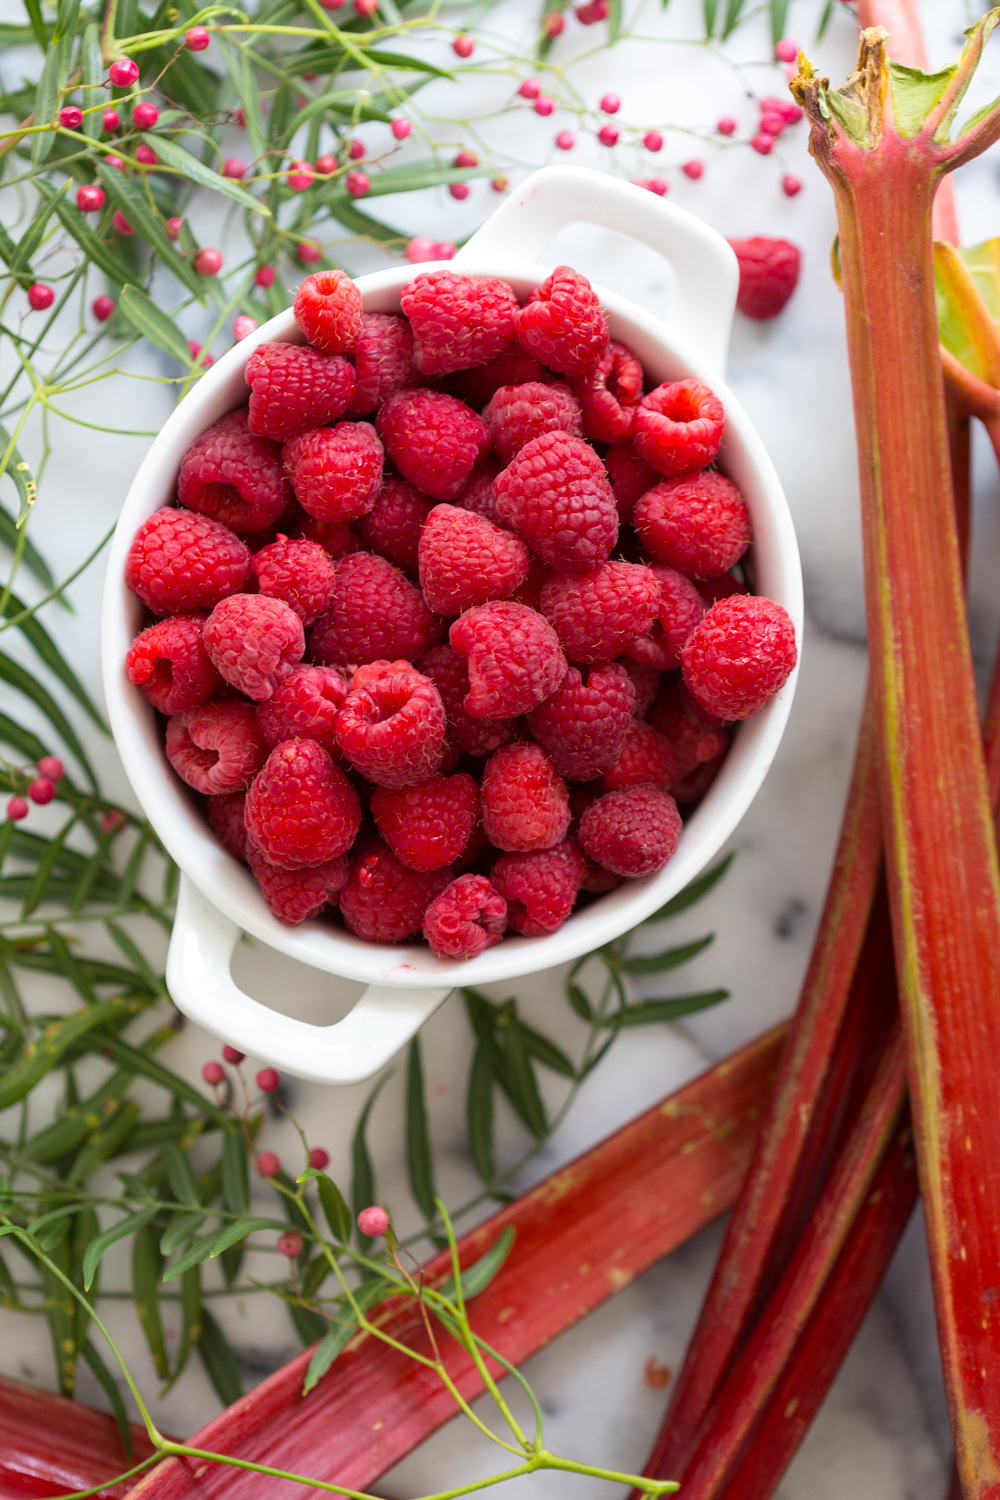
While I will always and forever love the combination of strawberries and rhubarb, it’s fun to explore this new region of pie fillings. I’m not saying it’s better, it’s just different. But, it might actually be a little better.
More raspberry rhubarb, & yes, more strawberry rhubarb recipes
For even more rhubarb recipe inspiration, check out The Best-Ever Rhubarb Recipes from California Grown. You'll recognize some of these recipes on that radiant rhubarb list!
These Raspberry Rhubarb Pink Peppercorn Hand Pies combine the bitterly tart tinge of rhubarb with the jammy sweetness of summer raspberries. My no-fail, all butter pie dough gets a touch of peppery warmth and color from freshly ground pink peppercorns. Grounding the tart filling in earthy warmth and buttery comfort. To round out the warm tartness of it all, the hand pies are glazed these with a simple icing made from the reserved juices released of the fruit filling and whisked with powdered sugar.
When all of those components come together, these Raspberry Rhubarb Pink Peppercorn Hand Pies are a balanced, fresh take on an old comfort. It’s familiar but it’s also new and exciting. That's the sweet spot in baking if you ask me.
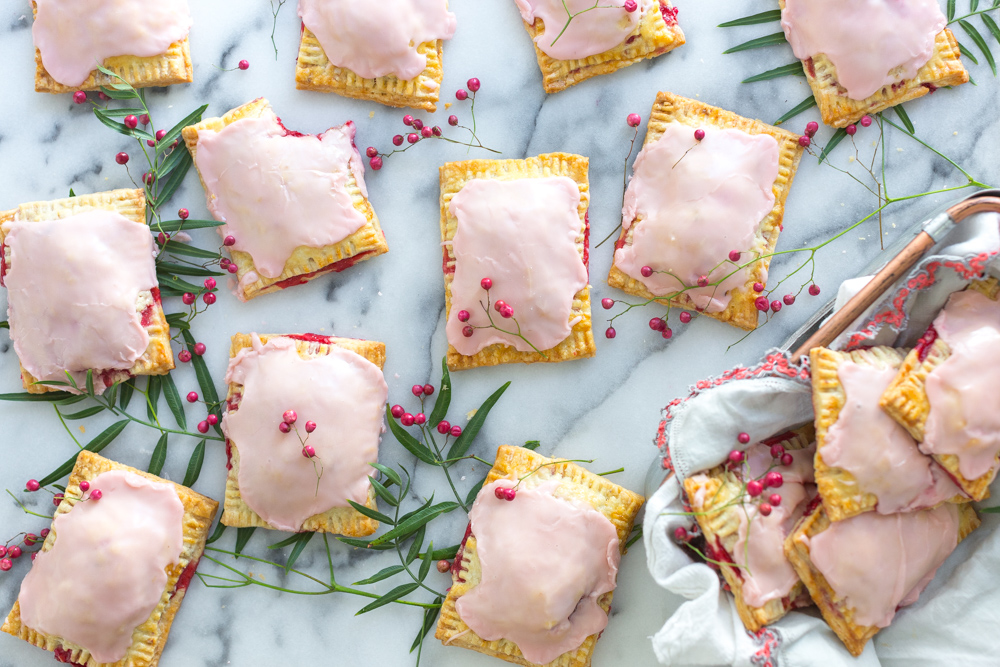
These Raspberry Rhubarb Pink Peppercorn Hand Pies combine 3 components
Pink Peppercorn All Butter Pie Dough
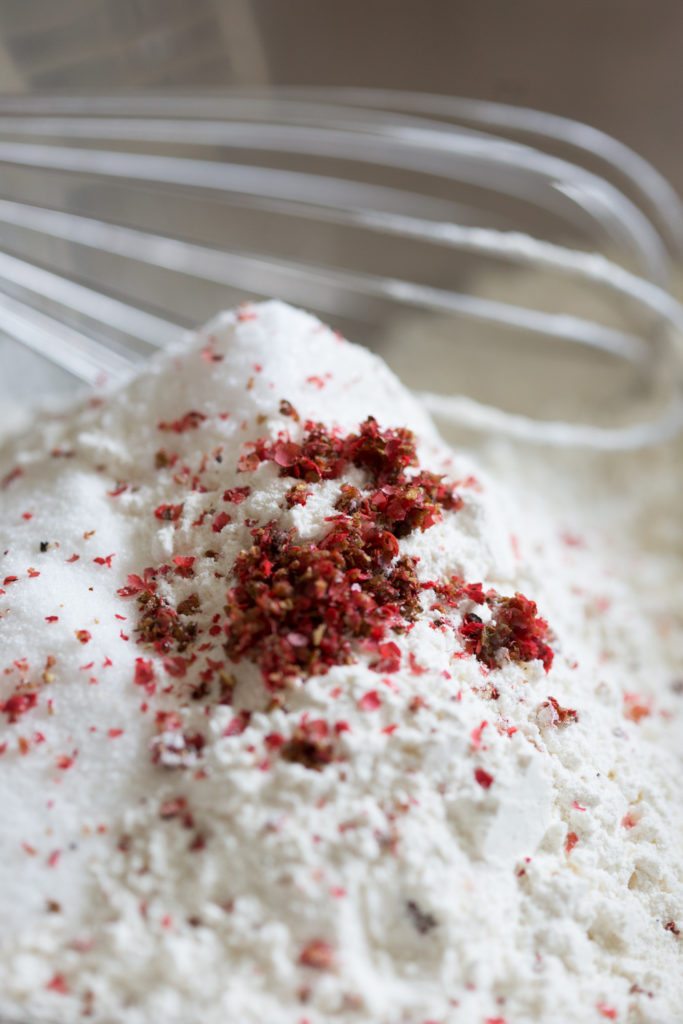
The base of these Raspberry Rhubarb Pink Peppercorn Hand Pies begins with my go-to, tried and true All Butter Vodka Pie Dough. It's tender, flaky, crisp and shatteringly satisfying in any pie, hand pie or galette recipe. In this hand pie recipe, I like to add 1 teaspoon of freshly ground pink peppercorns to the all butter pie dough. The warmth of the pepper peps up the buttery crust.
Pink peppercorns add a mild, floral note to the pie dough
Pink peppercorns aren't really all that peppery compared to traditional black peppercorns. Instead, pink peppercorns have a mid spice and a bright and floral fruitiness as opposed to peppery heat. The soft warmth and flowery depth give the pie dough dimension that elegantly compliments the raspberry rhubarb filling.
Raspberry Rhubarb Hand Pie Filling
I too LOVE all things strawberry rhubarb. Therefore, I understand any apprehension to switching up something that works so well. But this Raspberry Rhubarb Filling offers a whole new flavor experience that's as solid as the rhubarb strawberry pairing we already know and love.
Because raspberries are naturally more tart than strawberries, this raspberry rhubarb pie filling is tangier than a classic strawberry rhubarb pie filling. The lemon gives it even more zippy zest but the sugar and natural sweetness of the raspberries mellows all of tartness. As the filling bakes, the opposing flavors meld together. Resulting in a jammy, sweet and tart pie filling that is balanced and beautiful.
Use tapioca flour to thicken the Raspberry Rhubarb filling
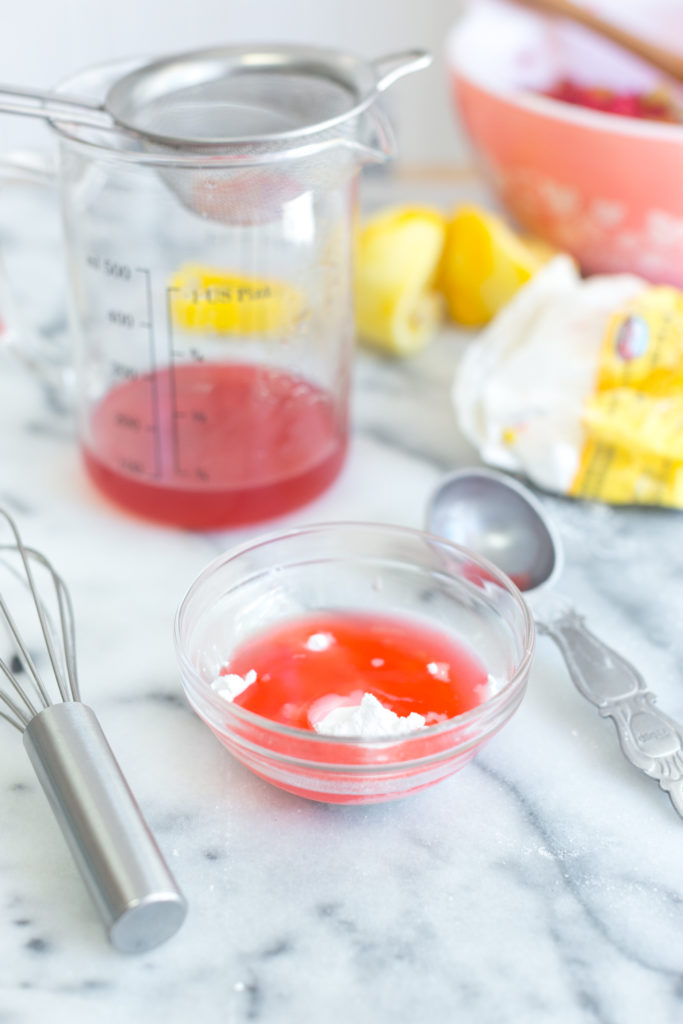
Since the raspberries release a good amount of moisture as the hand pies bake, tapioca flour, aka tapioca starch, is used to help thicken the filling. Corn starch also works but I prefer tapioca flour because it is naturally sweeter and less chalky. It just blends right into the fruit filling and thickens it under the heat of the oven. You won't even notice it's in the baked filling.
Pink Hand Pie Glaze
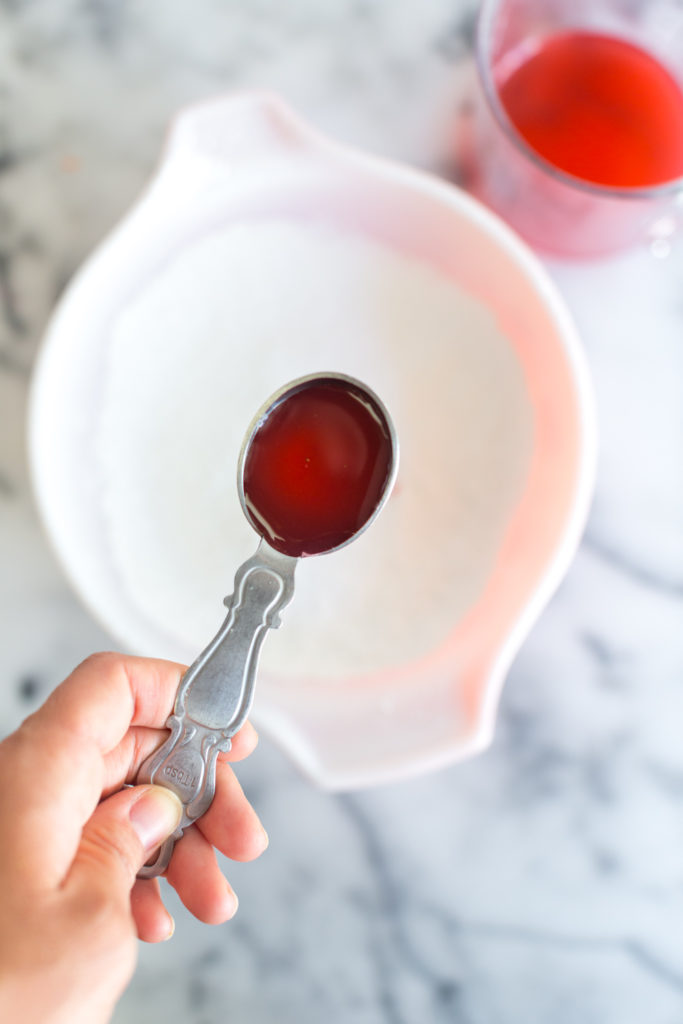
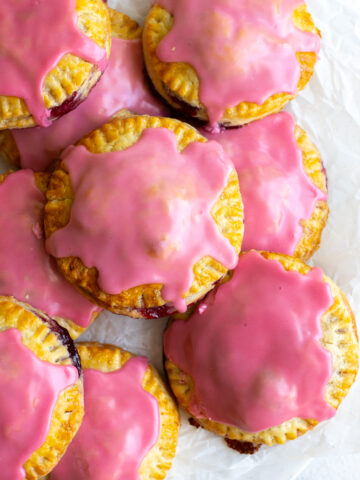
The pretty pink glaze that tops these Raspberry Rhubarb Pink Peppercorn Hand Pies is as easy as it gets! It only takes 2 ingredients; reserved juice from the raspberry rhubarb filling and powdered sugar. The powdered sugar is sifted and then the reserved juice is whisked in until the glaze runs off the whisk is thick, steady ribbon. The raspberry rhubarb flavor gives the glaze a delicate nod to what's inside. Such a simple touch that gives the Raspberry Rhubarb Hand Pies their soft and sweet finish.
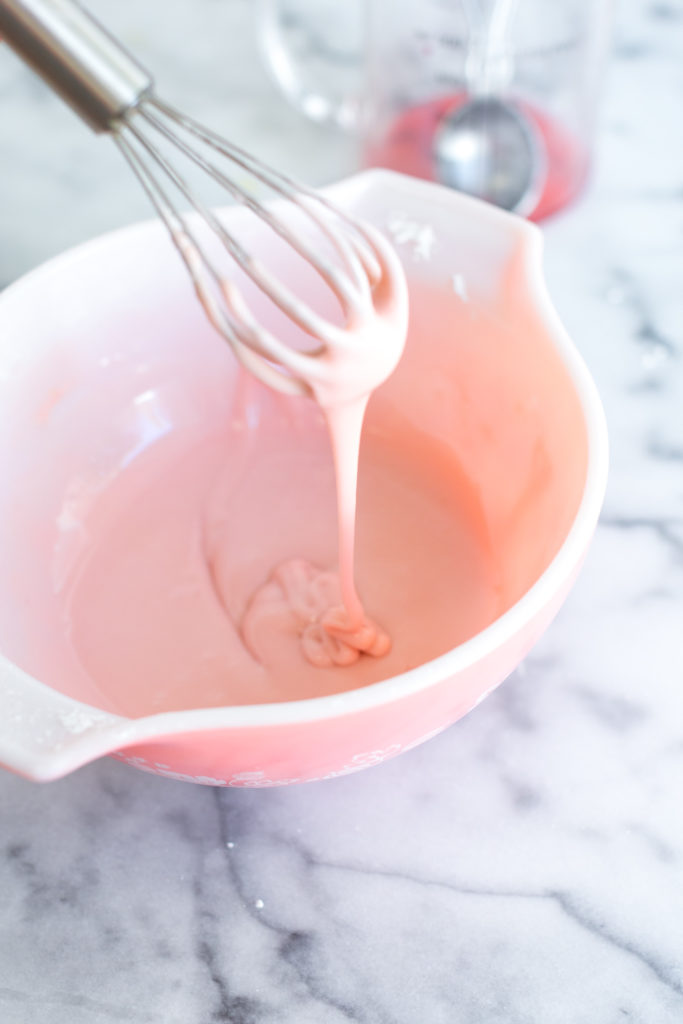
The pink peppercorn pie crust, raspberry rhubarb filling and easy pink glaze all play an important role in the Raspberry Rhubarb Pink Peppercorn Hand Pies. Sure, you could use a basic all butter pie dough. Or go with a traditional strawberry rhubarb filling. The raspberry and rhubarb scented glaze isn't completely necessary. But when these elements combine, a whole new world of hand pies opens up. It's a fun and exciting flavor combo all layered up in a pretty pink outfit!
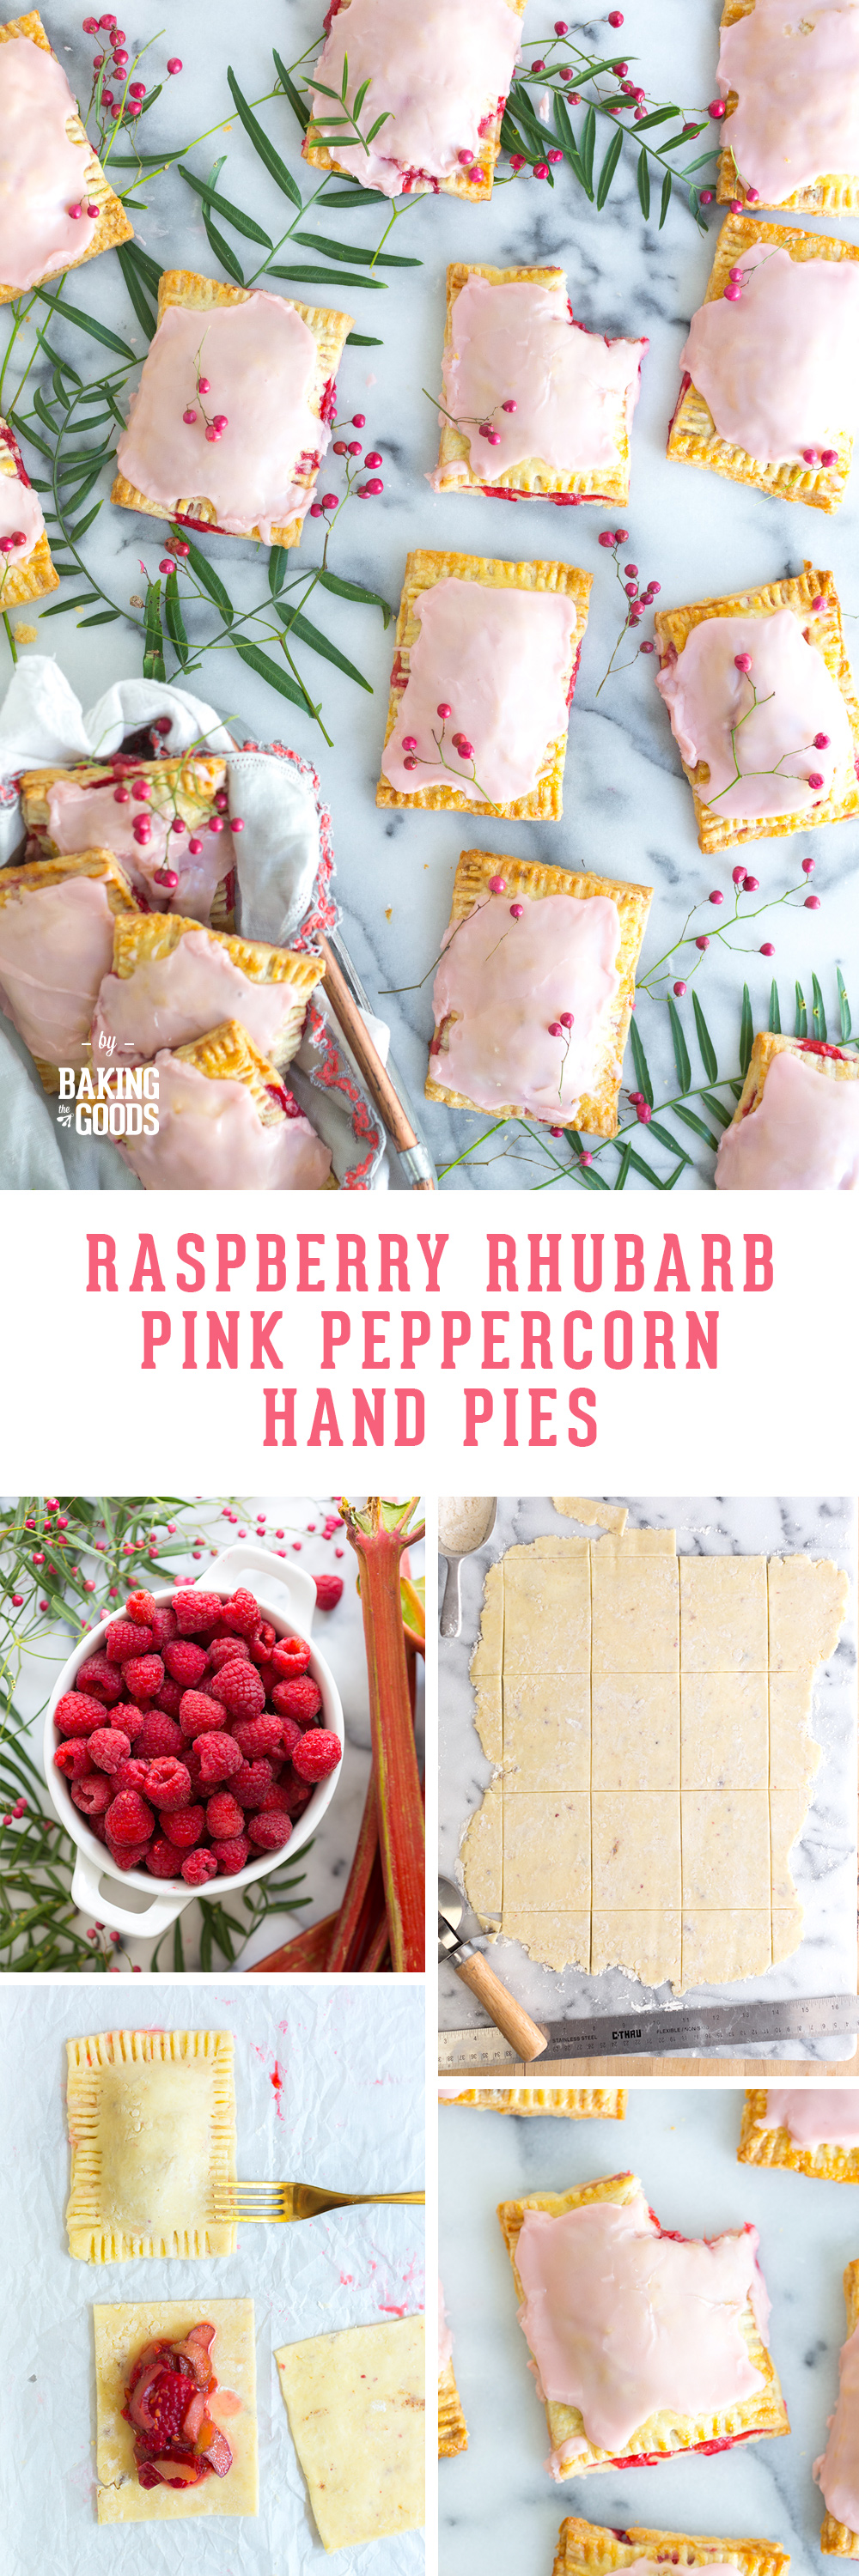
Once you've got all of the components ready, the fun part begins! Assembling the hand pies is strangely satisfying. I think it's the delicate nature of ingredients and the pride you feel when the little hand formed hand pies are ready to graduate to the oven. But first, the tools.
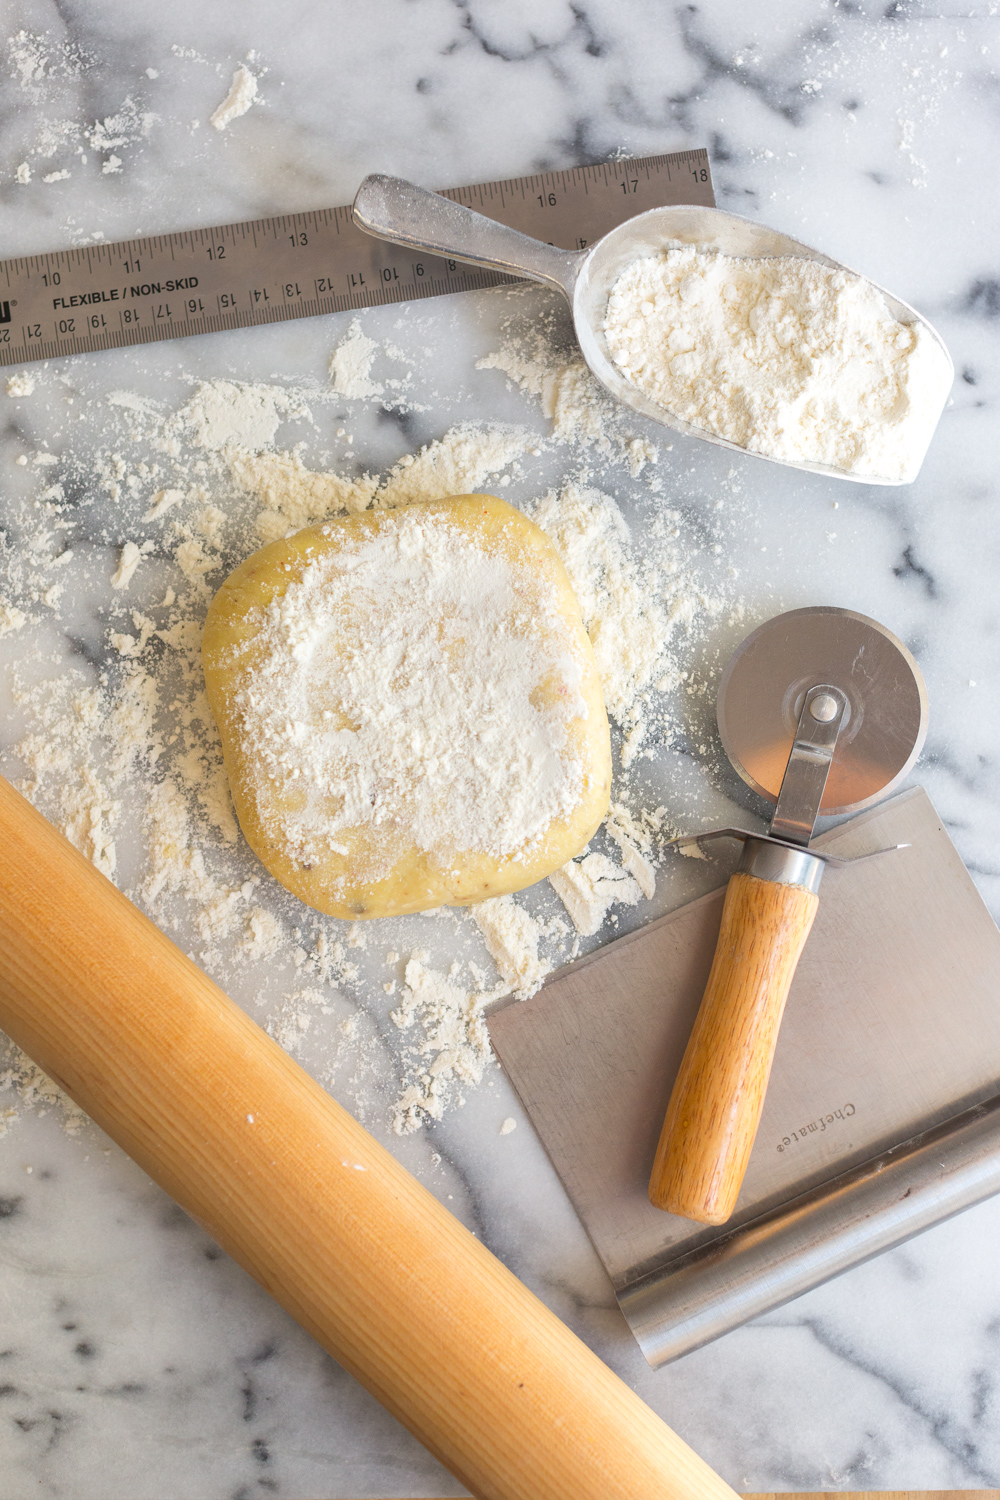
Tools for shaping hand pies
- Rolling pin is key to rolling out pie dough. Although I have been known to use a wine bottle in a pinch. I prefer a straight, pin style rolling pin as I feel it helps me better control the thickness of the dough.
- Bench knife also known as a dough scraper is a great tool for cutting, scooping and transferring pie dough. This is my all time favorite kitchen tool because it is so versatile. And they make dough and crumb clean up a breeze. If you have a kitchen, this is a must have.
- Ruler works as a straight edge when slicing through dough. When combined with a pastry wheel or pizza wheel, you can cut perfectly straight and sharp edges every single time. Plus, using it as an actual ruler to measure out dough sizes is key to uniform sized hand pies.
- Pastry wheel or pizza wheel is the perfect partner to that ruler. Just run the wheel along the rulers edge to make precision cuts through the pie dough. A sharp knife will also get the job done.
- Marble board is a true luxury. Especially if you don't have a flat kitchen counter surface. When rolling out pie dough you've got to have a decent sized flat surface. A large marble board is ideal because it's a smooth solid surface. Additionally, marble tends to stay cool which helps keep your pie dough from warming up to quickly and becoming a sticky mess.
How to assemble the hand pies
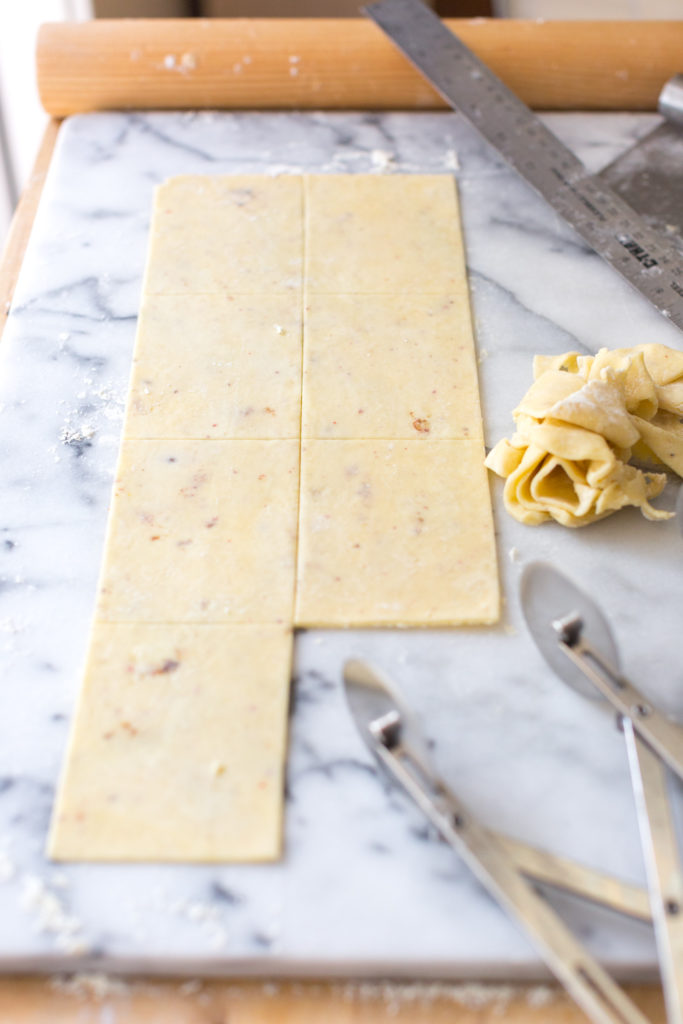
When shaping the pie dough into disks, I square off the sides if I am making square or rectangular hand pies. It's a simple trick that saves time and just makes sense. There is no sense in squaring a circle now is there?
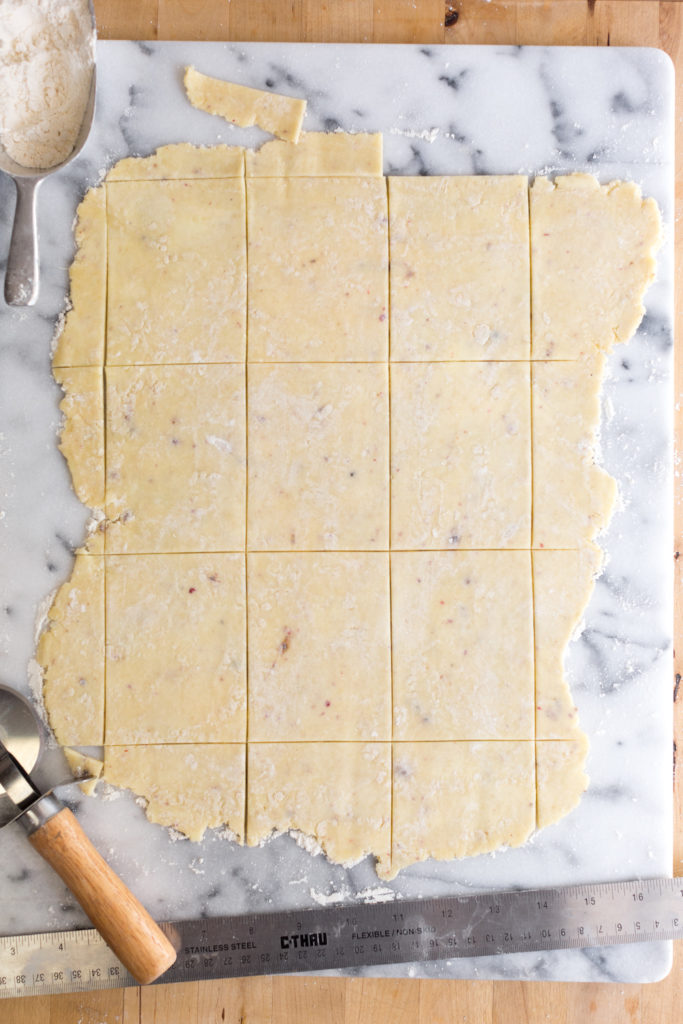
Roll out the pink peppercorn dough disks
- On a lightly-floured surface, roll one disk into a rectangular shape, ⅛"-¼" thick.
- Using a ruler and a pastry wheel, pizza cutter or sharp knife, measure and cut the dough into 4” x 3” rectangles. Gather the dough scraps together, form a disk and re-roll. Then cut more rectangles with the remaining dough. Repeat with the other dough disk. You should end up with 24 rectangles to make 12 hand pies.
- Transfer the rectangles to a lined baking sheet, and chill in the refrigerator while you prepare the filling.
Filling & seal the hand pies
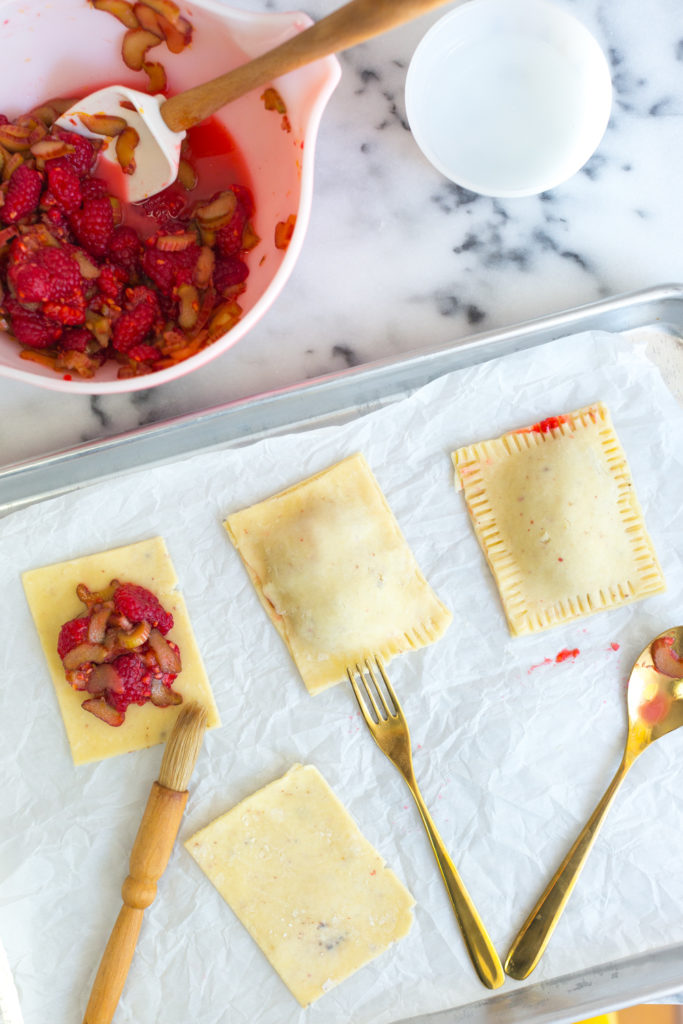
- Spoon 2 tablespoons of the filling onto a pie dough rectangle, leaving a ¼" edge all the way around.
- Lightly brush the edges of the filled dough rectangle with cold water.
- Carefully lay another dough rectangle over the top of the filled rectangle and gently press and seal the edges together around the perimeter of each hand pie.
- Create a decorative edge by pressing the edges of the dough together with the back of a fork all the way around. This also helps seal them together. Repeat the process with remaining dough rectangles.
- Brush the hand pies lightly with an egg wash.
- Use a fork to make small vent holes in the top of the pies for the air to escape as they bake.
- Chill the assembled hand pies for at least 20-30 minutes while the oven preheats. Then bake!
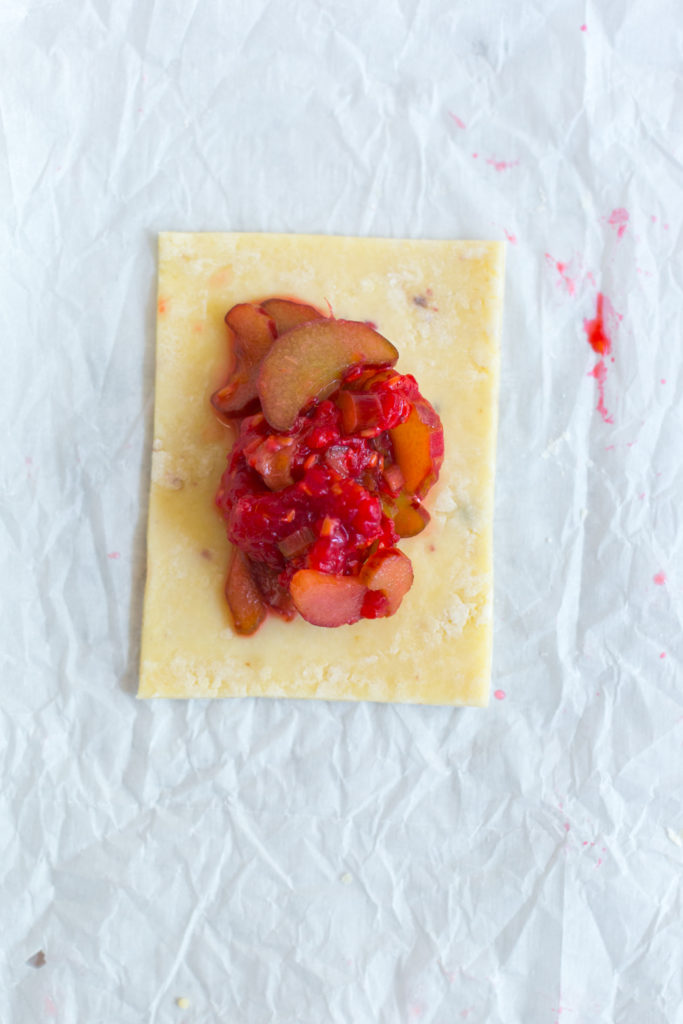
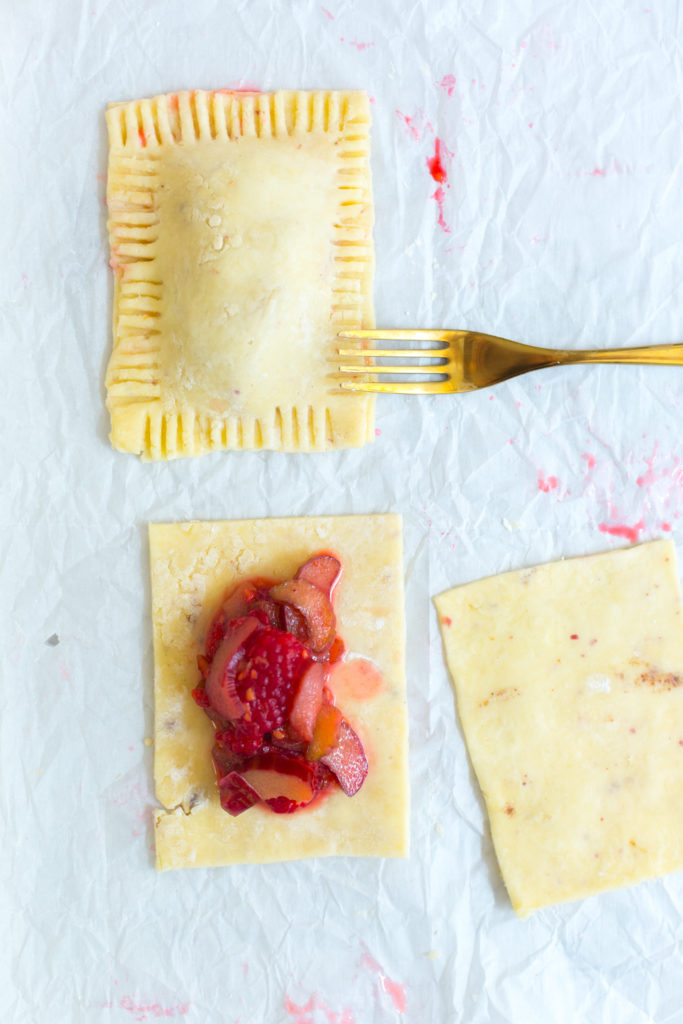
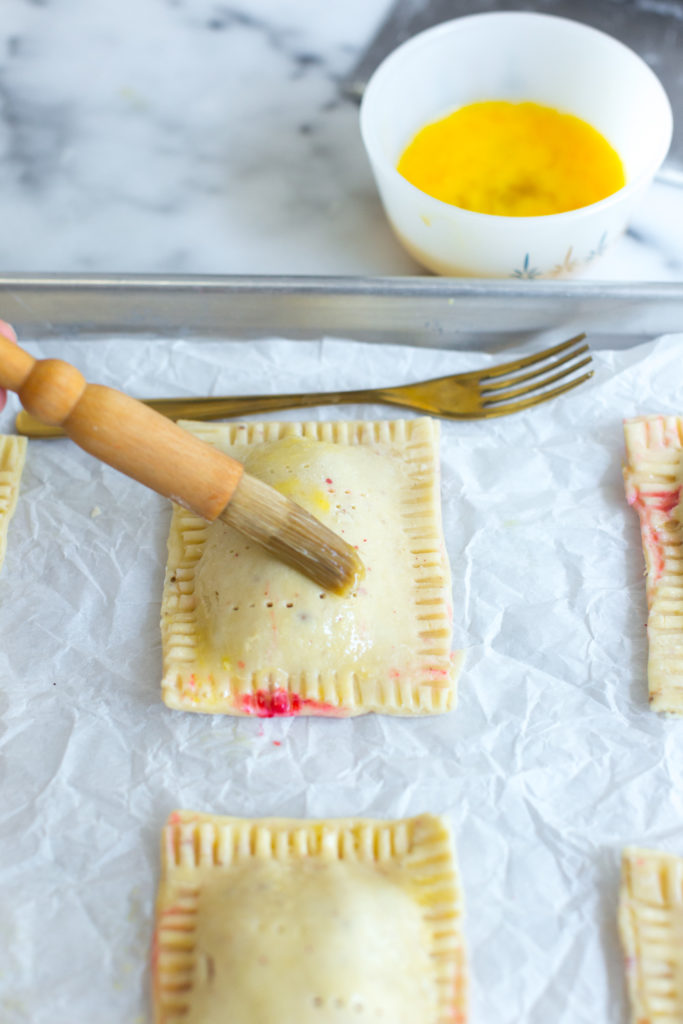
Glaze the Raspberry Rhubarb Pink Peppercorn Hand Pies
Once the baked hand pies have cooled completely, they can be glazed. This step isn't precious in any way. Simply spoon the pink glaze over the top of the Raspberry Rhubarb Hand Pies and smooth it out with a small spatula. It may drip and get a bit messy but that's part of the personality of these sweet little pink hand pies.
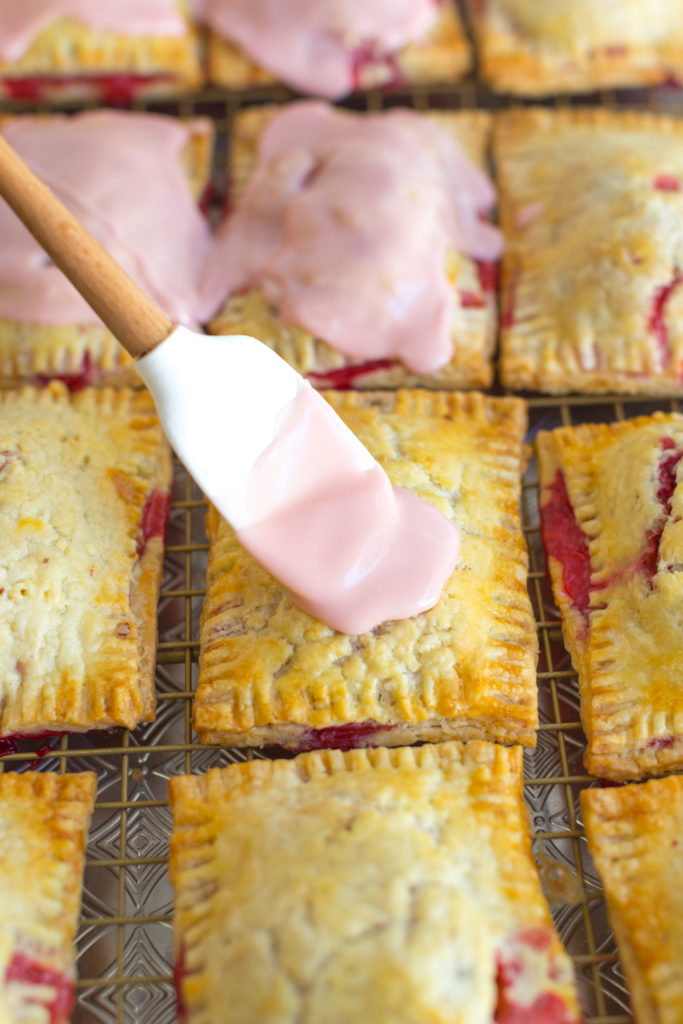
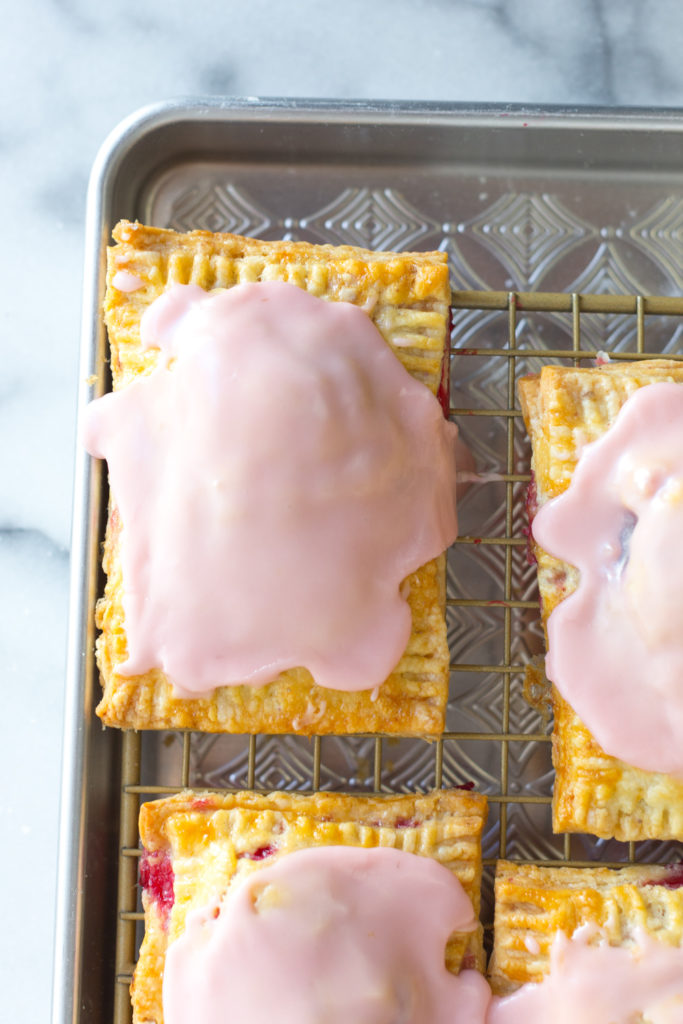
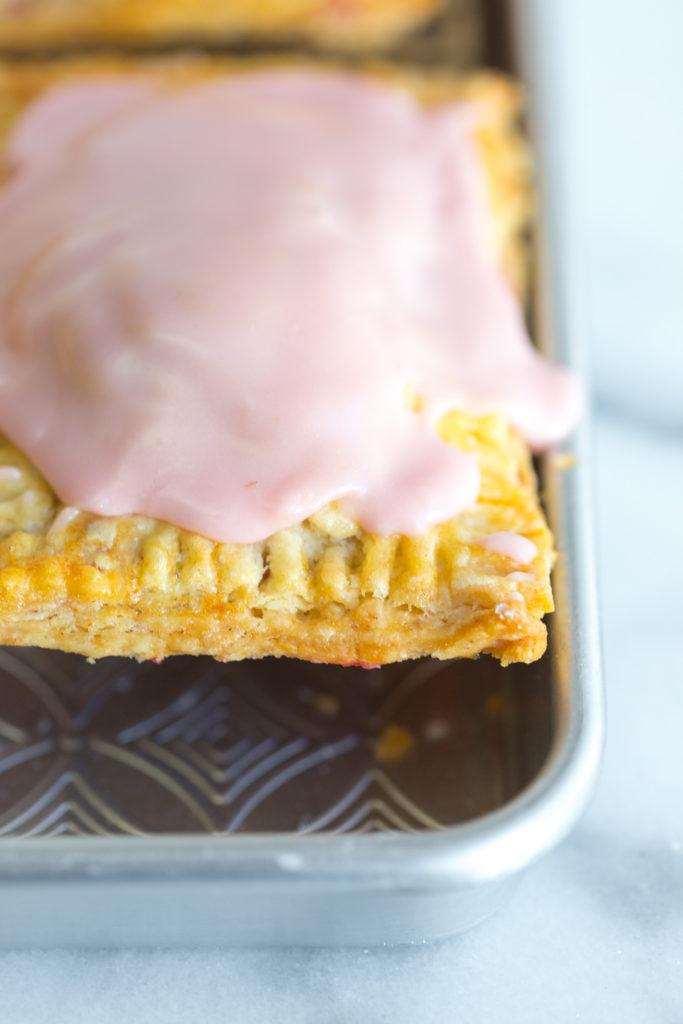
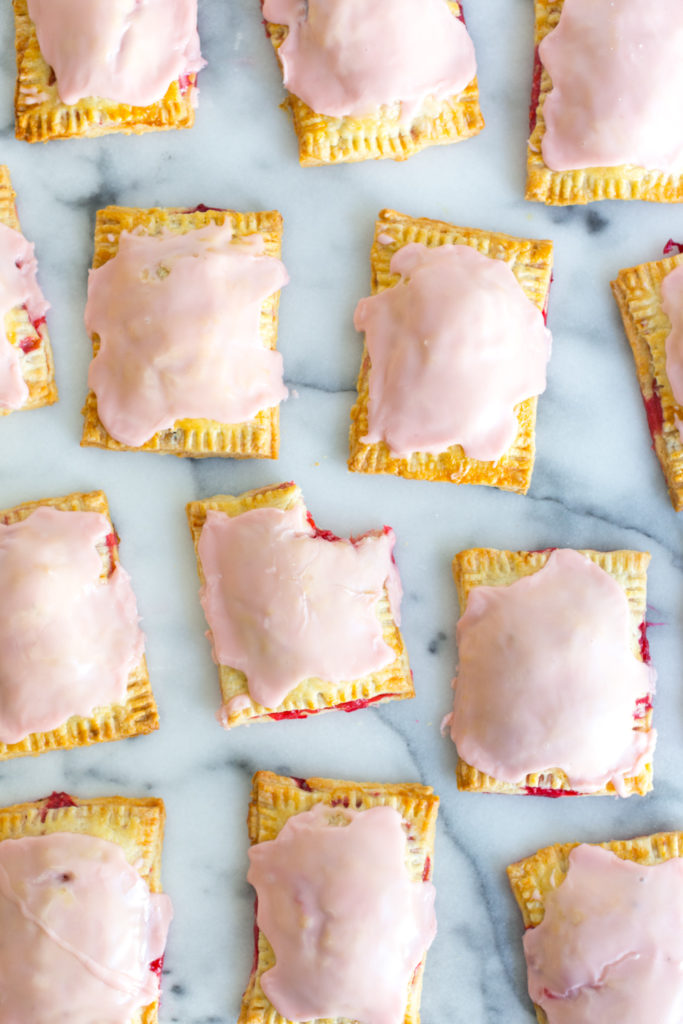
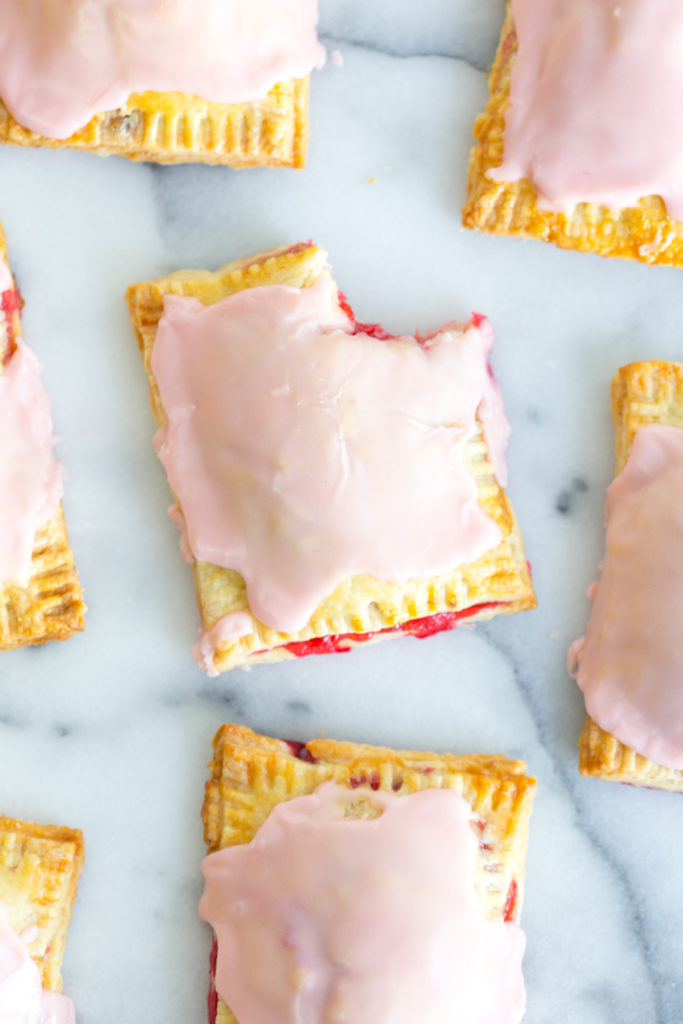
Here is my call to action, swipe the strawberries to the side. Just this once. And give raspberries a shot with rhubarb. These Raspberry Rhubarb Pink Peppercorn Hand Pies might just steal your heart and have the strawbs taking a back seat for a bit.
Recipe
Raspberry Rhubarb Pink Peppercorn Hand Pies
- Total Time: 1 hour 40 minutes
- Yield: 12 hand pies
Description
Raspberry Rhubarb Pink Peppercorn Hand Pies are a balanced mix of tart & tangy, spicy sweetness wrapped in a buttery crust & covered in pretty pink glaze.
Ingredients
PINK PEPPERCORN ALL BUTTER VODKA PIE DOUGH
- 1 cup unsalted butter (- cold )
- 2 ½ cups all purpose flour
- 2 tablespoons granulated sugar
- 2 teaspoons salt
- 1 teaspoons freshly ground pink peppercorns
- ¼ cup ice cold vodka
- 2-4 tablespoons ice cold water
RASPBERRY RHUBARB FILLING
- 2 cups chopped rhubarb
- 2 cups raspberries
- ½ cup sugar
- 1 whole lemon (- zested & juiced)
- 1 tablespoon tapioca flour
GLAZE
- 1 large egg
- 1 cup powdered sugar
- 2 tablespoons reserved fruit juice (- from filling)
Instructions
Pink Peppercorn All Butter Vodka Pie Dough
- Cut the butter into ¼" cubes and put back in the fridge or freezer to firm back up for a few minutes.
- Place the flour, sugar and salt and ground pink peppercorns in a mixing bowl with high sides and whisk together.
- If you have a food processor, you can use it to mix the pie dough. Place the flour mixture and cubed butter in food processor. Gently pulse until the flour changes from silky to mealy; this should only take a handful of pulses so watch it carefully.
Alternatively, you can mix the dough with a pastry blender or two butter knives to cut the butter into the dry ingredients until mealy.
- While pulsing, gently pour the vodka through the feed tube just until combined. At this point, I like to turn the crumbly dough into a large mixing bowl to check the hydration level of the dough by gathering a small fistful; if it holds together, it’s ready. If it is dry or crumbly, slowly add the remaining water, 1 tablespoon at a time, using a pastry blender.
If mixing by hand with a pastry blender or butter knives, keep cutting the dough until the it just holds together.*Be careful to add only as much water as it takes to combine the dough into a ball or disk. The exact amount of water can vary depending upon the moisture content of the flour, the quality of the butter, and the weather. When it has the proper amount of water, the dough will come together without much effort or deliberate packing. If you need to add more water, make sure the ingredients are still cold.
- Form the dough into two square shaped disks and wrap them individually in plastic wrap. Chill for at least 1 hour before rolling and forming.
*If you don't plan on using the dough on the day you prepare it, you can store the dough in the freezer. This dough will last at least a couple of months if wrapped up tightly in the freezer. Defrost the frozen dough overnight in the fridge before using.
- Once your pie dough has chilled, on a lightly-floured counter, roll one disk into a rectangular shape, ⅛"-¼" thick.
Using a ruler and a pizza cutter or knife, measure and cut the dough into 4” x 3” rectangles. Gather the dough scraps together, form a disk and re-roll, cut more rectangles.
- Transfer the rectangles to a lined baking sheet, and chill in the refrigerator for about 30 minutes. You should have 24 rectangles.
RASPBERRY RHUBARB FILLING
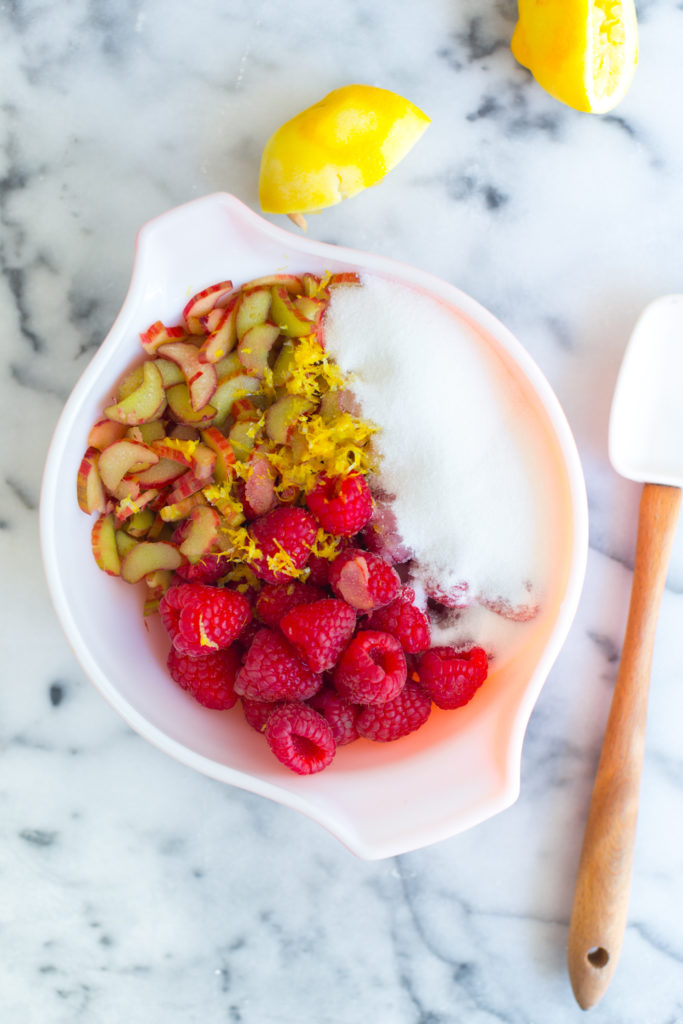
- Chop the rhubarb into ¼" -½" chunks and place in a mixing bowl. Add the raspberries, zest and juice of one lemon, sprinkle with sugar and toss to coat. Allow the fruit to to sit for at least 15 minutes so the juices start to release from the fruit.
- Strain out about ½ cup of the juices. Set aside 2-3 tablespoons of the juices. Then whisk the tapioca flour in with the remaining fruit juice to create a slurry. Pour the mixture back in with the fruit and toss to coat.
FORMING THE HAND PIES
- Remove the chilled dough from the refrigerator. Spoon 1 - 2 tablespoons of the filling onto a pie dough rectangle, leaving a ¼" edge all the way around. Lightly brush a small amount of cold water around the edges of the filled dough rectangle. Carefully lay another dough rectangle over the top of the filled dough rectangle and gently press and seal the edges together around the perimeter of each hand hand pie. Create a decorative edge by pressing the edges of the dough together with the back of a fork all the the way around. Repeat the process with remaining dough rectangles.
- Place the hand pies on a lined baking sheet and place in the freezer to chill for another 30 minutes.
- Preheat the oven to 375° F.
- Remove the chilled hand pies from the freezer. Whisk egg with a bit of water. Using a pastry brush, lightly brush the hand pies with the egg wash.
- Bake until the hand pies are golden brown, about 20 - 25 minutes, rotating the pans halfway through. Allow to cool while you prepare the glaze.
GLAZE
- Sift the powdered sugar into a medium bowl. Whisk in the fruit juices, 1 tablespoon at a time until the mixture runs off the whisk like molasses.
- Spoon about 1 tablespoon of glaze onto each hand pies, smoothing the glaze to the crimped edges with the back of the spoon or a small spatula. Allow the glaze to set before serving.
- Prep Time: 1 hour 15 minutes
- Cook Time: 25 minutes
- Category: Dessert

Sabrina says
These are gorgeous and I'm obsessed with this flavor combination!
beckysue says
Thank you, Sabrina! The flavors are so great together. You should try it! Hope you are well. <3