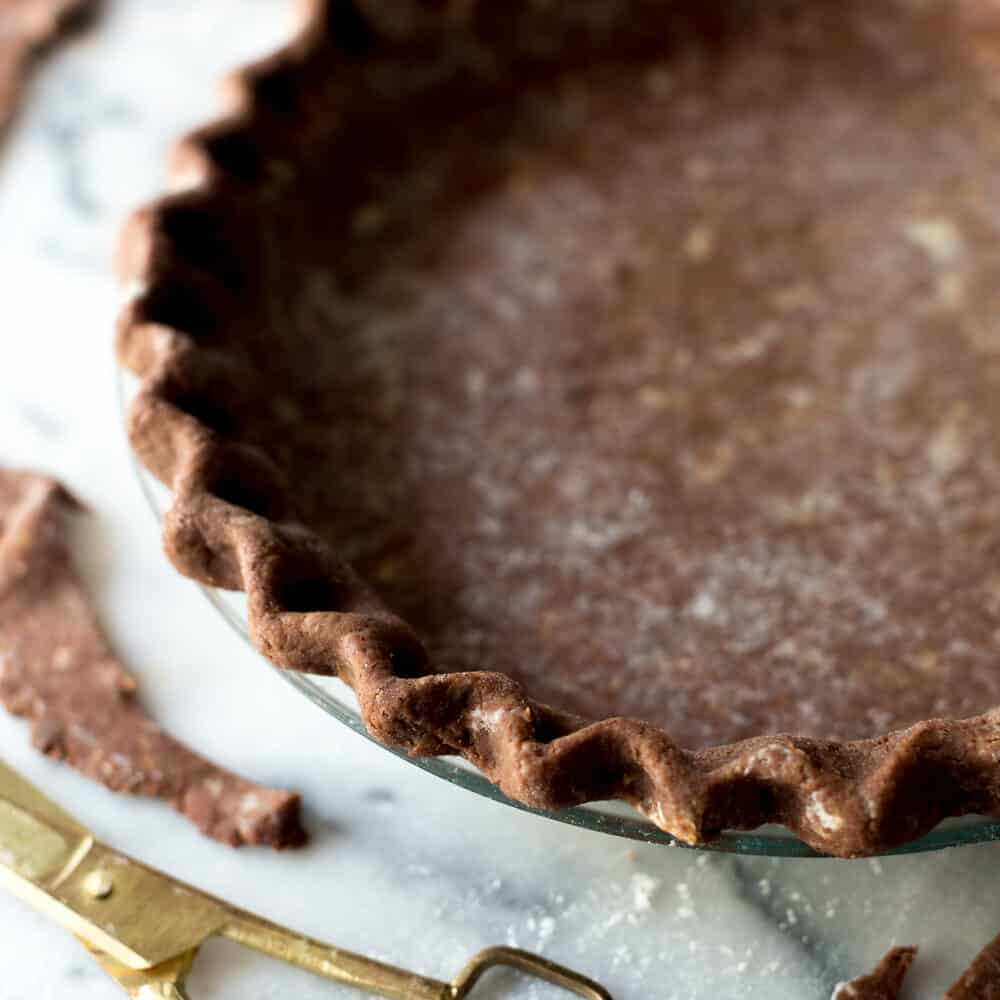
There is nothing quite as satisfying as a buttery, tender and flaky pie dough recipe. Unless of course you add chocolate. This easy Chocolate Pie Dough recipe has all of the classic qualities of a great pie crust, with the added bonus of chocolate notes.
Jump to:
Use Chocolate Pie Dough for galettes, pies or hand pies
Sure, there is a place and a time for chocolate. But most of time, its always a good time for chocolate. Since this Chocolate Pie Dough works well for pies, hand pies and galettes, it can take on all kinds of forms. I especially like using this recipe around the holidays to give my seasonal pies a little something extra.
Cocoa powder adds dimension
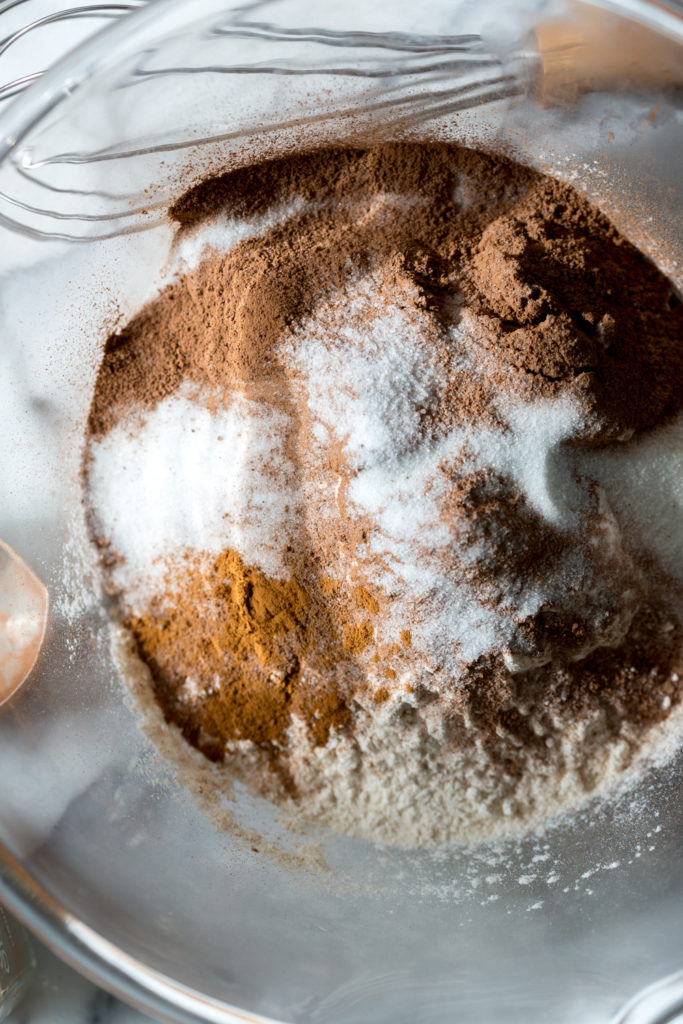
By simply swapping a bit flour for cocoa powder in a basic pie dough recipe, you are giving the recipe depth. Not only does the cocoa powder add a warm, chocolatey flavor. It also changes the visuals. A chocolate pie crust is like changing your shoes. It gives the whole ensemble a different look and feel.
Powerhouse Ingredients
- Quality, high fat butter. This one is KEY to my signature pie dough recipes. While butter may be a little tougher to work with then say, shortening. The flavor is far superior. Using a good quality butter with a higher fat content, like European style butter, will give pie crust that desirable buttery flavor. Plus, the butter fats help with pie dough stability and pliability.
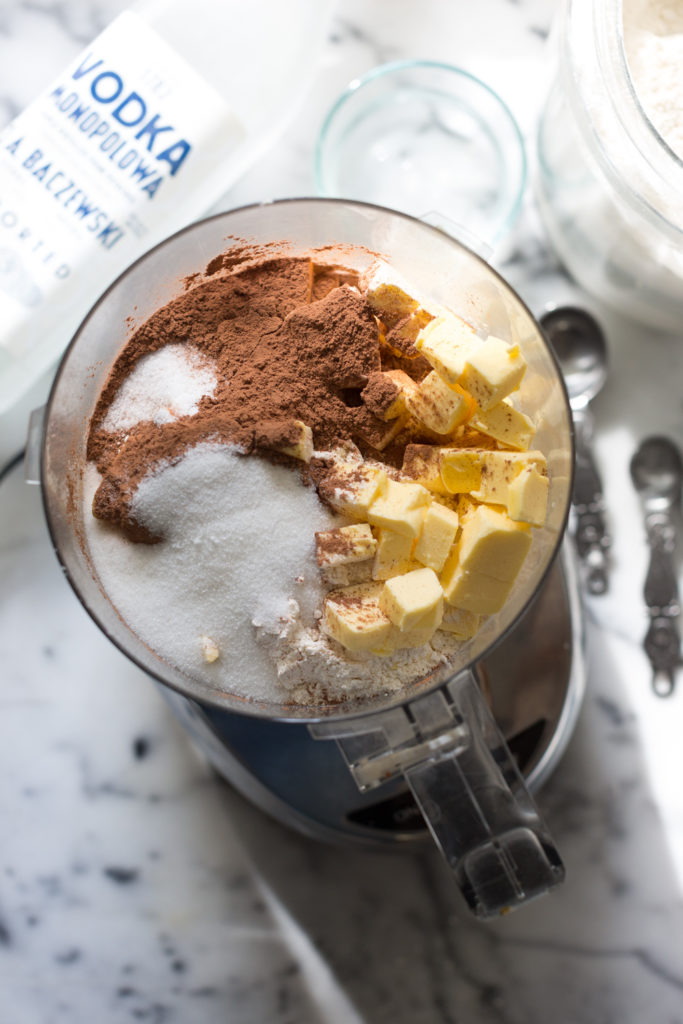
- Vodka or ice cold water. I prefer using vodka in my pie doughs as the alcohol evaporates faster than water in the oven, in turn creating a flakier crust. If you don't have vodka, ice cold water is your next best bet.
- Cocoa Powder. This Chocolate Pie Dough recipe gets its chocolatey character from cocoa powder. Adding rich cocoa notes in flavor and color.
- Granulated Sugar. While most of my pie dough recipes use just 2 tablespoons of granulated sugar to add a touch of sweetness. A bit more sugar is mixed into the Chocolate Pie Dough to elevate the sweetness. By adding more sugar, ¼ cup, it's balancing the cocoa powder to sweetness ratio. The added sugar gives the pie dough a more pronounced chocolate flavor and brings out the notes of cocoa.
As with all of my pie dough recipes, I demonstrate particular power moves to keep that crust flaky and tender. These pie baking tips and tricks carryover into all of my pies, hand pies and galettes.
Foolproof Pie Dough Tips & Techniques
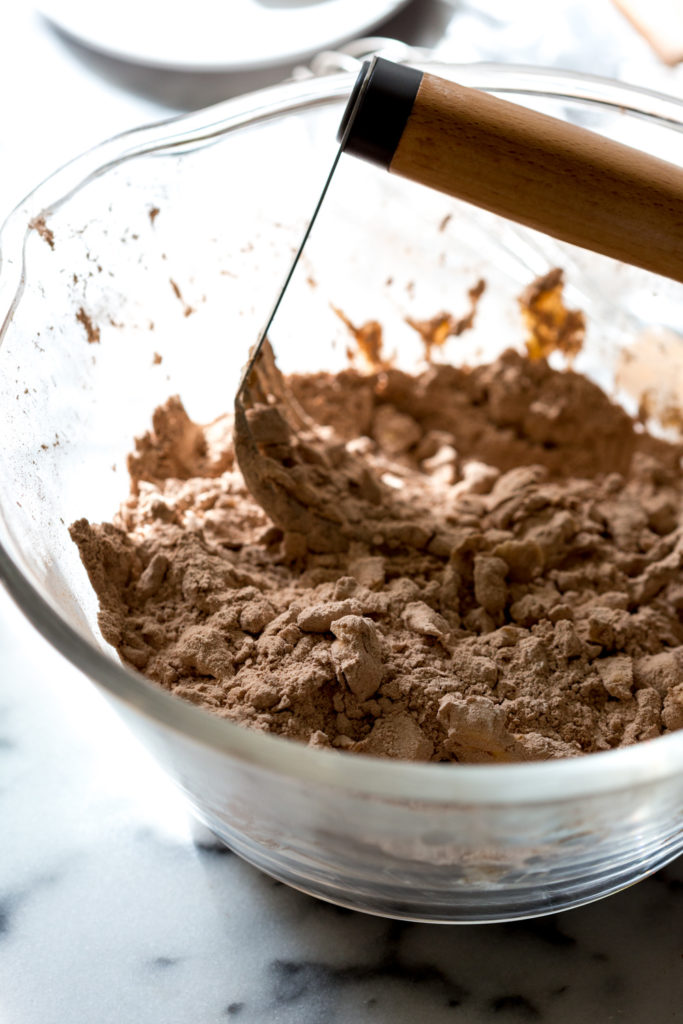
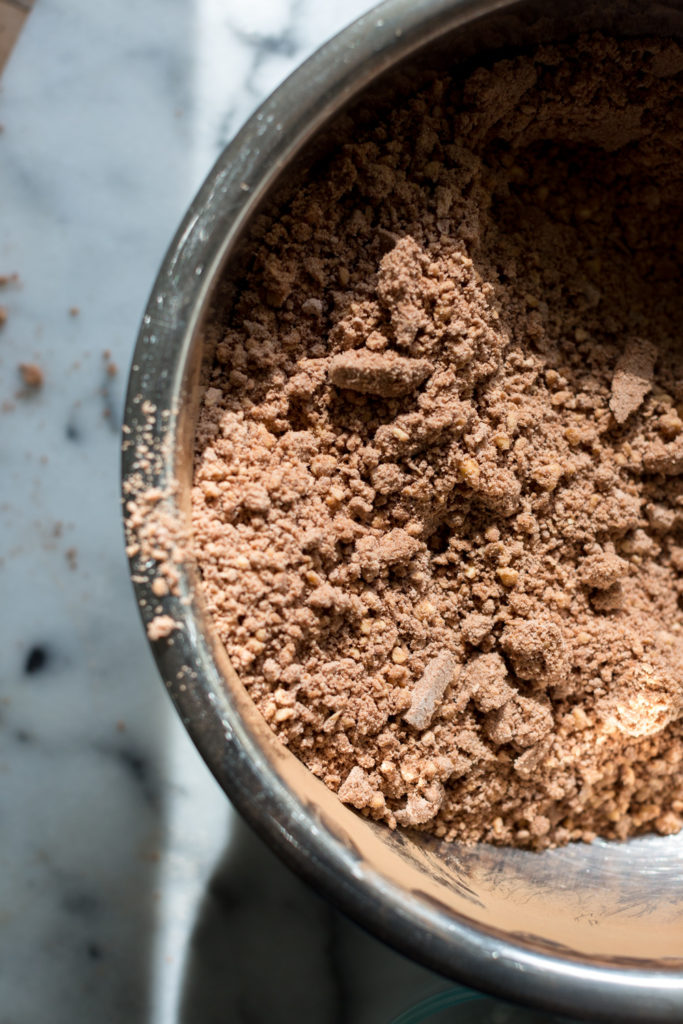
- Cold, cubed butter. When cutting the butter cubes into the dry ingredients you want it to keep some structure. You are looking to create little pea-sized granules. These little, mealy butter peas will expand and puff in the oven creating flaky texture. If the butter is warm, it'll mush into the flour. In turn, creating a dense, flat dough.
- Hydration. Whether using vodka or water, you want to keep it ice cold. The same reasoning applies here. Cutting cold ingredients into the dry ingredients will allow the dough to maintain texture. Slowly hydrate the pie dough until it just holds together when squeezed in your palm. Over hydrating will weigh down the pie dough and further densify it.
- Don't overwork it. If this Chocolate Pie Dough or any pie dough is overworked, it loses those little texture nuggets. By keeping a gentle hand and mixing until just combined, texture is maintained. Whatever method you use to mix the pie dough, be deliberate and watch that texture.
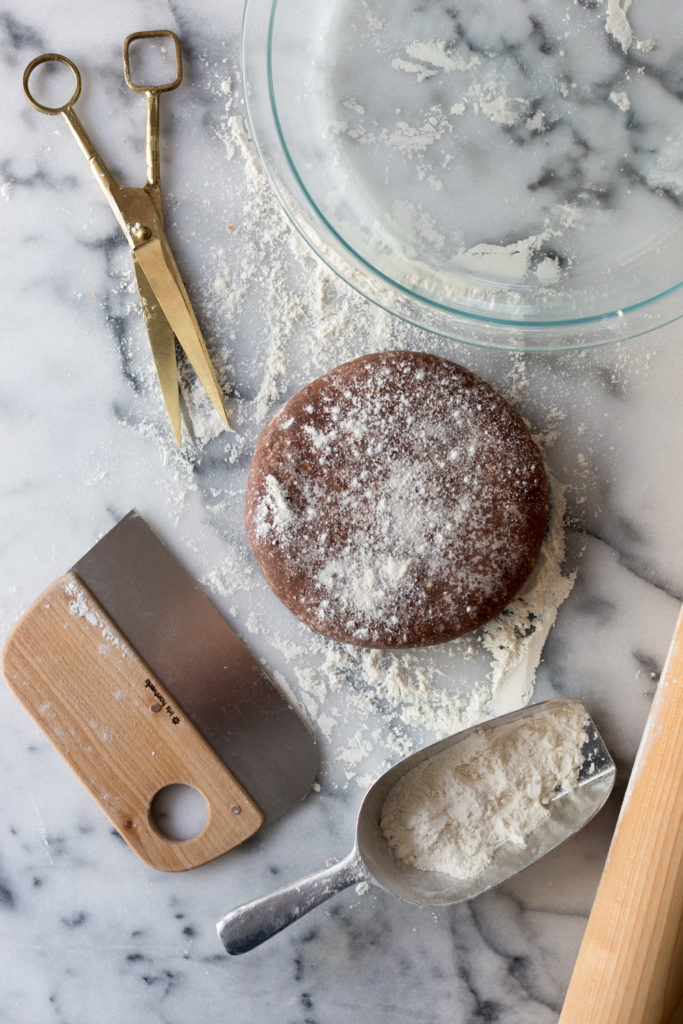
- Gather and pat. No need to knead pie dough. It's all about gathering and patting the dough together to maintain those little nodules of buttery, flaky flavor. The dough disk can look a little rough with buttery patches or bits.
Shaping Pie Dough
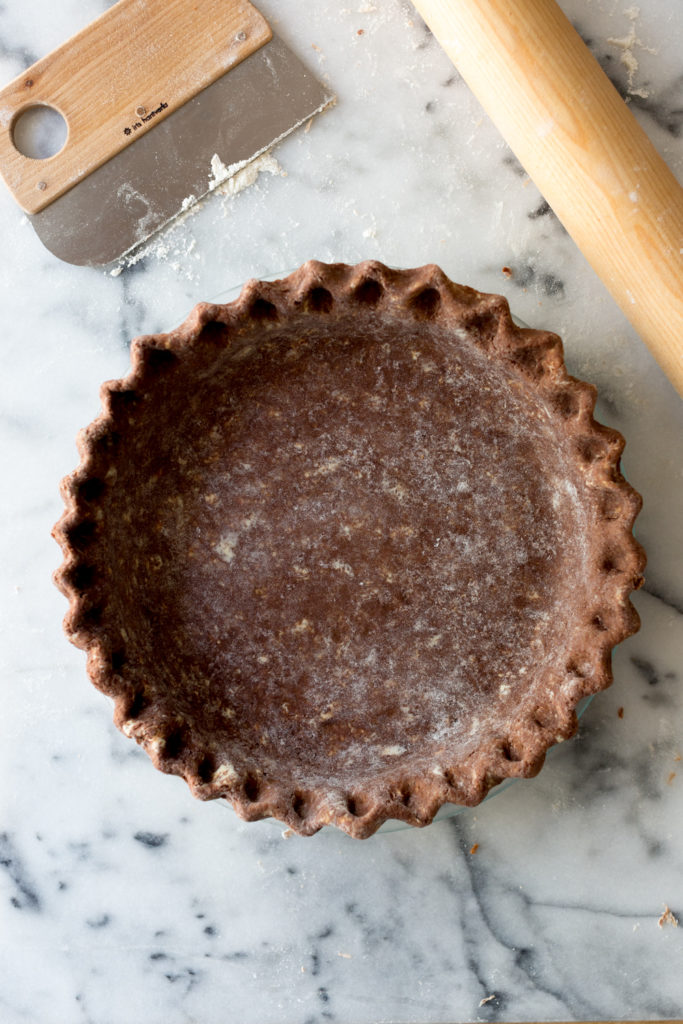
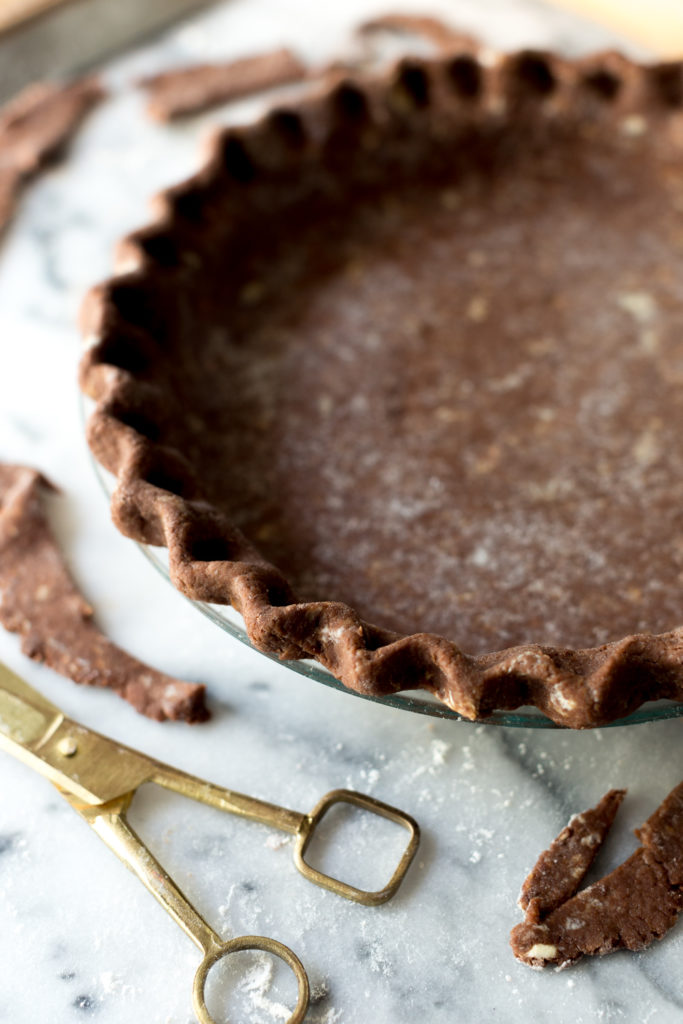
Blind baking
Single crust pies require a quick blind bake before filling them. This technique is paramount to pies such as custard pies, pumpkin pies, pecan pies, etc. While it may seem like an annoying step, blind baking is critical to preventing soggy bottoms and shrunken pie dough.
By lining the pie shell and filling it with weights, you are par-baking the pie shell and giving it structure and a seal that holds up against liquid fillings. The weights help the pie shell maintain its shape and keep it from slouching into the pie pan. The Chocolate Pie Dough will finish baking completely once filled.
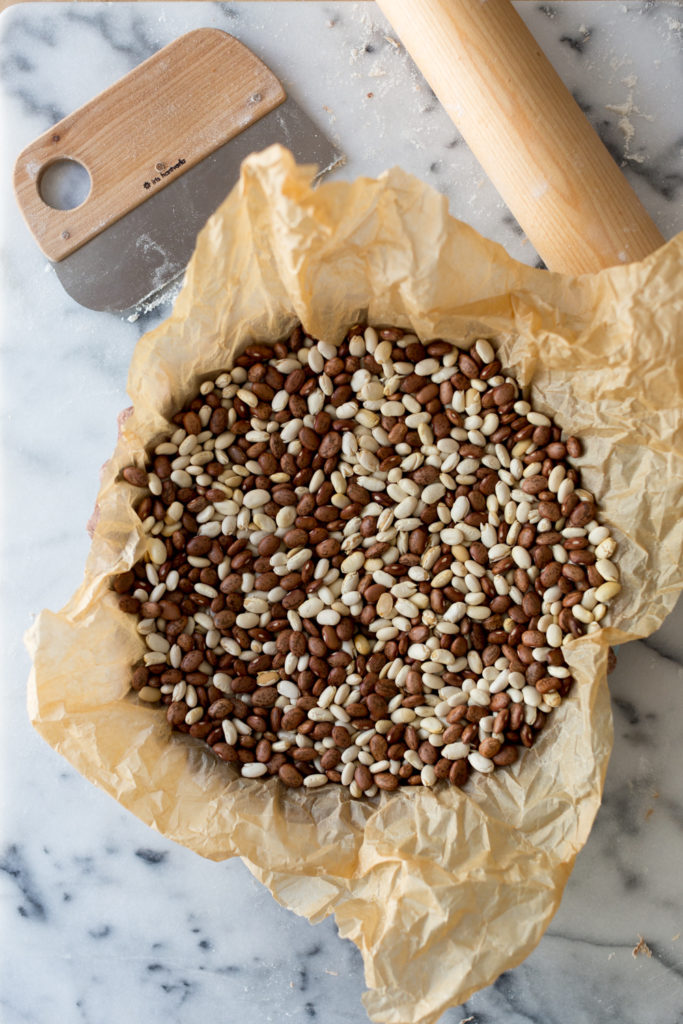
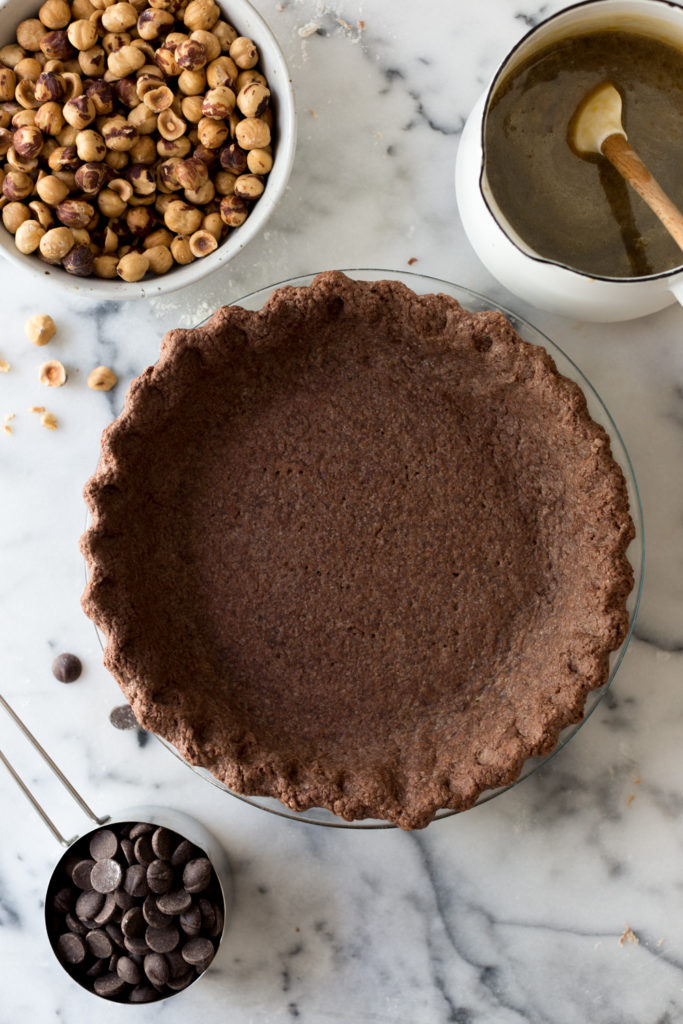
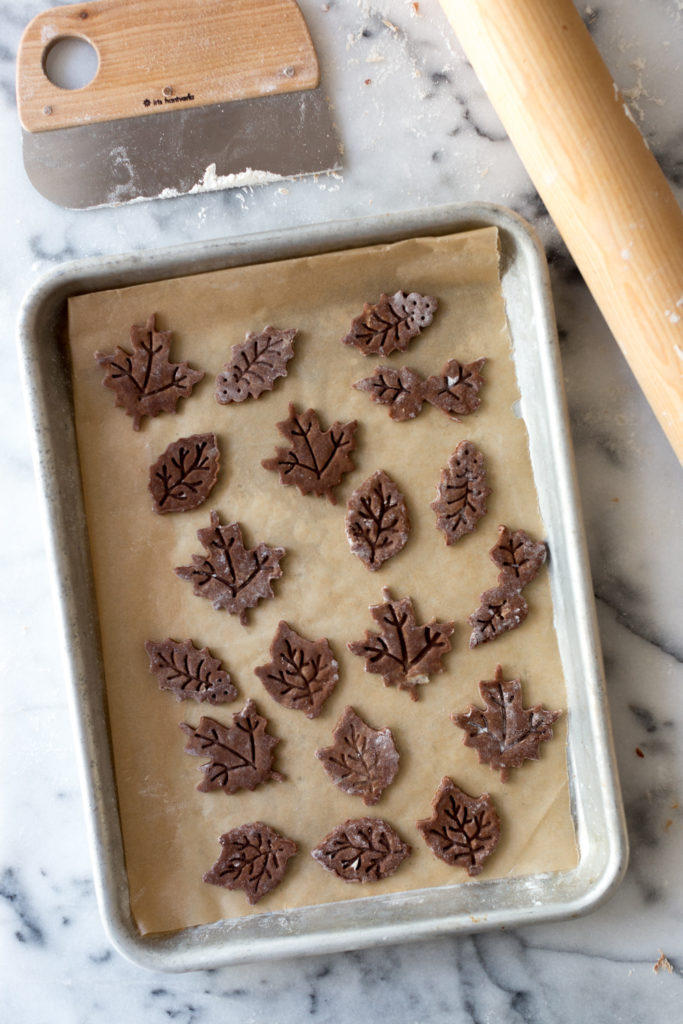
When blind baking pies for pie fillings that don't require oven time, like a Chocolate Mousse Pie, the shell should be fully baked. You can purchase fancy pie weights or just use common dry beans like me. Rice works too!
However you decide to use this versatile Chocolate Pie Dough, it is a solid option to have in your recipe box. I'd love to know how you are using this recipe! Here are a few inspirational recipes to get your oven warm.
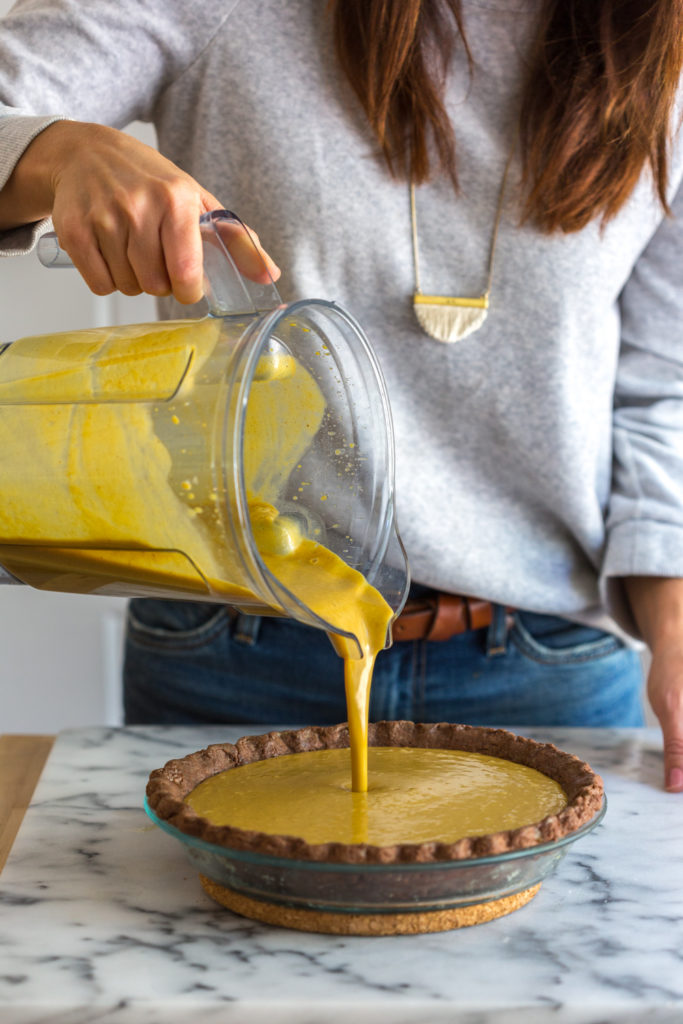
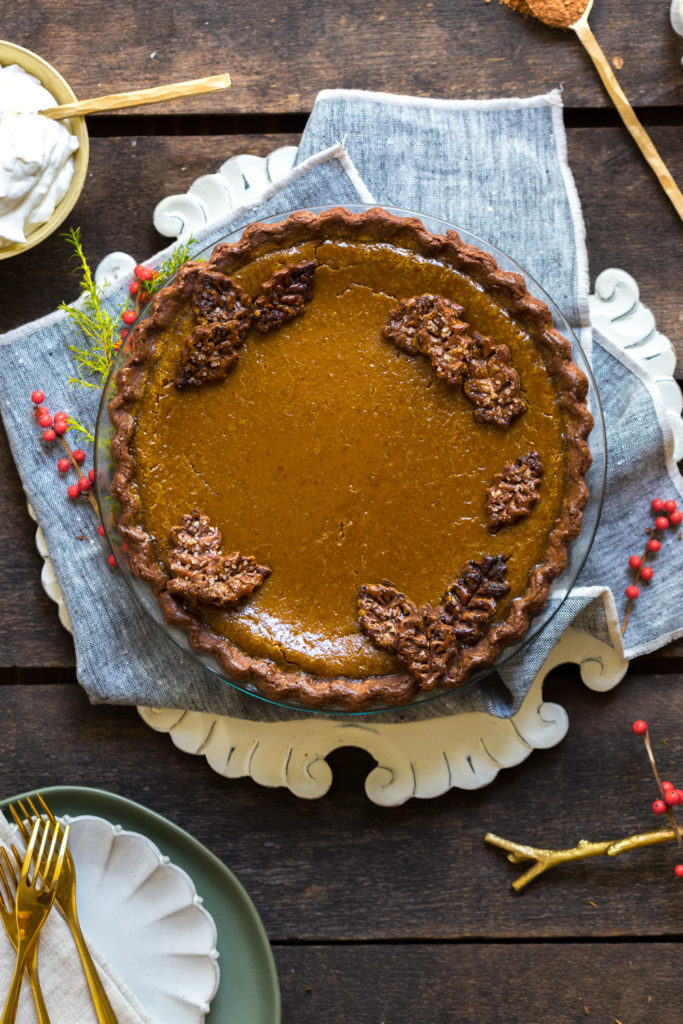
Try my Maple Pumpkin Pie with Chocolate Crust
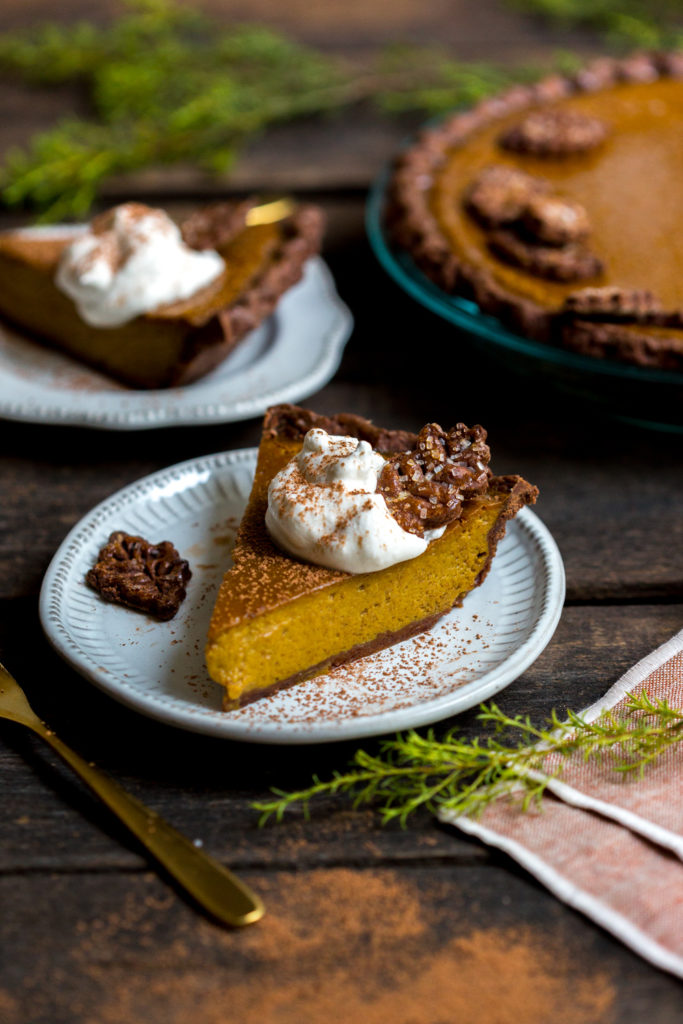
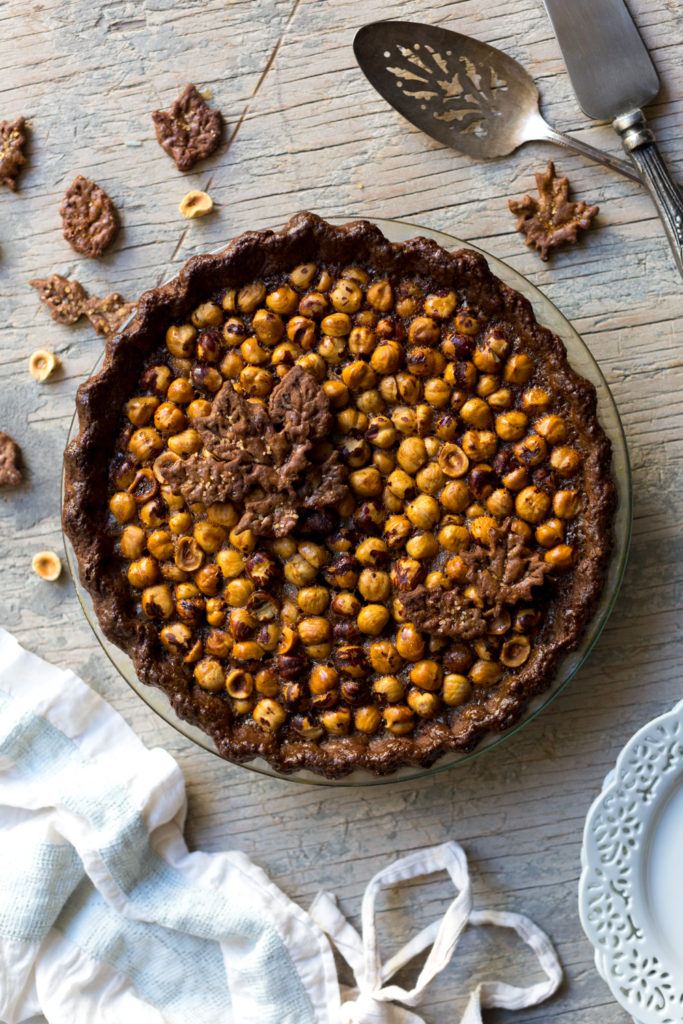
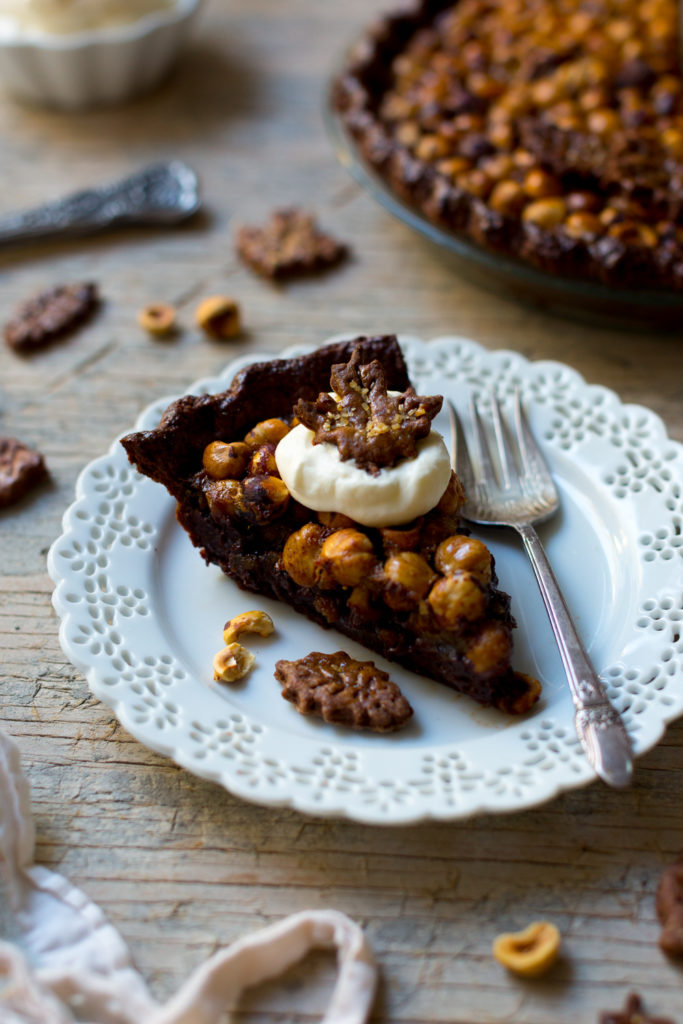
Bake this Chocolate Hazelnut Maple Bourbon Pie
Recipe
Chocolate Pie Dough
- Total Time: 2 hours 10 minutes
- Yield: 2 pie dough disks
Description
This easy Chocolate Pie Dough is buttery, tender and flaky with added cocoa notes for a rich, chocolate laced pie crust.
Ingredients
1 cup unsalted butter (cold)
2 ¼ cups all purpose flour
¼ cup tablespoons dark cocoa powder (sifted)
¼ cup granulated sugar
1 teaspoon fine sea salt
3-4 tablespoons vodka (ice cold)
2-4 tablespoons ice cold water
Instructions
Place the flour, sifted cocoa powder, sugar and salt in a large mixing bowl and whisk together.
Cut the cold butter into ¼" cubes. Then cut the butter into the dry using either a pastry blender, two butter knives or by squishing it between your fingers, just be careful that the butter doesn't start to melt. Keep mixing the butter into the dry ingredients until mealy, pea sized granules form. *If using a food processor, place the flour mixture and cubed butter in food processor. Gently pulse until the flour changes from silky to mealy; this should only take a handful of pulses so watch it carefully.
Use a pastry blender or fork to hydrate the mix with the ice cold vodka or water, adding 1 tablespoon at a time and mixing as you go. The dough should just start to combine, try not to over-hydrate. *If using a food processor, while pulsing, gently pour the vodka through the feed tube just until combined. Check the hydration level of the dough by gathering a small fistful; if it holds together, it’s ready. If it is still dry or crumbly, slowly add ice cold water, 1 tablespoon at a time, using a pastry blender or fork until sufficiently hydrated.
Divide the dough evenly and gather and pat together to form 2 pie dough disks. dough will come together without much effort or deliberate packing. Wrap the dough disks tightly in plastic wrap or place in sealing, reusable bags.
Chill the dough disks for at least 2 hours before rolling and forming. *If you don't plan on using the dough within a few hours or on the day you prepare it, you can store the dough in the freezer, tightly wrapped for up to 3 months.
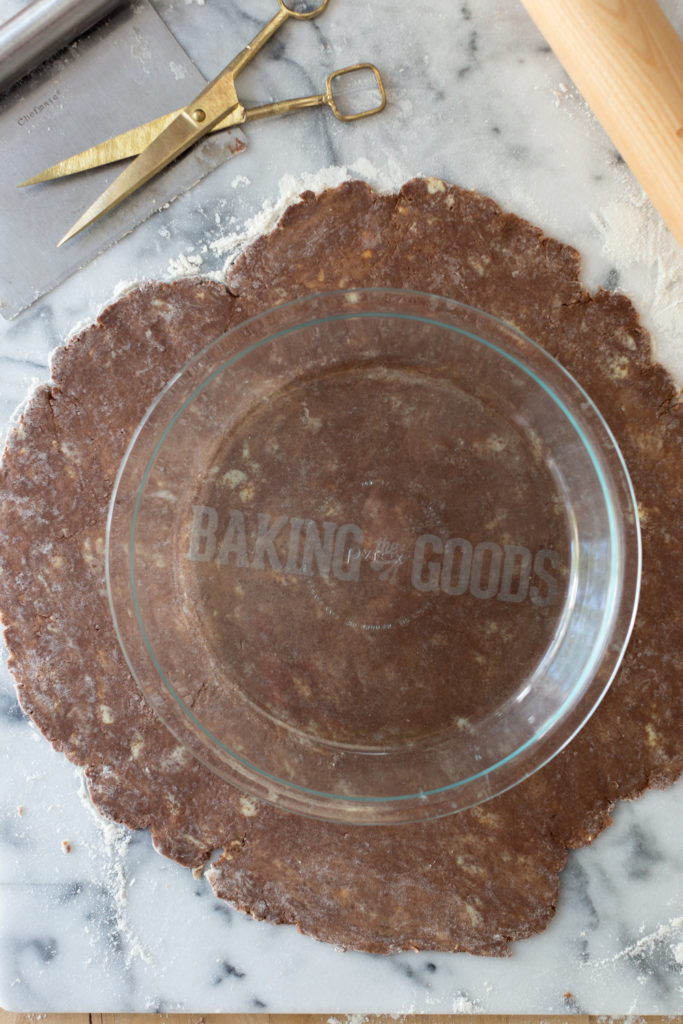
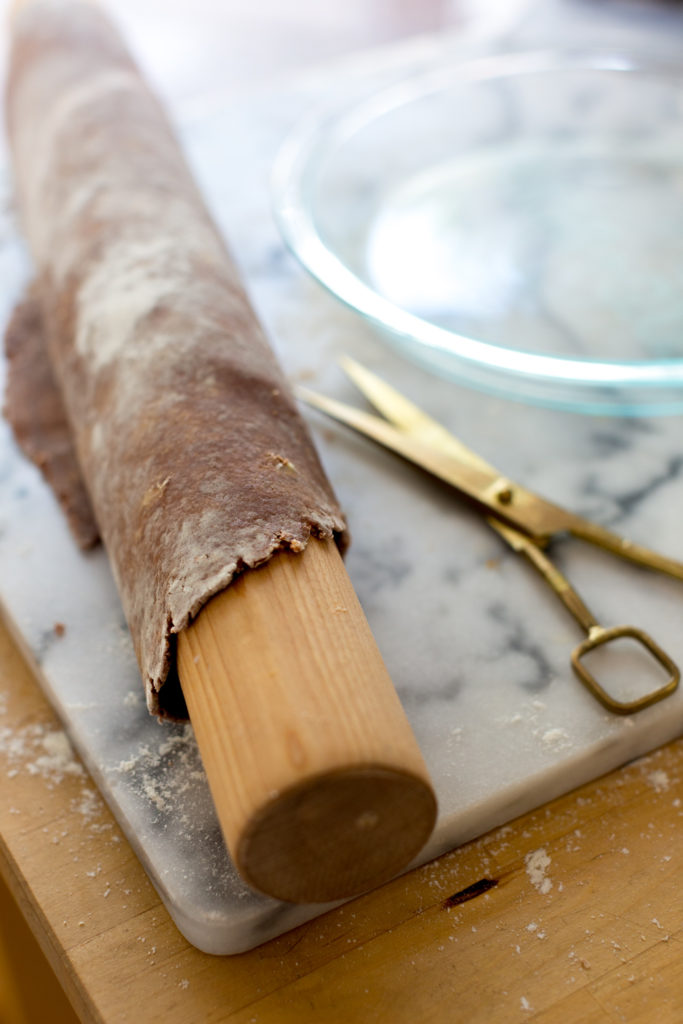
Follow the instructions on your pie recipe for rolling, shaping and baking.
Notes
This dough can be stored in the freezer, tightly wrapped for up to 3 months. To use, either defrost in the refrigerator overnight. Or allow dough to defrost on the counter for about 2 hours, until you can leave a soft thumb indention in the top by lightly pressing.
Use this recipe for my Maple Pumpkin Pie With A Chocolate Crust & my Chocolate Hazelnut Maple Bourbon Pie.
- Prep Time: 10
- Chill Time: 120

Comments
No Comments