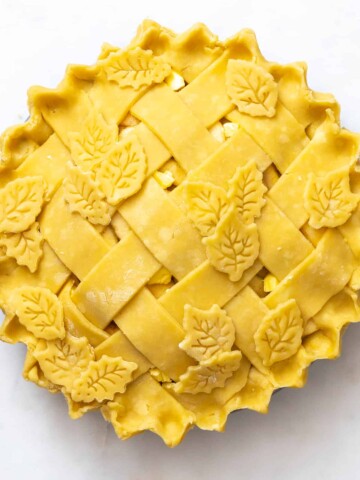
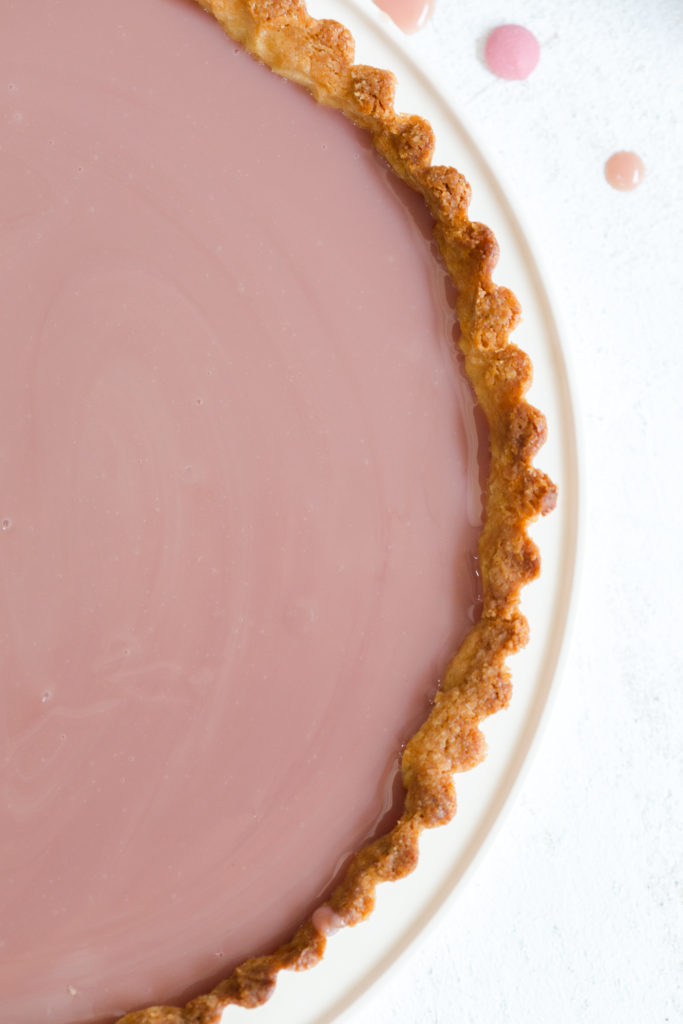
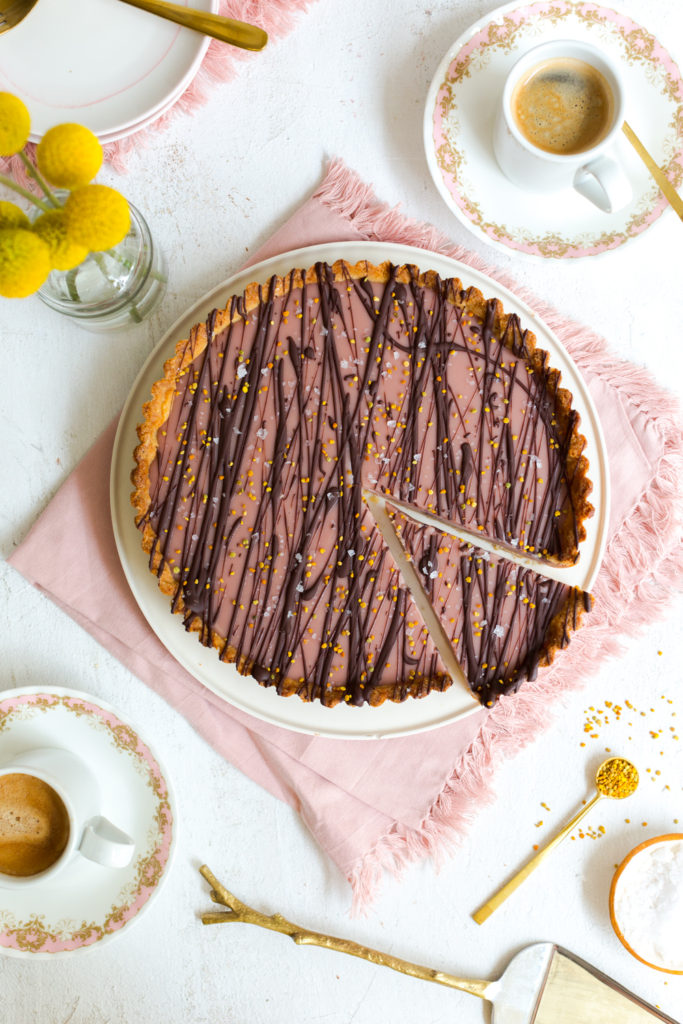
This easy Basic Tart Dough is crisp, rich, buttery & tastes like a sweet cookie. This versatile dough is an ideal base for all kinds of tasty tart fillings, sweet or savory. This is the go-to tart dough to have in your back pocket.
This Basic Tart Dough is a tried & true, reliable recipe
Much like pie dough, having a reliable and versatile tart dough recipe in your recipe box is fundamental. It takes the guess work out of trying new recipes as you already know you're starting with a solid base. My All Butter Vodka Pie Dough and Best Basic Pie Dough are 2 proven examples of recipes that always work.
What's the difference between tart dough & pie dough?
I like to think of it this way, my tart dough is sweeter and bakes up more crumbly, similar to a cookie. While, pie dough is more buttery and bakes up with tender and flaky, like a croissant. My basic pie dough recipes just use 5 ingredients. Butter, flour, sugar, salt and either vodka or apple cider vinegar to hydrate the dough. While the tart shell recipes has a few additional ingredients.
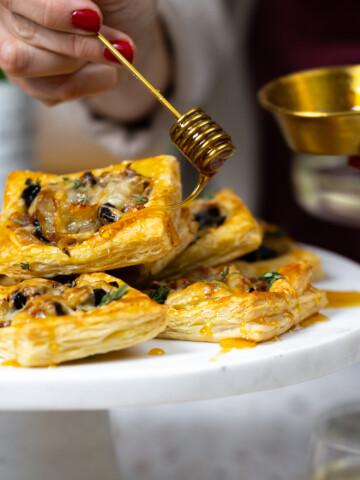
If you are searching for a more savory option, try my Savory Tart Dough. It bakes up flaky and crisp with just enough salt and a hint or peppery warmth to highlight all kinds of savory tart fillings. It's a versatile tart dough that works for everything from classic 9" tarts to mini tartlets or even as the base of a quiche.
Tarts bake in shallow pans with strait sides
Pies tend to be baked in a deeper dish with sloped sides. While tarts are usually more shallow, baked in a pan with straight sides. They often have a removable bottom, making for a beautiful presentation. Both pies and tarts have their place, having a solid crust recipe for each will make you a better baker.
Check out my favorite, go-to pie dough recipes
Key ingredients in this Basic Tart Dough
- All Purpose Flour builds up the base of this easy dough. Nothing fancy, just your basic APF. However, this recipe can be made gluten free by swapping the APF for Bob's Red Mill Gluten-Free 1-to-1 Baking Flour.
- Egg yolk enriches the dough and works to bind the it together.
- Heavy cream or whole milk also add fat and additional richness. It also slightly caramelizes as the tart shell bakes, giving it a deeper layer of natural sweetness.
- Granulated sugar sweetens up the tart dough, just enough. You can also swap in powdered sugar for a delicate crumble. Or brown sugar for a more caramel notes.
- Vanilla extract gives the tart crust a warm and comforting character and leans into that sugar cookie flavor. Swap in almond extract for a nutty, cherry-like flavor.
- Salt balances out all of the other flavors and allows them to shine brighter.
- Butter adds rich flavor and works to give the tart shell it's crisp crust when baked.

For years I have be using this Williams Sonoma Basic Tart Dough recipe. Over that time I have made a few small adaptations but the root of this recipe was grown out of that solid and reliable original tart shell recipe. This Basic Tart Dough tastes pretty much like a sugar cookie and the filling opportunities are endless, if you can dream it, you can fill it.
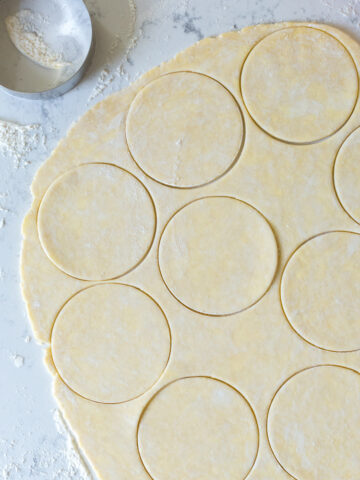
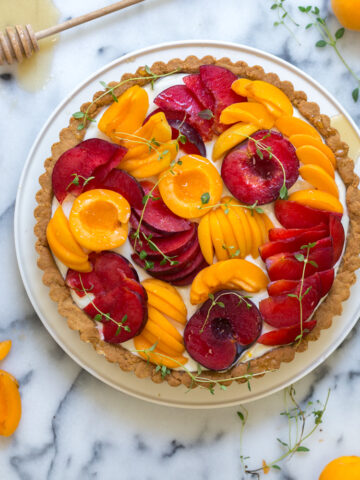
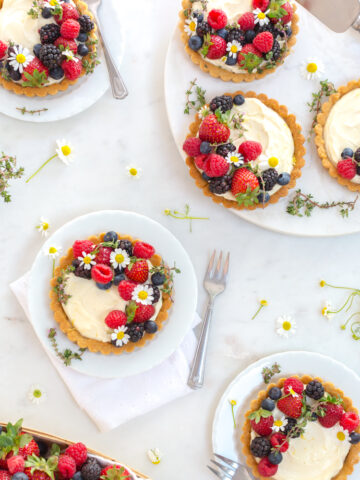
Beyond this classic style Basic Tart Dough recipe, I often use simple press-in shortbread tart shells as well
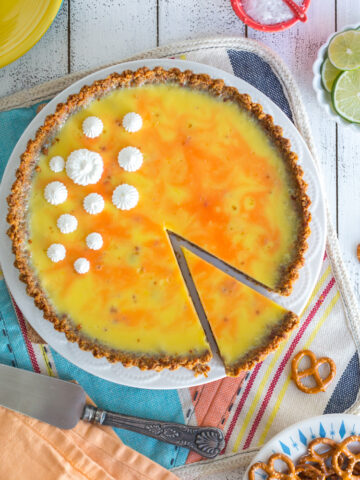
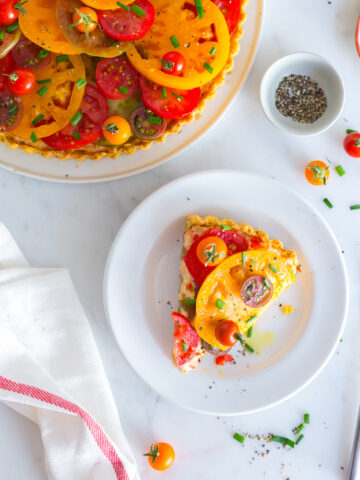
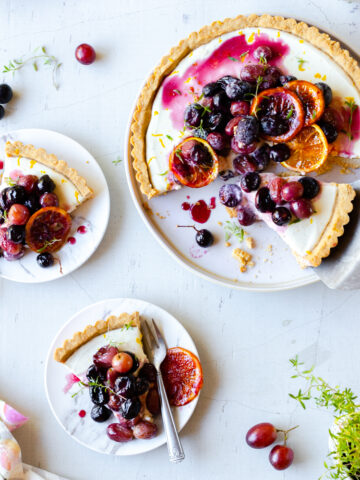
Check out my Roasted Grape Goat Cheese Tart and Apricot Plumcot Tart to learn this easy method. Or to try an almond crust made with almond flour, see my Berry Mascarpone Tarts with Almond Shortbread Crust and these gorgeous Avocado Blueberry Tarts with Almond Crust. You can even swing it savory with my Heirloom Tomato Pimento Cheese Tart, featuring a black pepper cornmeal crust. Get that salt sweet thing going with this Grapefruit Margarita Tart with Pretzel Crust.
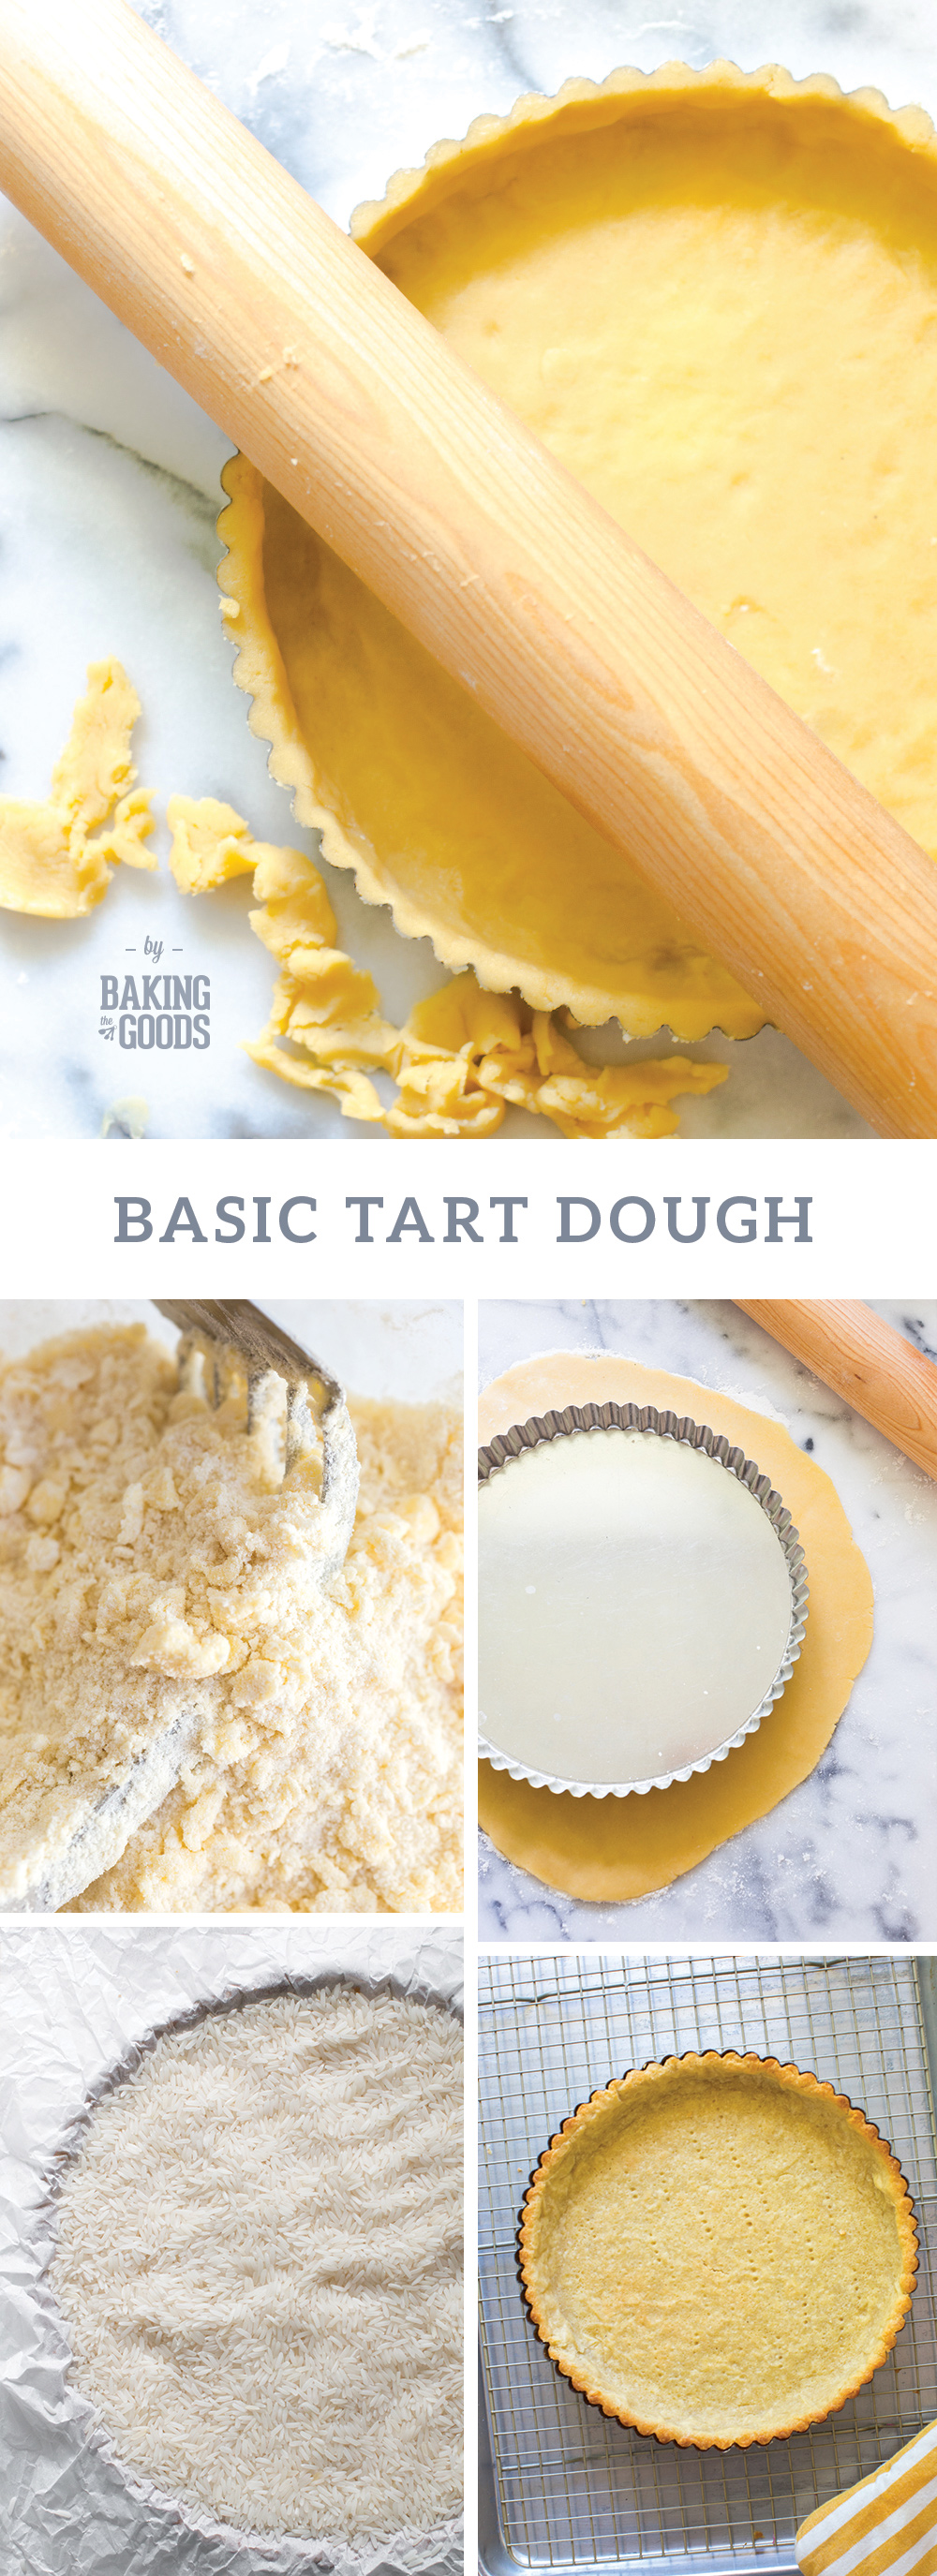
Mixing the tart dough is simple
This easy recipe doesn't need a mixer. It comes together by cutting the cold butter into the dry ingredients with a pastry blender, a fork or just by squishing it between your fingers. Once the dough is hydrated with the cream and egg yolk, use a fork to finish mixing it together. It's all very simple.

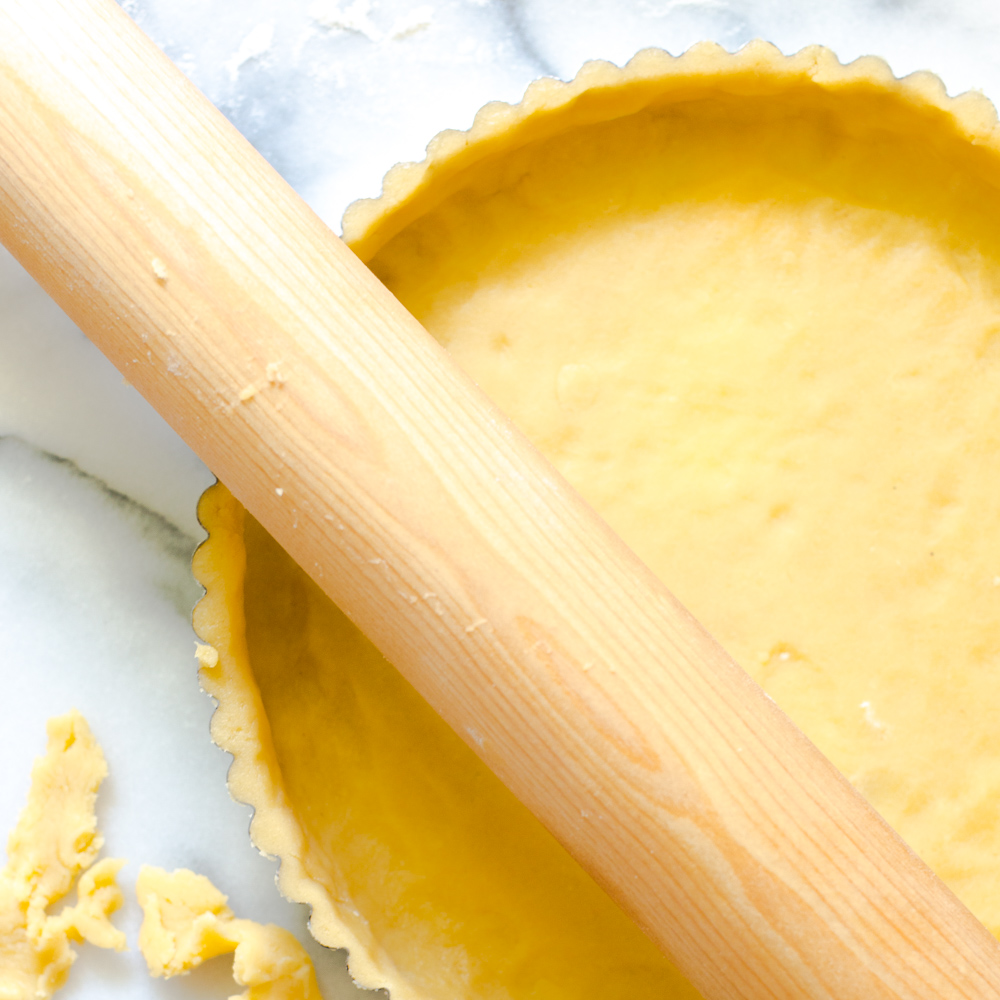
This Basic Tart Dough is a roll-out dough
Unlike the press-in style tart shells, this Basic Tart Dough requires a rolling pin and the blind baking process. But fear not, this tart dough is much less finicky than pie dough thanks to the binding power of the egg and cream. And honestly, blind baking is quite simple. Don't be deterred by that.
This dough is very forgiving and can be patched if it tears or cracks
If the dough tears or crumbles it can be easily patched back together and no one will be the wiser. Even if it cracks while it bakes! If you save the leftover dough bits, you can go back in and add a thin spackling of dough to the cracks. Which consists of filling the cracks with that leftover tart dough and then then baking it a couple of extra minutes to set the spackle! So smart, so easy.
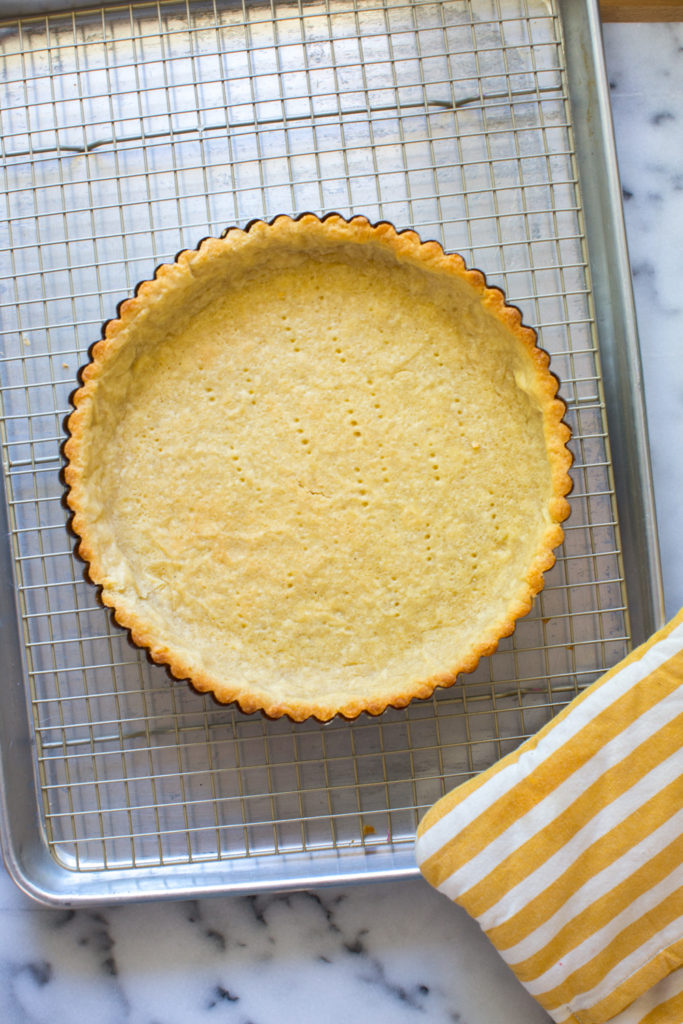
Blind baking the tart shell helps it keep it's shape
Blind baking the tart shell keeps the edges and bottom from puffing up as it bakes. This gives the tart crust it's crisp, straight edges. If using a fluted pan, it will keep those little scalloped edges looking all cute and conformed.
Use this Basic Tart Dough recipe in a variety of tart pans
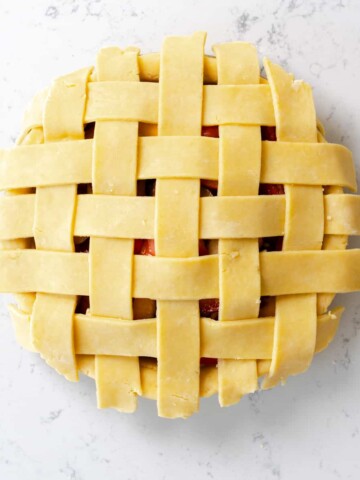
Use this Basic Tart Dough recipe for standard 9 or 9.5" round tart pan , a rectangular 14" x 4" tart pan
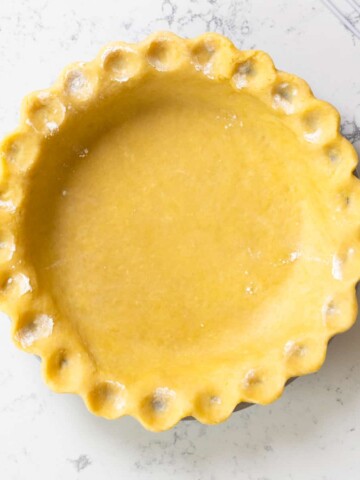
 or 6 mini 4" tart pans
 . You've got options, friends. I encourage you to learn the basics of the Basic Tart Dough and then allow yourself to get creative with your brilliant filling creations.
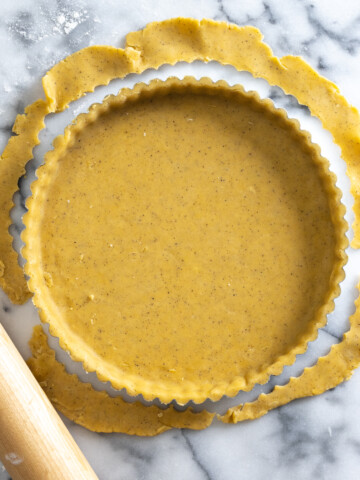
This tart shell can be made gluten free with 1 simple swap
I even took this simple tart dough recipe to another level and tested a Gluten Free Basic Tart Dough version by simply swapping the all purpose flour for Bob's Red Mill Gluten-Free 1-to-1 Baking Flour. The results were fantastic! I'm not gonna lie, it was a little sketchy transferring it into the tart pan
 but I was able to patch it back up and press it into the pan
 . It baked up beautifully and held it shape really well when I cut into the finished tart.
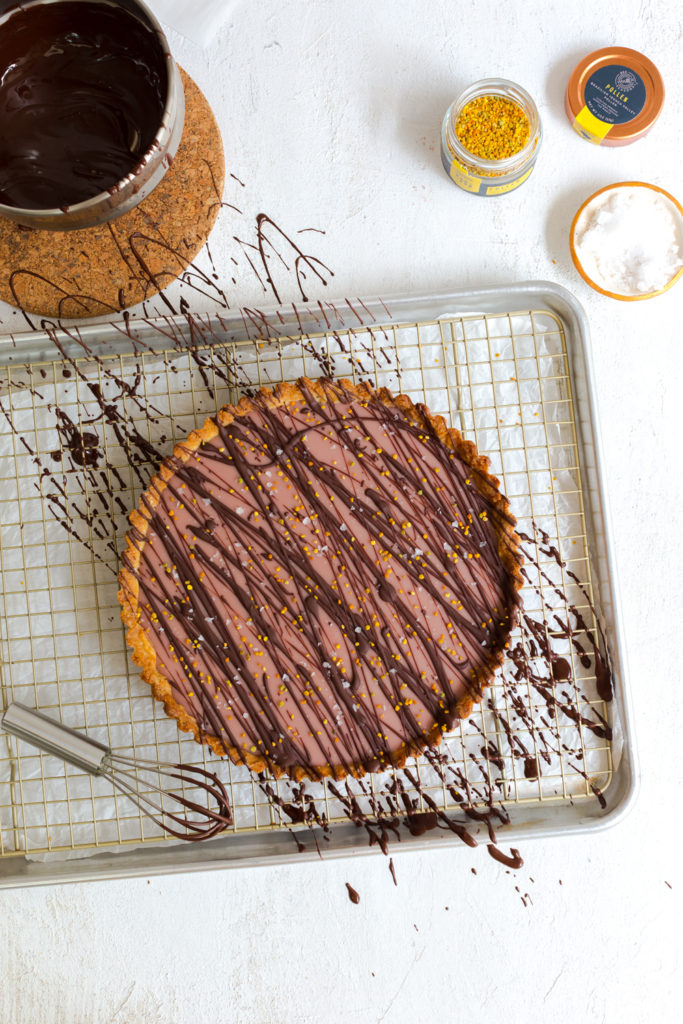
I use this basic tart shell recipe all of the time. It's handy for everything from tarts, to mini tarts, and even works great as a quiche base. So many things can be made using this versatile tart dough recipe. I hope you will add it to your go-to recipe collection too!
Beautiful and tasty tart recipes from Baking The Goods

Recipe

Basic Tart Dough
- Total Time: 50 minutes
- Yield: 1 tart shell 1x
Description
This easy Basic Tart Dough is crisp, rich, buttery & tastes like a sweet cookie. A versatile dough that's an ideal base for all kinds of tasty tart fillings, both sweet and savory.
Ingredients
- 1 egg yolk
- 2 tablespoons heavy cream or whole milk
- 1 teaspoon pure vanilla extract
- 1 ¼ cup all purpose flour
- ⅓ cup granulated sugar, or powdered sugar or brown sugar
- ¼ teaspoon fine sea salt
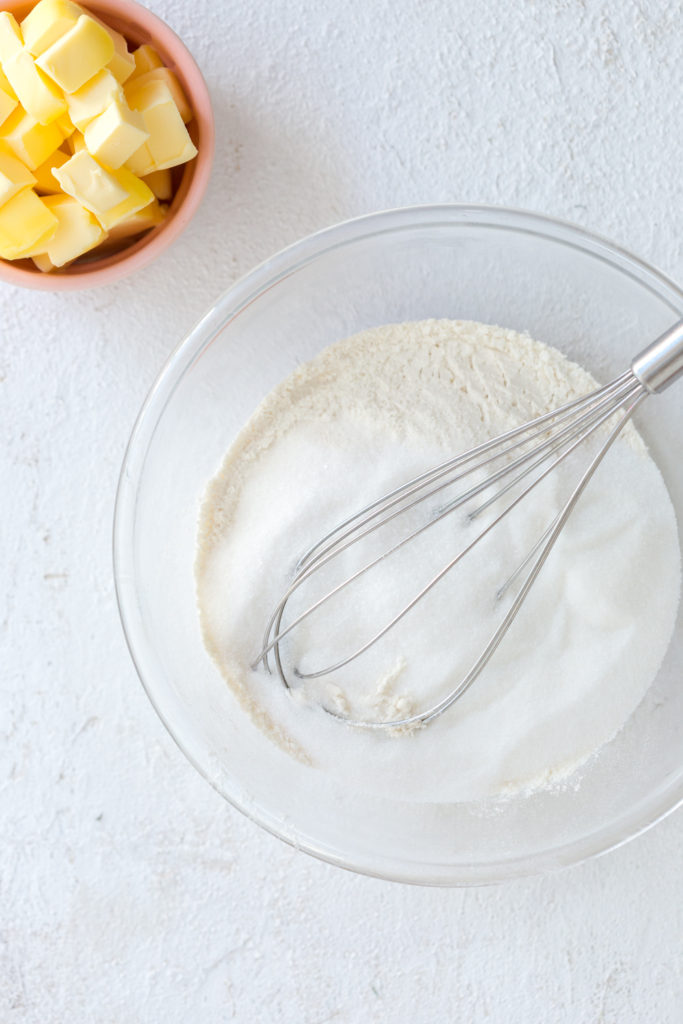
- ½ cup unsalted butter, cold and cut into ½" cubes
Instructions
MIXING BASIC TART DOUGH
- In a small bowl, whisk together the egg yolk, heavy cream and vanilla, then set aside.
- In a large mixing bowl, whisk together the flour, sugar and salt.
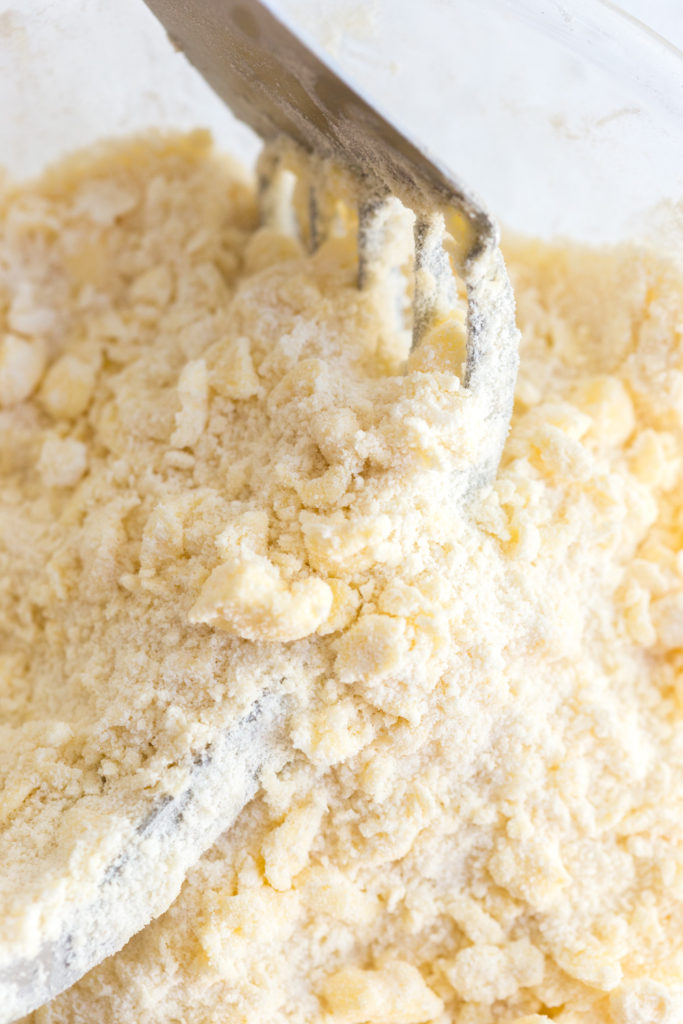
- Using a pastry cutter, 2 butter knives, cut the butter into the flour mixture until the texture looks like coarse cornmeal, the butter chunks shouldn't be larger than the size of peas. Alternatively, you can squish the butter into the dry ingredients with your hands. Just be sure to move fast so the butter doesn't' melt.
- Add the egg mixture and blend with a fork until the dough just pulls together. Alternatively, you can make the dough in a food processor by pulsing the butter with the dry ingredients in a food processor until the texture resembles coarse cornmeal, the butter chunks shouldn't be larger than the size of peas. Add the egg mixture and pulse a few times until the dough just starts pulling together into a ball.
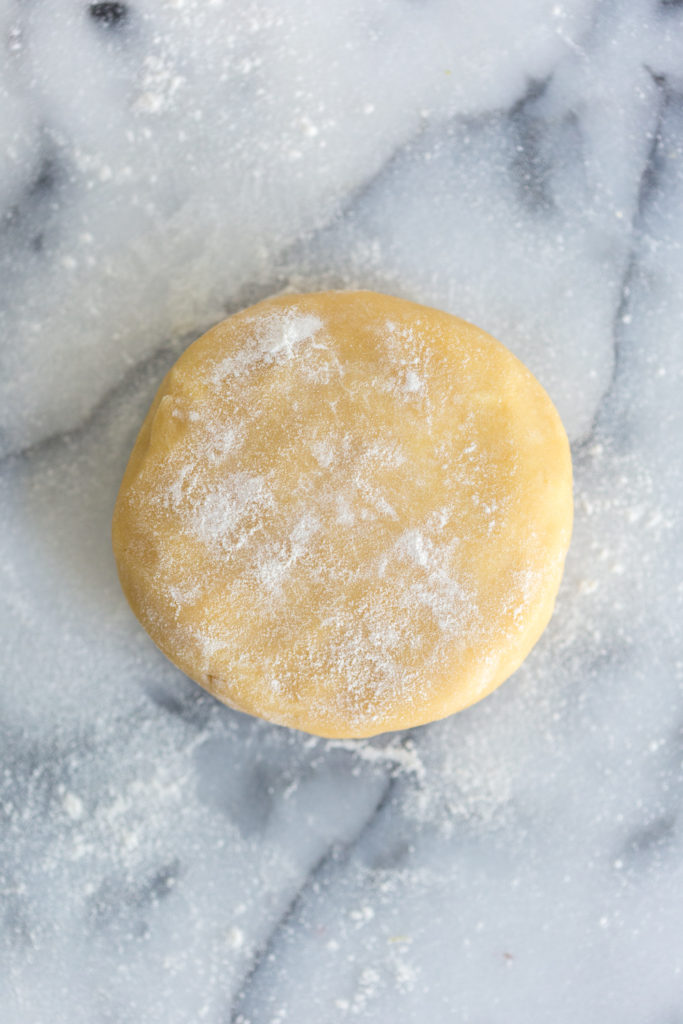
- Transfer the dough to a lightly floured work surface, gather into a ball and pat to flatten into a disk. Wrap in plastic wrap and refrigerate at least 30 minutes, preferably an hour before rolling out. At this stage the dough may be frozen for up 3 months, if wrapped tightly.
ROLLING OUT BASIC TART DOUGH
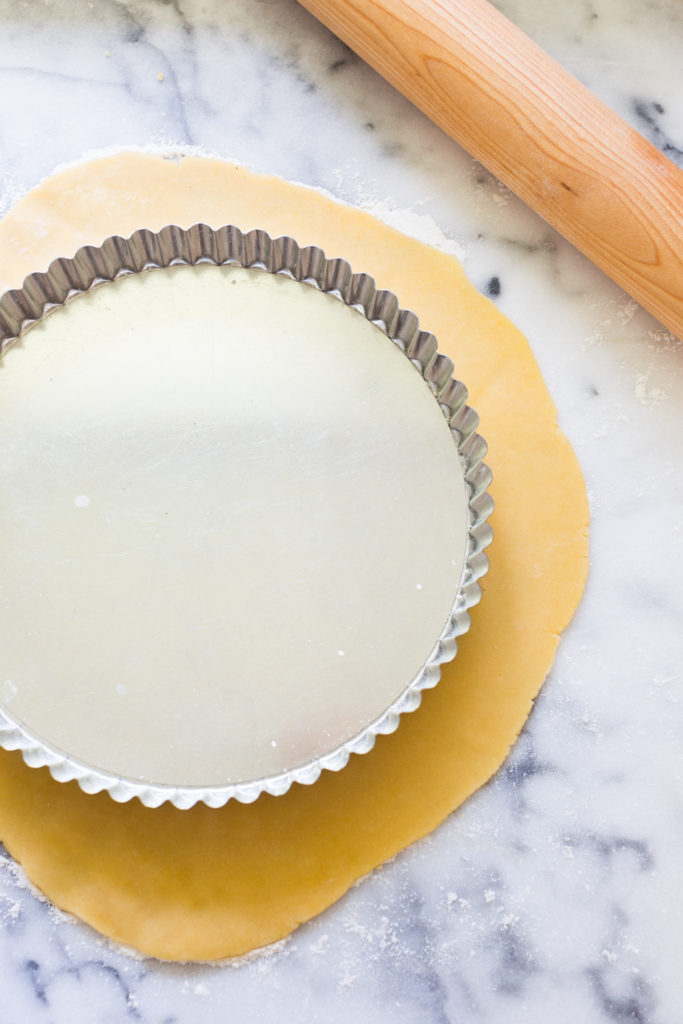
- To roll out, place dough on a lightly floured surface and flatten the disk with a few taps of the rolling pin. Begin by rolling out the dough from the center outward, then lift the dough and give it a quarter turn. Repeat and continue rolling and rotating. Lightly dust the top of the dough with flour as needed. Roll out until the dough is about 1"-2" wider in diameter than your tart pan and about ⅛" thick.
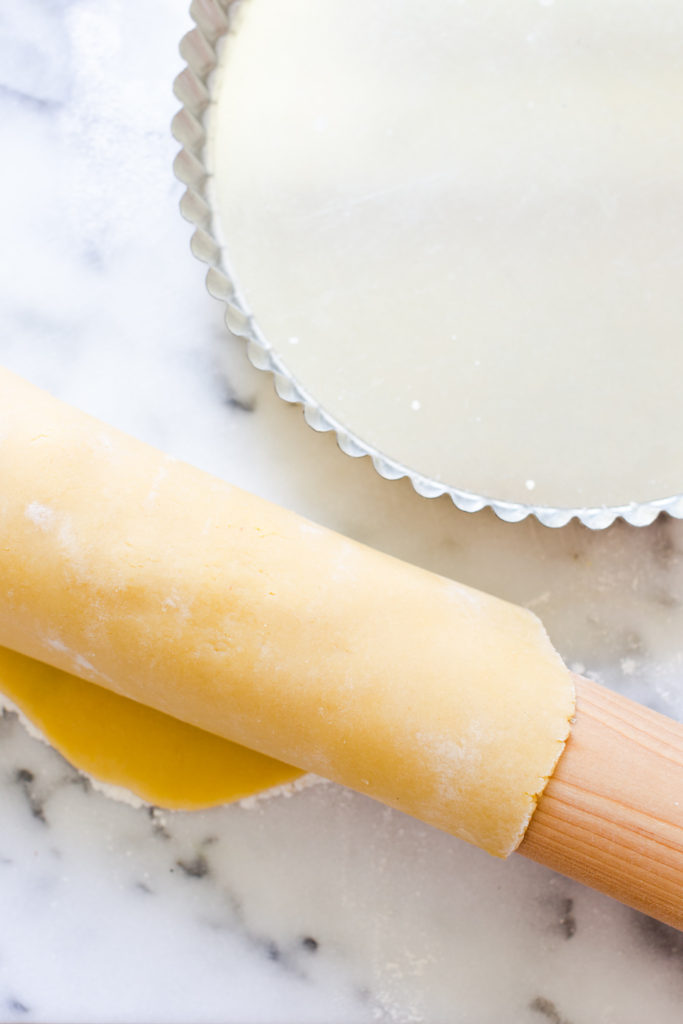
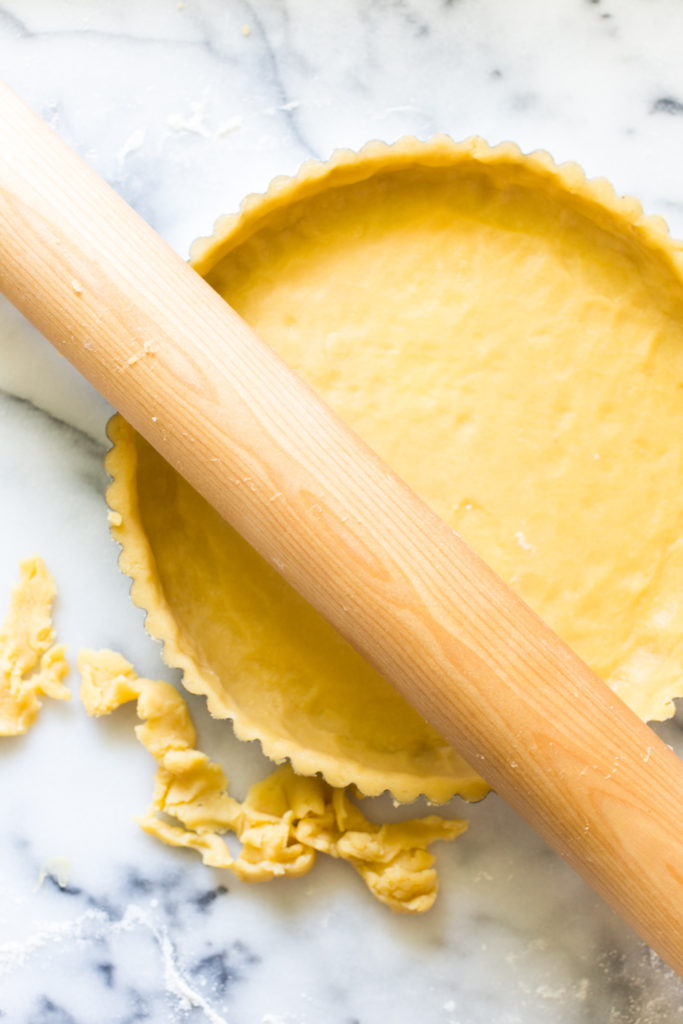
- To transfer to the tart pan, roll the dough back around the rolling pin, then unroll it centered over the tart pan. To neatly finish the edges of the tart, simply roll the rolling pin along the top of the pan. This will remove the excess dough in a snap! Be sure to save that extra dough in case you need to fix any cracks after the tart shell bakes - see notes.
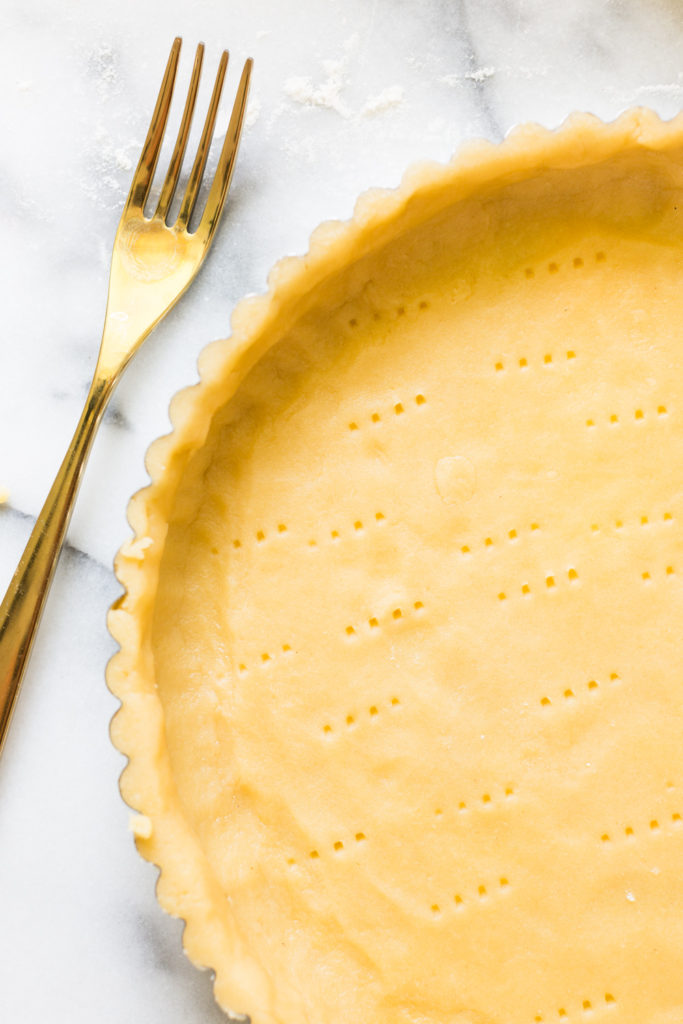
- Prick the bottom of the tart shell with fork to prevent the dough from puffing up as it bakes. Transfer to refrigerator or freezer to chill while the oven preheats.
BAKING THE TART SHELL
- Center rack in the oven and preheat oven to 375°F.
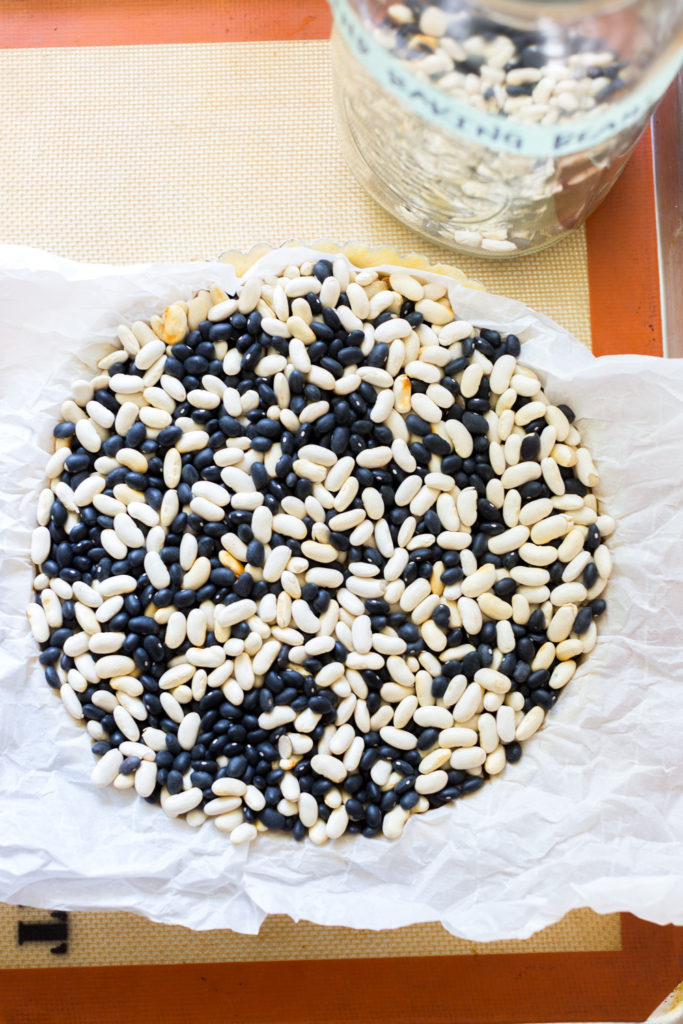
- Press crumpled parchment paper or foil tightly against the crust, covering the edges to prevent them from burning. Fill with pie weights, dried beans or uncooked rice, making sure they’re evenly distributed and fill the entire shell.
- Bake the crust for 20 minutes, until the foil no longer sticks to the dough and the edges start to look golden. Gently remove weights by lifting the parchment or foil from the pie shell and set aside.
- For a partially baked crust - bake for another 5 minutes without the weights until the the crust has a firm film on the top layer. If you are baking a tart with a baked filling, follow the tart recipe. You should be filling and baking at this point.
For a no-bake filling recipe, you need to fully bake the crust. So, bake for about 10 minutes longer until golden brown and dry. Transfer to a wire rack and let cool completely before filling.
Notes
- This recipe can be used for one 9 ½" tart, one 14" x 4" rectangular tart or six 4" tartlets.
- Be sure to save your dough scraps for fixing cracks that occur during the baking process. Leftover dough can be used as spackle to seal the cracks, just apply a thin layer to fill the cracks and bake for a few additional minutes until it is set.
- I've had great success making a gluten free version of this Basic Tart Dough by swapping the All Purpose Flour for Bob's Red Mill 1 to 1 Gluten Free Baking Flour.
- Recipe adapted from the Williams Sonoma Basic Tart Dough recipe.
- Prep Time: 20 minutes
- Cook Time: 30 minutes
- Category: Dessert
- Cuisine: tart